叙述
最近在搞 IdentityServer4 API接口认证部分,由于之前没有接触过 IdentityServer4 于是在网上一顿搜搜搜,由于自己技术水平也有限,看了好几篇文章才搞懂,想通过博客方式整理一下同时也希望帮到刚了解 IdentityServer4 的小伙伴。
在搭建 IdentityServer4 之前,需要了解以下几个概念。
OpenId
OpenID 是一个以用户为中心的数字身份识别框架,它具有开放、分散性。OpenID 的创建基于这样一个概念:我们可以通过 URI (又叫 URL 或网站地址)来认证一个网站的唯一身份,同理,我们也可以通过这种方式来作为用户的身份认证。
简而言之:OpenId用于身份认证(Authentication)。
OAuth 2.0
OAuth(开放授权)是一个开放标准,目前的版本是2.0。允许用户授权第三方移动应用访问他们存储在其他服务商上存储的私密的资源(如照片,视频,联系人列表),而无需将用户名和密码提供给第三方应用。
OAuth允许用户提供一个令牌而不是用户名和密码来访问他们存放在特定服务商上的数据。每一个令牌授权一个特定的网站内访问特定的资源(例如仅仅是某一相册中的视频)。这样,OAuth可以允许用户授权第三方网站访问他们存储在另外服务提供者的某些特定信息,而非所有内容。
OAuth是OpenID的一个补充,但是完全不同的服务。
简而言之:OAuth2.0 用于授权(Authorization)。
OpenId Connect
OpenID Connect 1.0 是基于OAuth 2.0协议之上的简单身份层,它允许客户端根据授权服务器的认证结果最终确认终端用户的身份,以及获取基本的用户信息;它支持包括Web、移动、JavaScript在内的所有客户端类型去请求和接收终端用户信息和身份认证会话信息;它是可扩展的协议,允许你使用某些可选功能,如身份数据加密、OpenID提供商发现、会话管理等。
简而言之:OpenId Connect = OIDC = Authentication + Authorization + OAuth2.0。
开始搭建 IdentityServer4
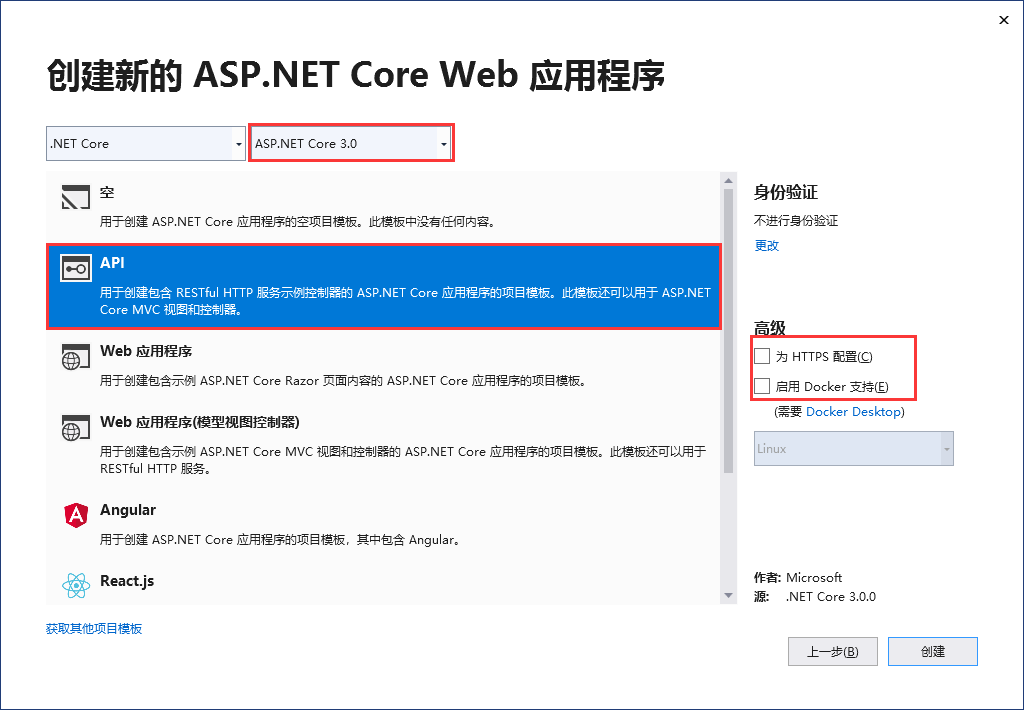
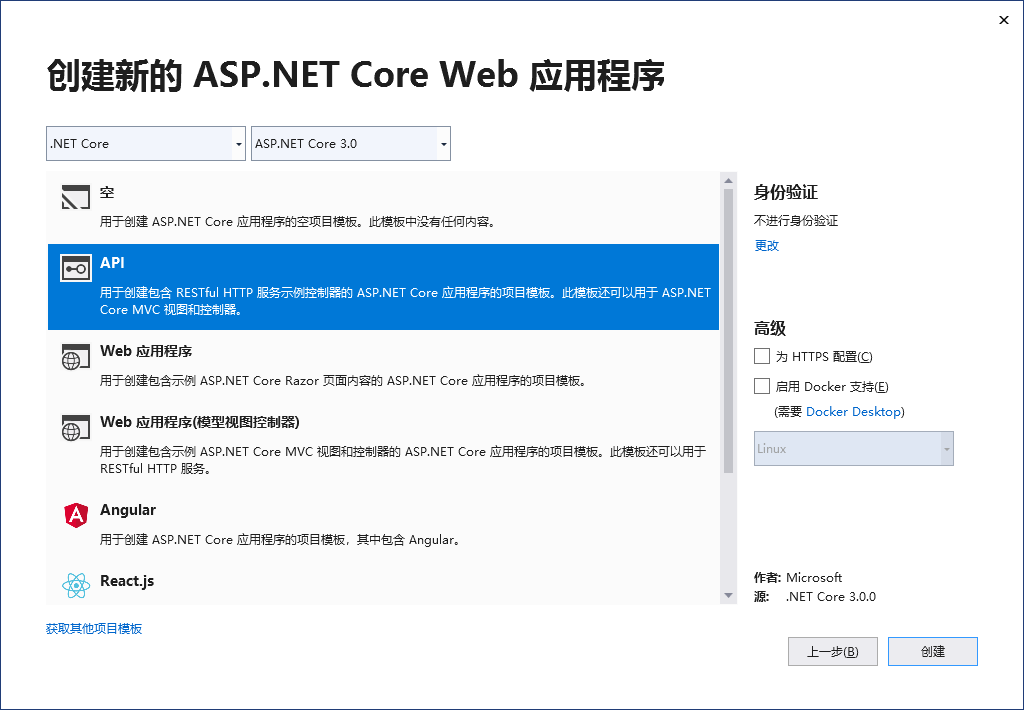
1.首先我们需要创建一个API项目来搭建 IdentityServer4 认证服务器。
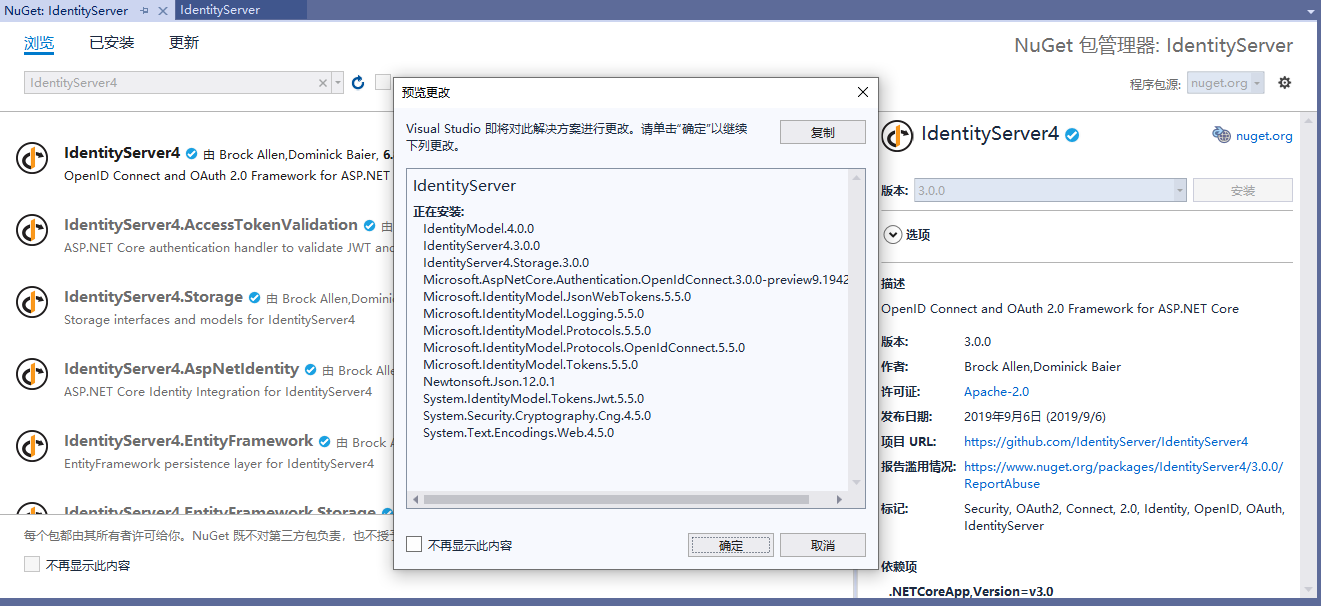
2.通过 Nuget 安装 IdentityServer4 。
3.删除 .net core webapi 自带的 WeatherForecast 控制器和 WeatherForecast 类。(当然不是必须删除)
4.创建 ApiConfig 类用于配置 IdentityServer4 的参数。
using IdentityServer4.Models;
using System.Collections.Generic;namespace IdentityServer
{public class ApiConfig{/// <summary>/// 这个ApiResource参数就是我们Api/// </summary>/// <returns></returns>public static IEnumerable<ApiResource> GetSoluction(){return new[]{new ApiResource("api1", "MY API")};}public static IEnumerable<Client> GetClients(){return new List<Client>{new Client{ClientId = "Client",AllowedGrantTypes = GrantTypes.ClientCredentials,ClientSecrets = {new Secret("secret".Sha256()),},AllowedScopes = {"api1"}}};}}
}
5.在 Startup.cs 中注入 IdentityServer 服务并使用中间件。
// This method gets called by the runtime. Use this method to add services to the container.
public void ConfigureServices(IServiceCollection services)
{services.AddIdentityServer().AddInMemoryApiResources(ApiConfig.GetSoluction()).AddInMemoryClients(ApiConfig.GetClients()).AddDeveloperSigningCredential();services.AddMvc().SetCompatibilityVersion(CompatibilityVersion.Version_3_0);
}// This method gets called by the runtime. Use this method to configure the HTTP request pipeline.
public void Configure(IApplicationBuilder app, IWebHostEnvironment env)
{//添加认证中间件
    app.UseIdentityServer();if (env.IsDevelopment()){app.UseDeveloperExceptionPage();}app.UseRouting();app.UseAuthorization();app.UseEndpoints(endpoints =>{endpoints.MapControllers();});
}
6. F5运行项目,并将路径修改为: http://localhost:55320/.well-known/openid-configuration

首次启动时,IdentityServer将为您创建一个开发人员签名密钥,它是一个名为的文件tempkey.rsa。您不必将该文件检入源代码管理中,如果该文件不存在,将重新创建该文件。
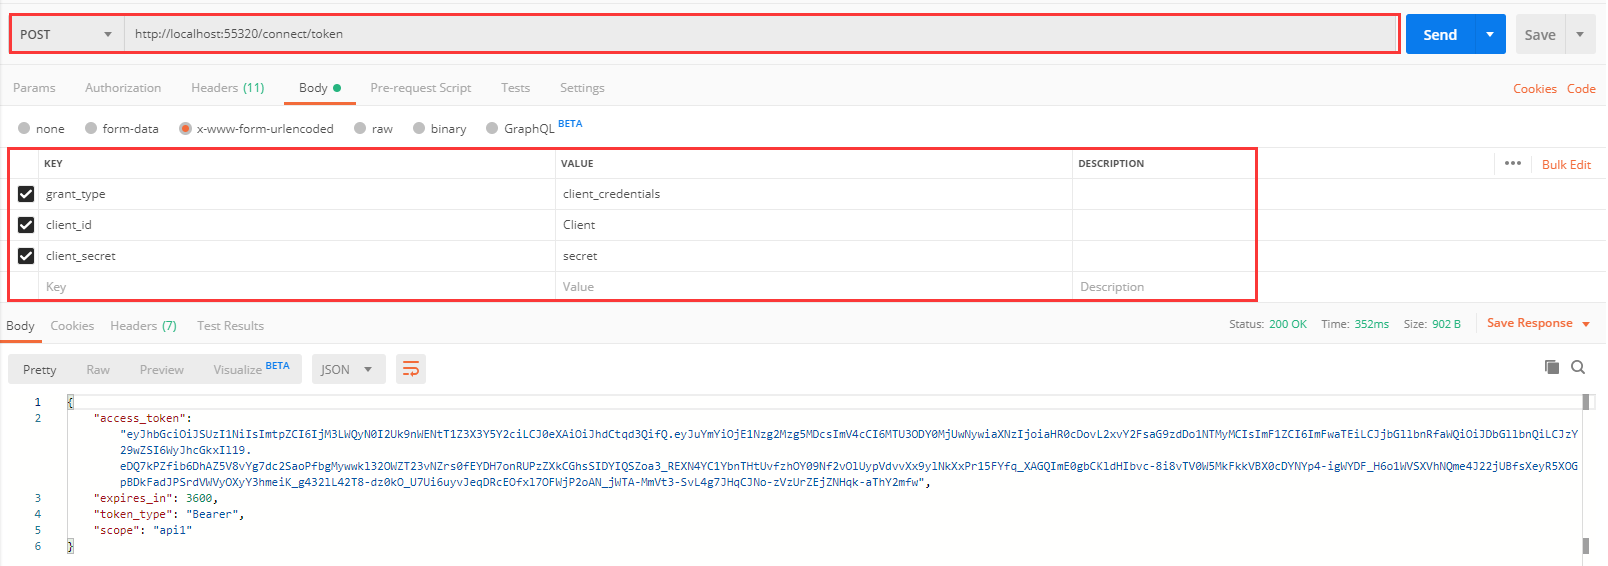
7.用 Postman 测试并获取 AccessToken,如下图所示,在 Post 请求中传入,认证类型,client_id 以及 client_secret 即可获取 AccessToken 。
8.创建个 API 项目用于验证 IdentityServer4 。
9.添加名为 Identity 的控制器。

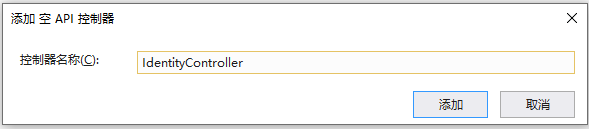
using Microsoft.AspNetCore.Authorization;
using Microsoft.AspNetCore.Mvc;
using System.Linq;namespace Api.Controllers
{[Route("api/[controller]")][ApiController][Authorize]public class IdentityController : ControllerBase{[HttpGet]public IActionResult Get(){return new JsonResult(from c in User.Claims select new { c.Type, c.Value });}}
}
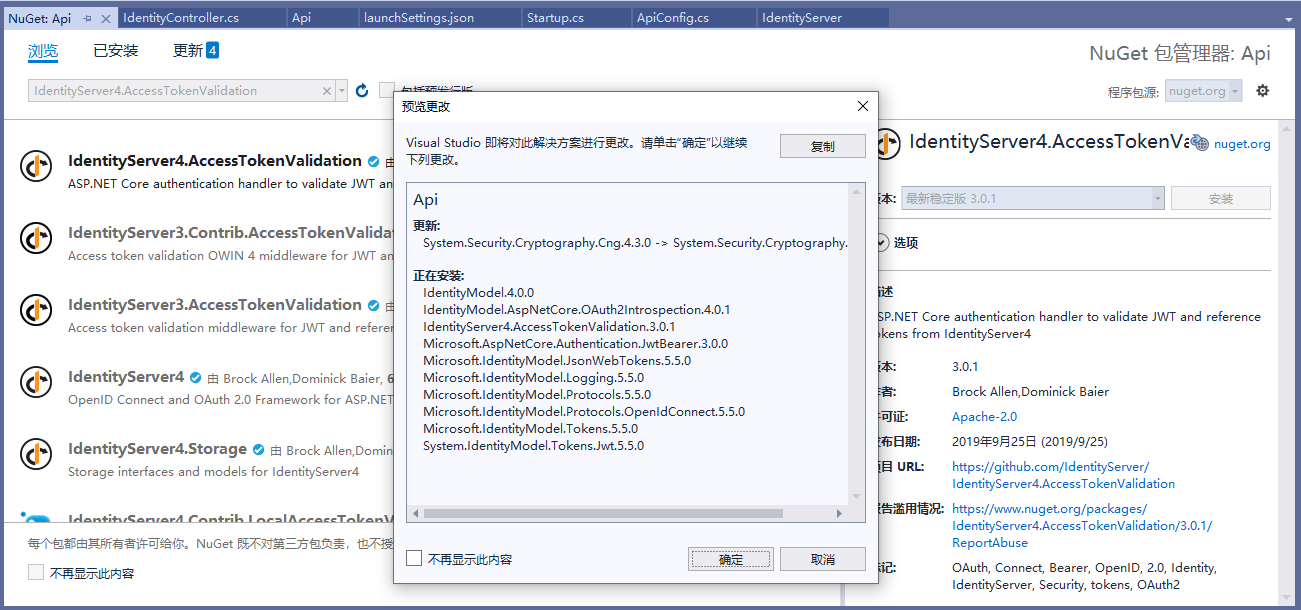
10.通过 NuGet 安装 IdentityServer4.AccessTokenValidation 。
11. 在 Startup.cs 中加入 identityServer 验证。
// This method gets called by the runtime. Use this method to add services to the container.
public void ConfigureServices(IServiceCollection services)
{services.AddMvcCore().AddAuthorization();services.AddAuthentication("Bearer").AddIdentityServerAuthentication(options =>{options.Authority = "http://localhost:55320";options.RequireHttpsMetadata = false;options.ApiName = "api1";});services.AddMvc().SetCompatibilityVersion(CompatibilityVersion.Version_3_0);}// This method gets called by the runtime. Use this method to configure the HTTP request pipeline.
public void Configure(IApplicationBuilder app, IWebHostEnvironment env)
{if (env.IsDevelopment()){app.UseDeveloperExceptionPage();}app.UseRouting();app.UseAuthentication();    //认证服务app.UseAuthorization();     //使用授权服务
app.UseEndpoints(endpoints =>{endpoints.MapControllers();});
}
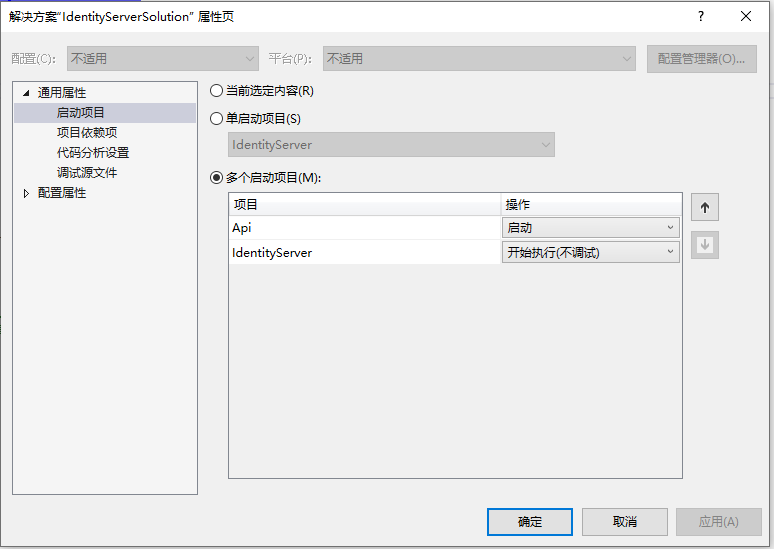
12.同时启动 Api 项目和 Identity 验证服务器。
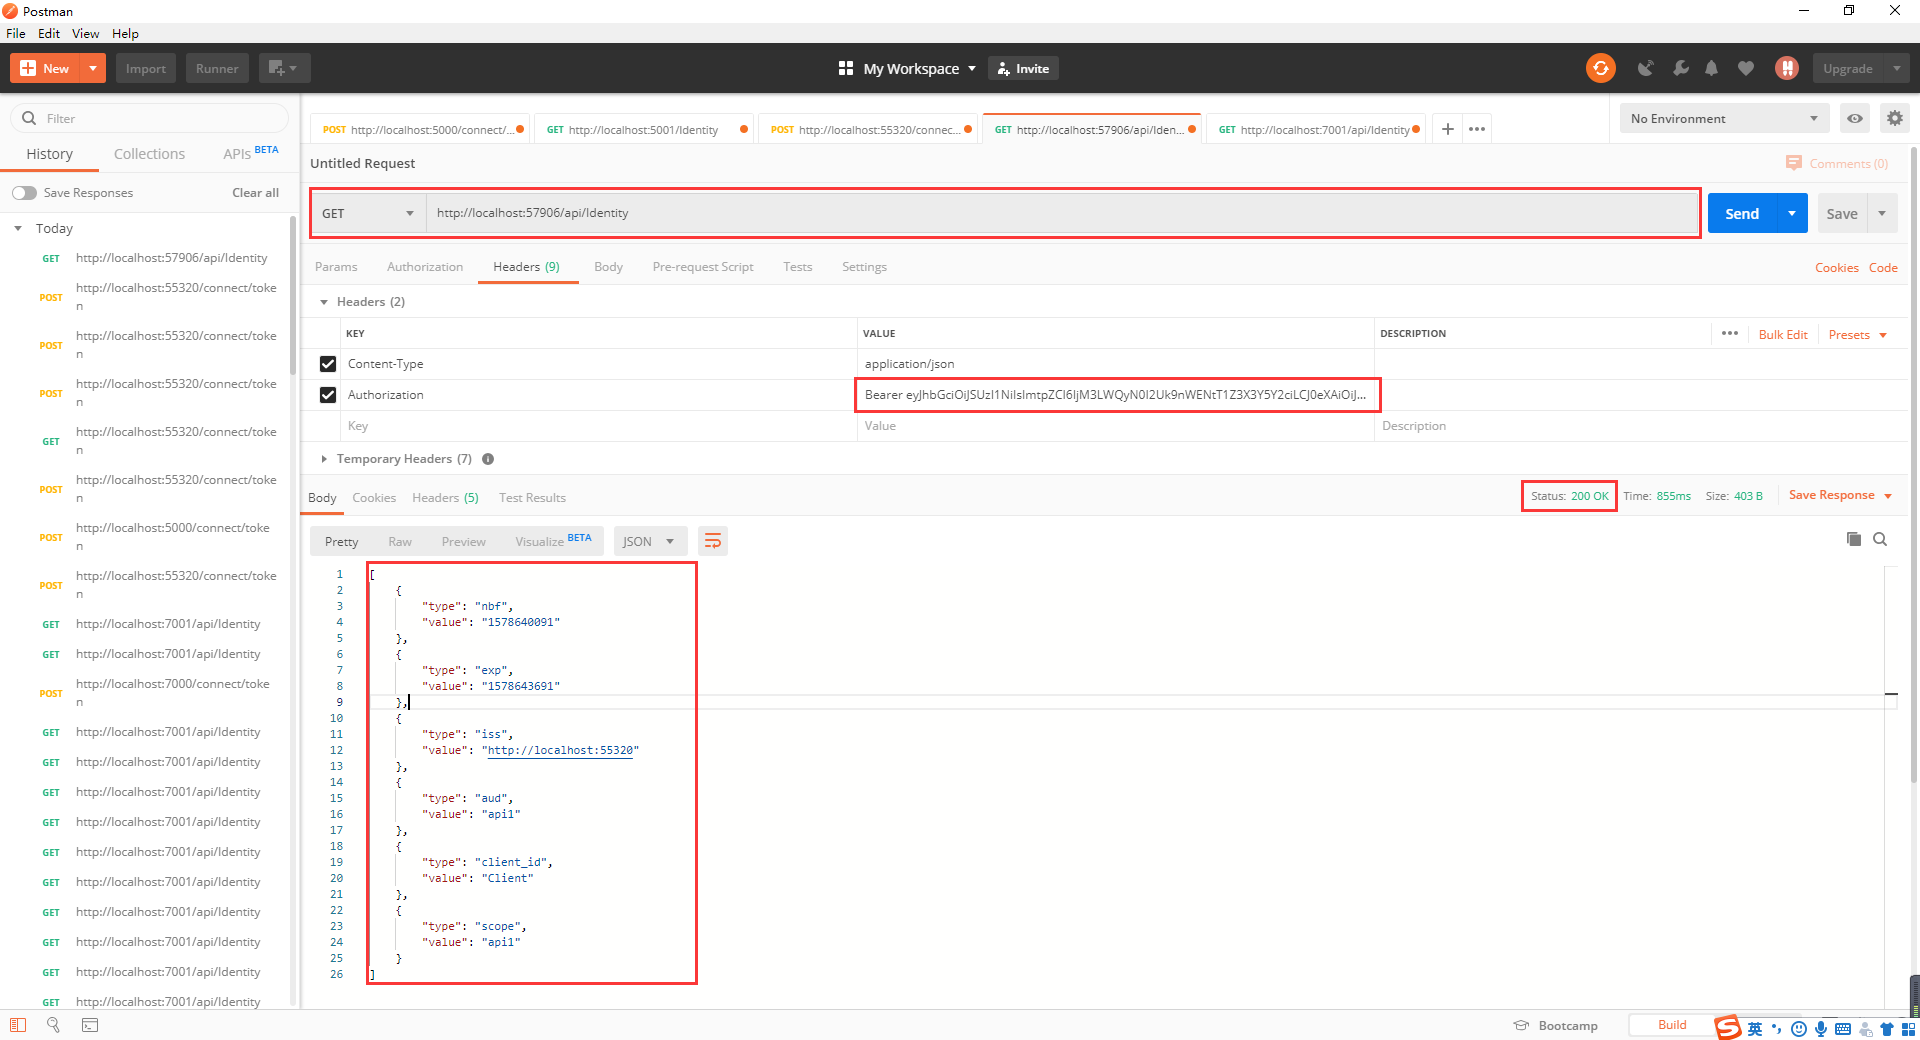
13.使用 PostMan 进行验证。
源码:
链接: https://pan.baidu.com/s/17ZZqWZi4nCDKEO4o7dLafA
提取码: t8hb
总结:
本文只是初步搭建 IdentityServer4 验证服务器,并没有更深入的探索,如果想有更深入了解的小伙伴可以参考以下链接。
参考:
https://www.cnblogs.com/sheng-jie/p/9430920.html
https://www.cnblogs.com/yilezhu/p/9315644.html
https://www.cnblogs.com/ZaraNet/p/10323400.html
https://www.cnblogs.com/lihuadeblog/p/12123686.html


