本文主要是介绍【技术分享】使用nginx完成动静分离➕集成SpringSession➕集成sentinel➕集成seata,希望对大家解决编程问题提供一定的参考价值,需要的开发者们随着小编来一起学习吧!
🥳🥳Welcome 的Huihui's Code World ! !🥳🥳
接下来看看由辉辉所写的关于技术点的相关分享吧
目录
🥳🥳Welcome 的Huihui's Code World ! !🥳🥳
一、 使用nginx完成动静分离
1.下载nginx
2.进入conf目录,并修改nginx.conf配置文件
3.动静分离
4.将静态文件放置再nginx中
5.运行nginx根目录下的nginx.exe启动nginx
6.修改项目中静态资源的路径
二、 集成SpringSession
1.引入依赖
2.在需要使用到springsession的模块做以下配置
3.编写代码完成登录功能
4.前端显示
三、 集成sentinel
1.导入pom依赖
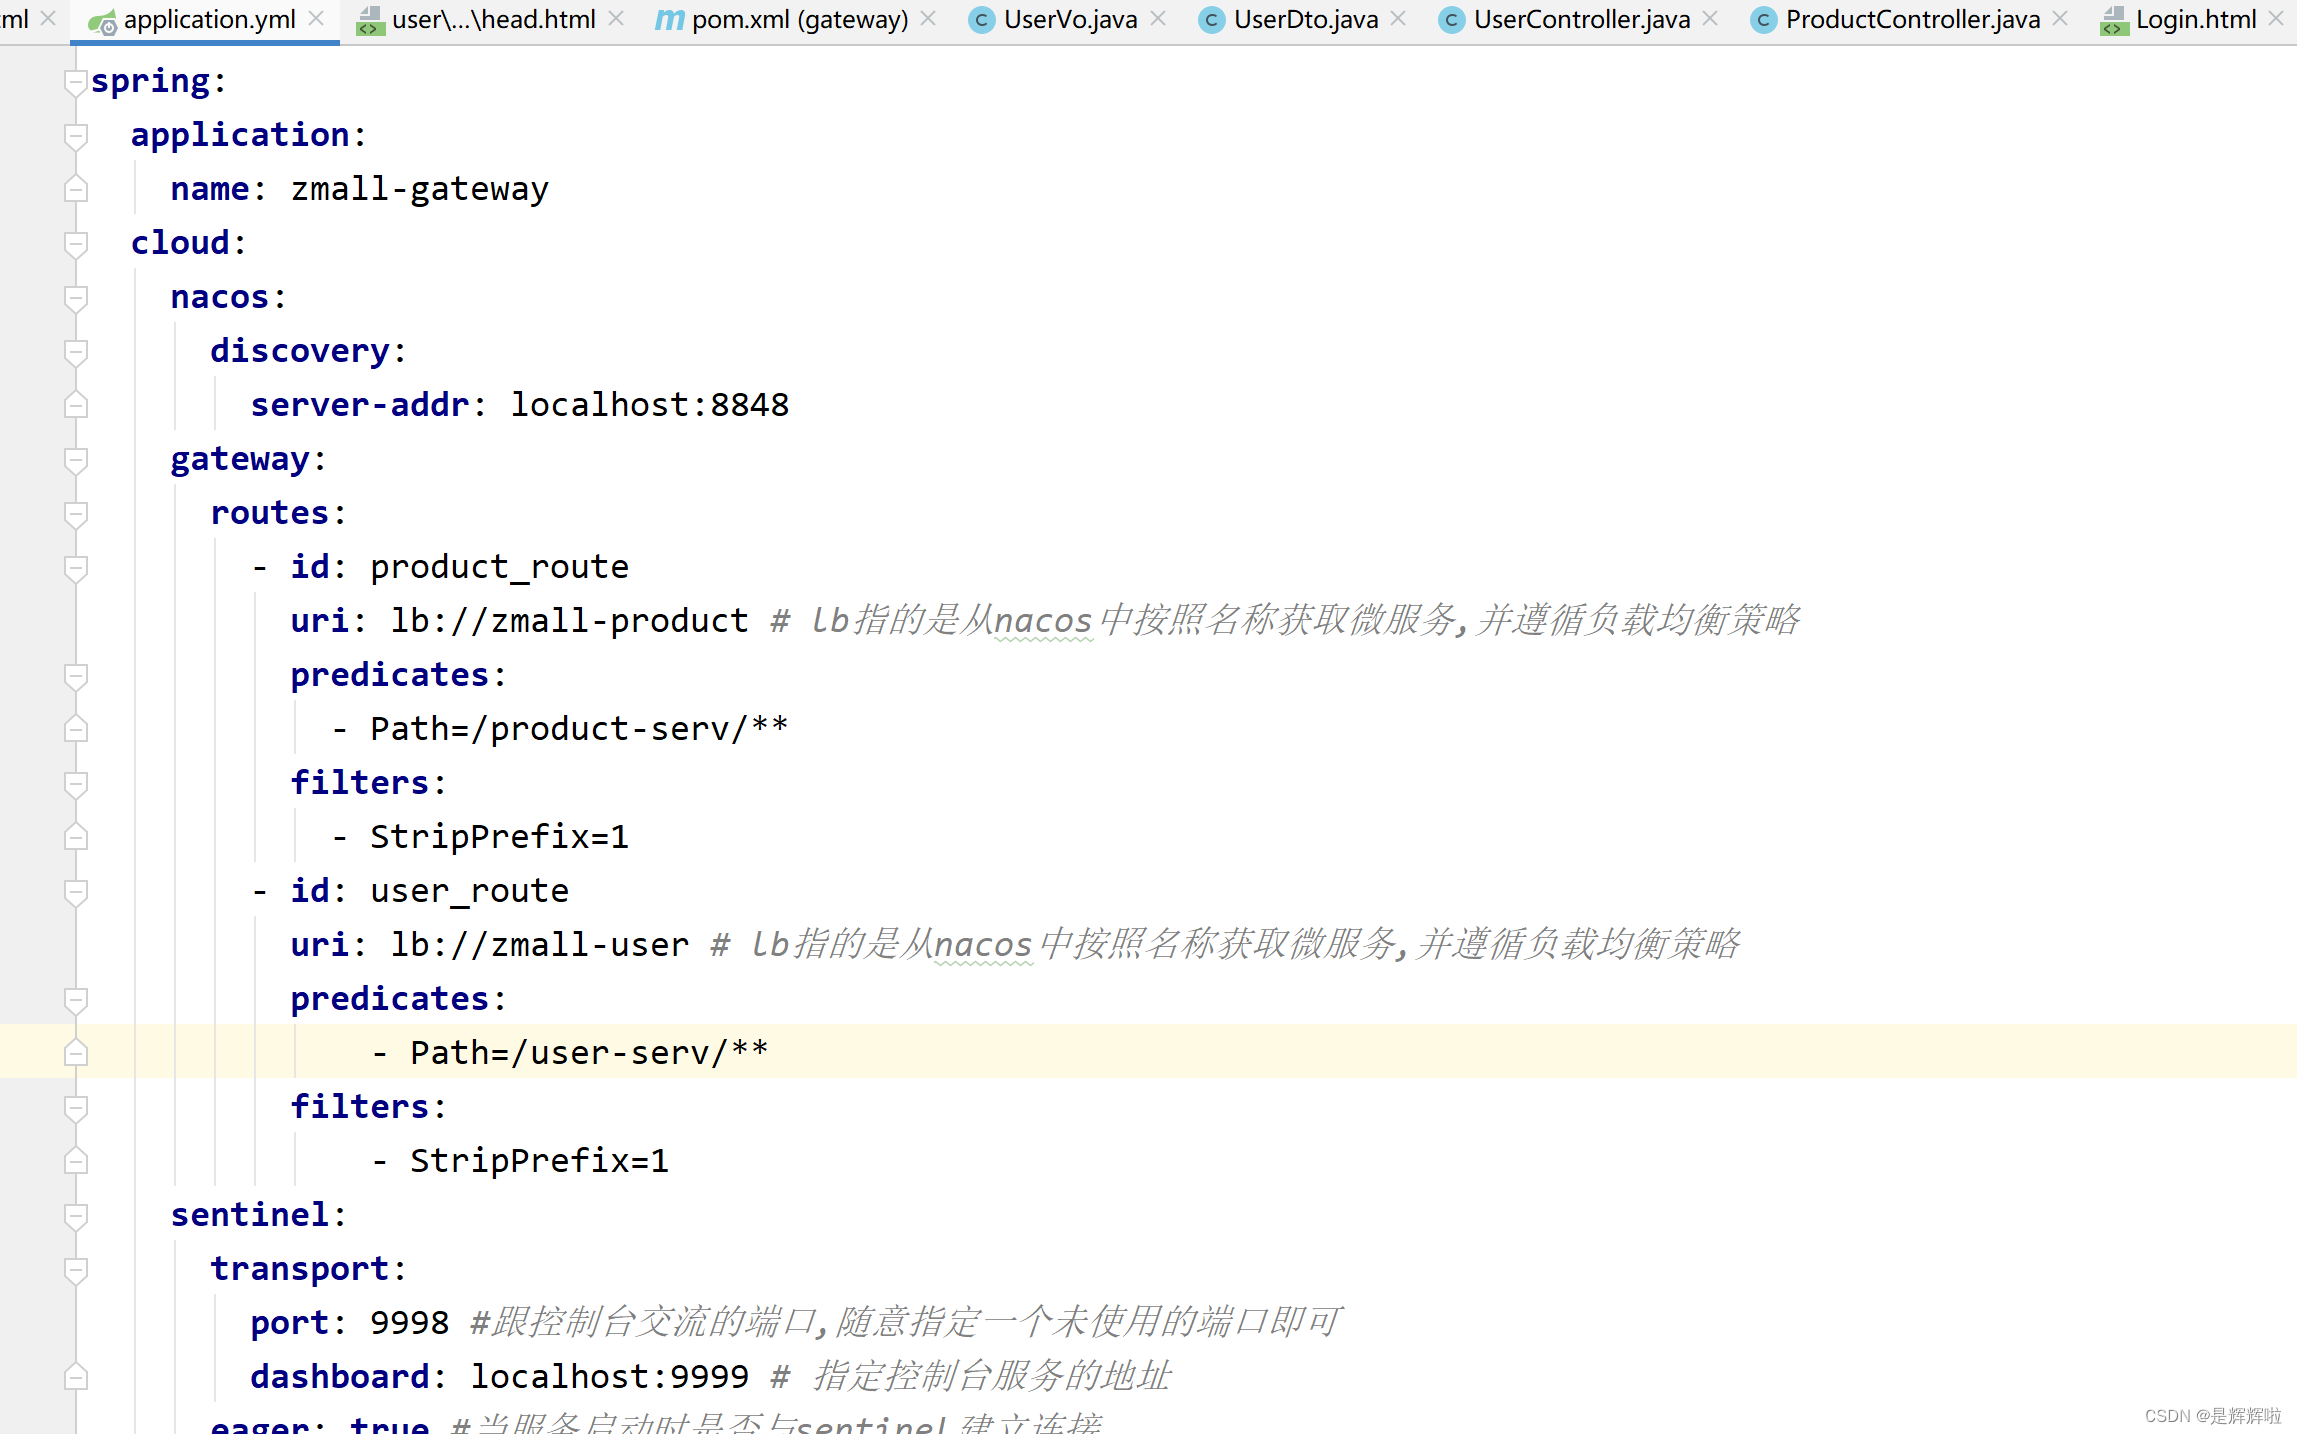
2.在application文件中进行配置
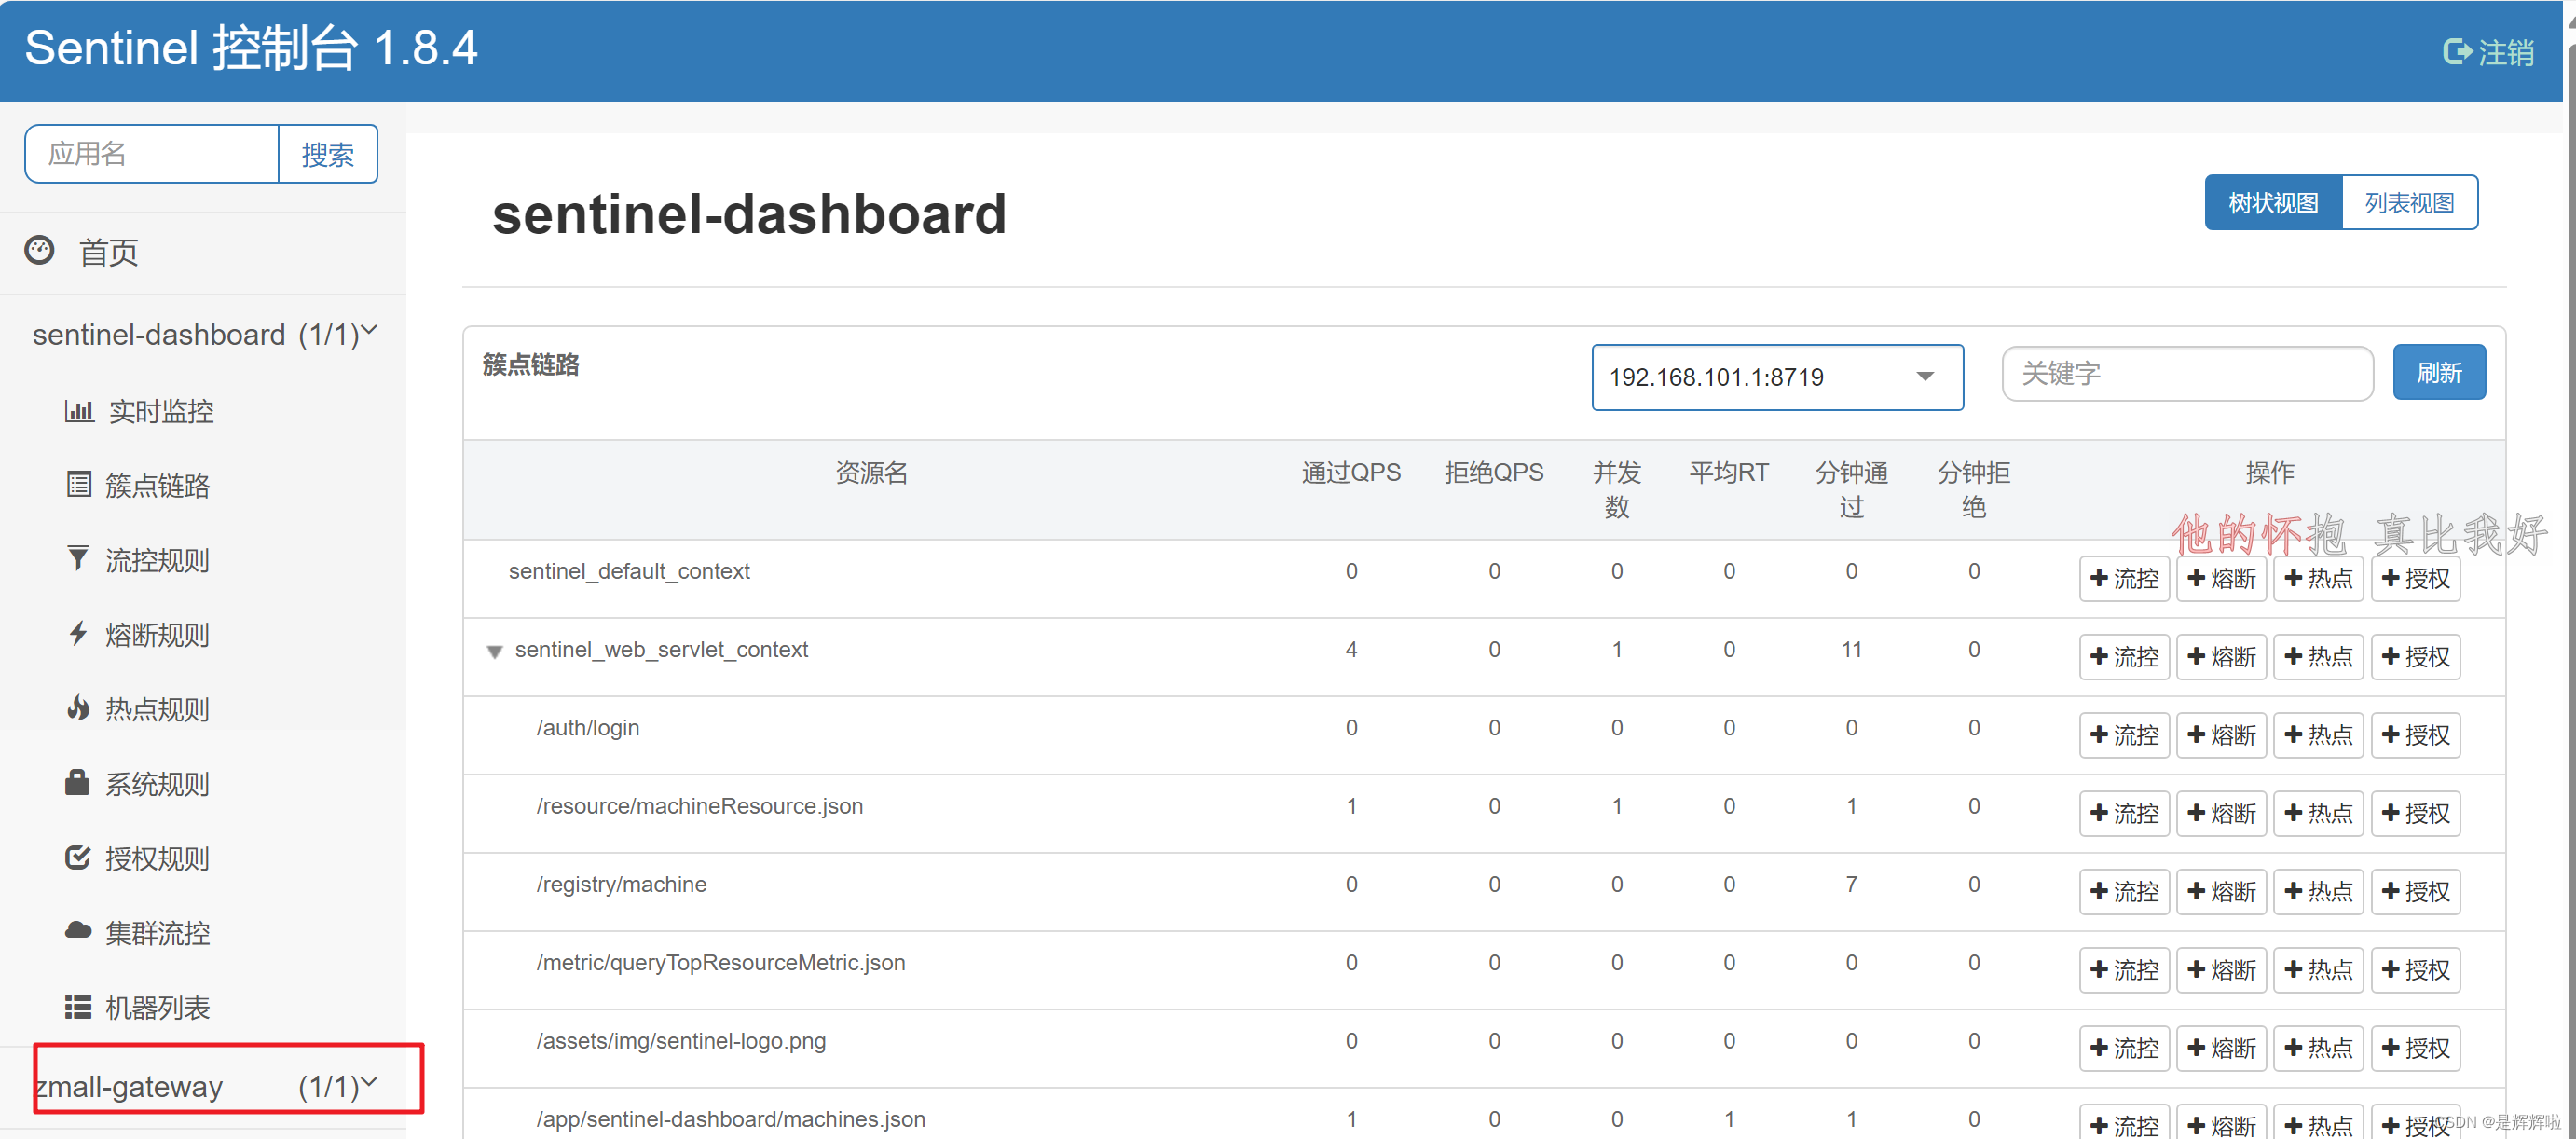
3.浏览器访问sentinel
四、集成seata
1.下载seata
2.修改配置文件及初始化
①seata-server-1.4.0.zip
②修改file.conf
③创建数据库Seata并初始化数据表
3.启动seata服务
4.使用Seata实现事务控制
1.初始化数据表
2.添加配置
①DataSourceProxyConfig
②application.yml
③registry.conf
③bootstrap.yaml
一、 使用nginx完成动静分离
1.下载nginx
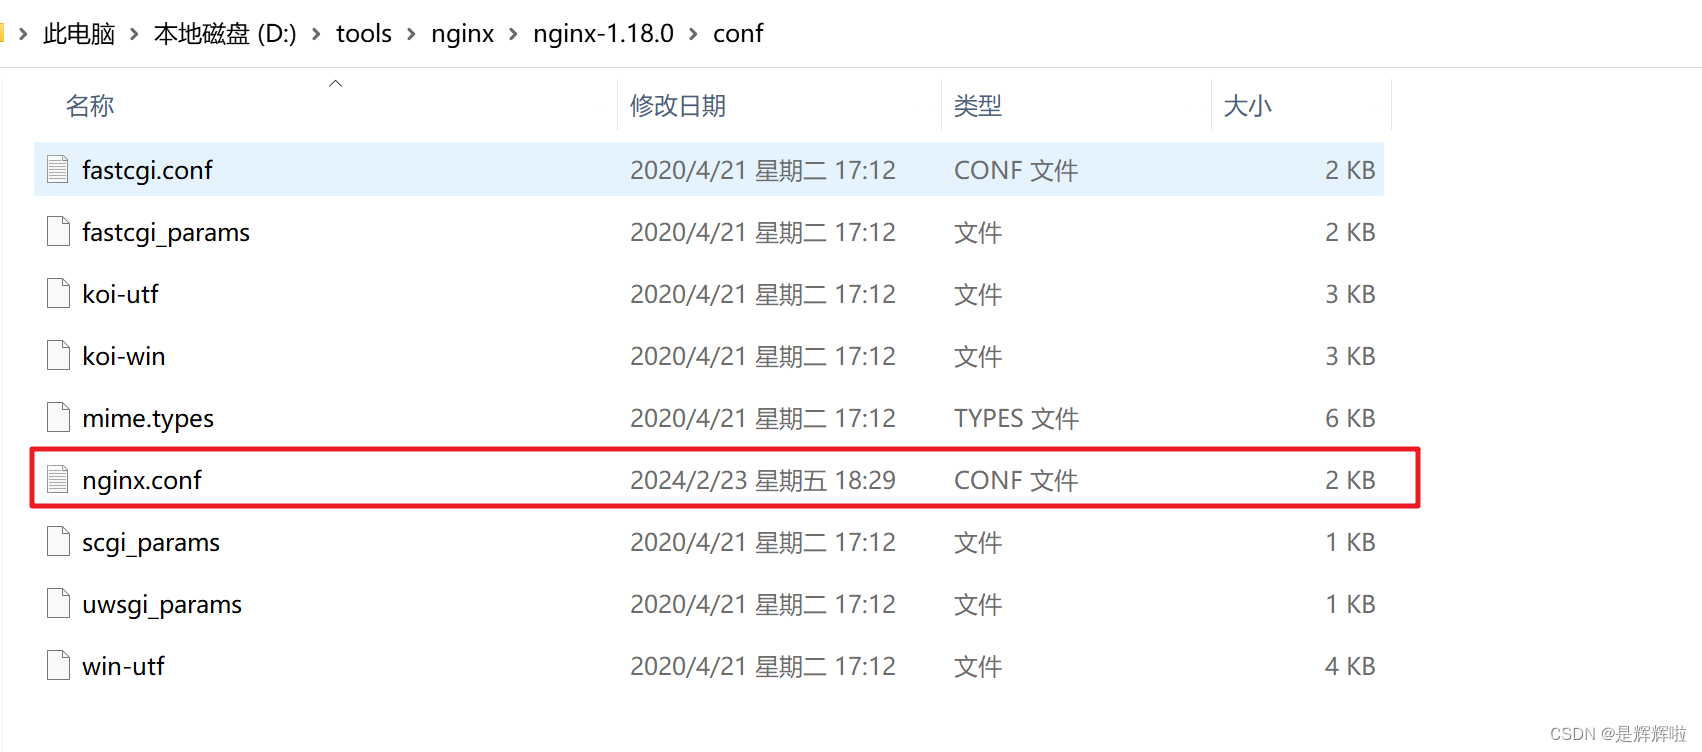
2.进入conf目录,并修改nginx.conf配置文件
其中也可以完成反向代理的功能
#user  nobody;
worker_processes  1;#error_log  logs/error.log;
#error_log  logs/error.log  notice;
#error_log  logs/error.log  info;#pid        logs/nginx.pid;events {worker_connections  1024;
}http {include       mime.types;default_type  application/octet-stream;#log_format  main  '$remote_addr - $remote_user [$time_local] "$request" '#                  '$status $body_bytes_sent "$http_referer" '#                  '"$http_user_agent" "$http_x_forwarded_for"';#access_log  logs/access.log  main;sendfile        on;#tcp_nopush     on;#keepalive_timeout  0;keepalive_timeout  65;#gzip  on;server{listen 80;server_name product.zmall.com;proxy_redirect off;proxy_set_header Host $host;proxy_set_header X-Real-IP $remote_addr;proxy_set_header X-Forwarded-For $proxy_add_x_forwarded_for;location / {proxy_pass http://127.0.0.1:8000/product-serv/;}}server{listen 80;server_name user.zmall.com;proxy_redirect off;proxy_set_header Host $host;proxy_set_header X-Real-IP $remote_addr;proxy_set_header X-Forwarded-For $proxy_add_x_forwarded_for;client_max_body_size 0; chunked_transfer_encoding on;location / {proxy_pass http://127.0.0.1:8000/user-serv/;}}}
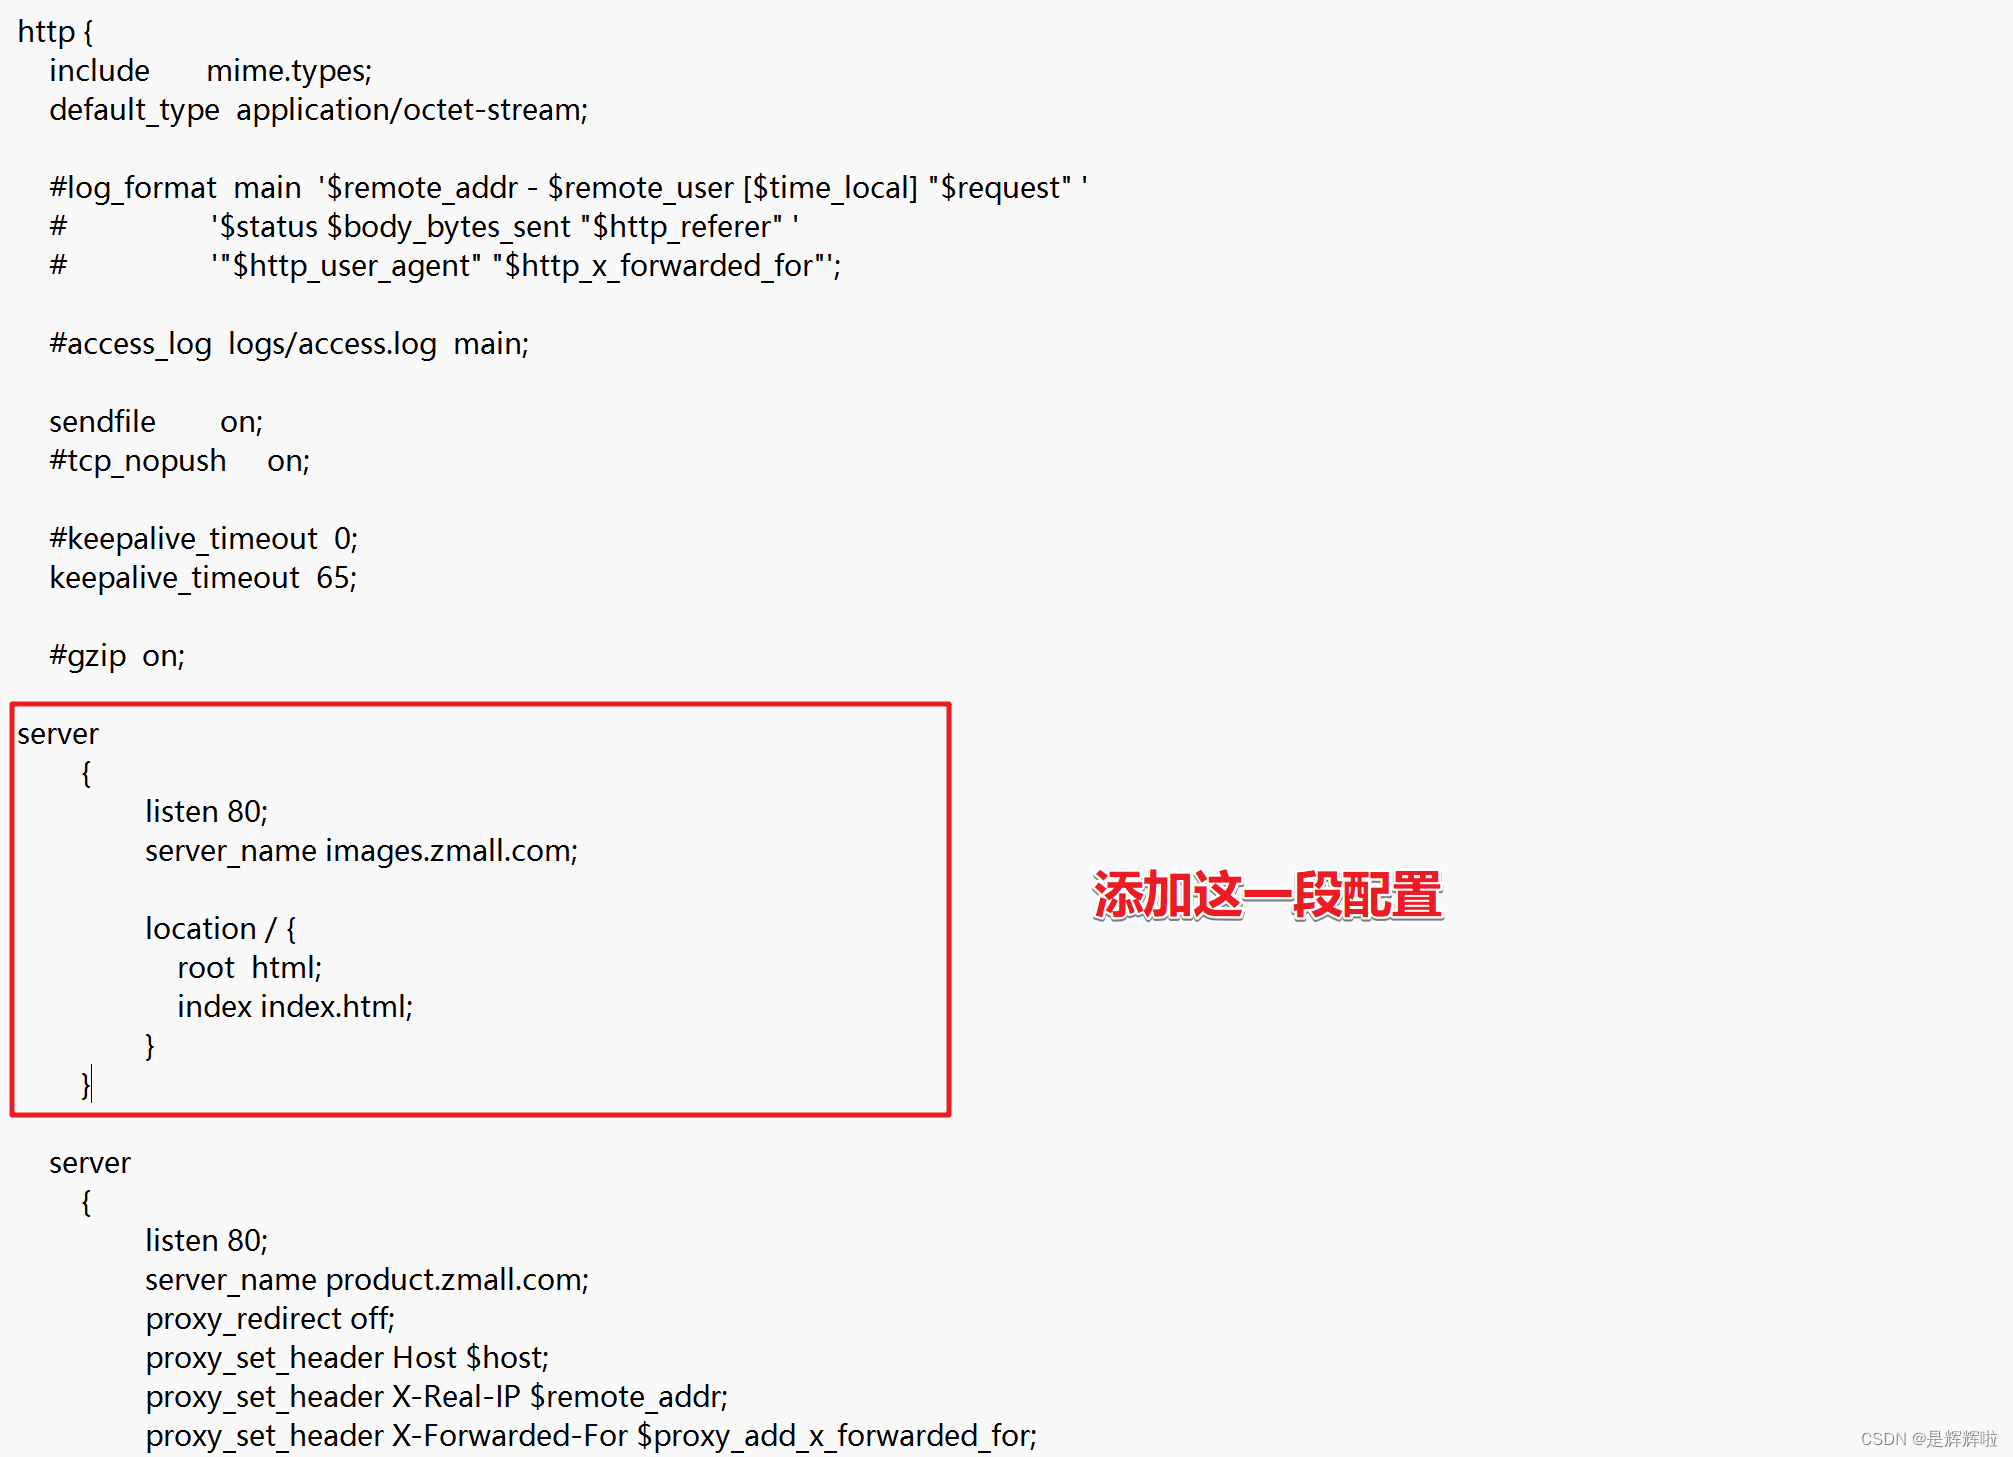
3.动静分离
server{listen 80;server_name images.zmall.com;location / {root html;index index.html;}}4.将静态文件放置再nginx中
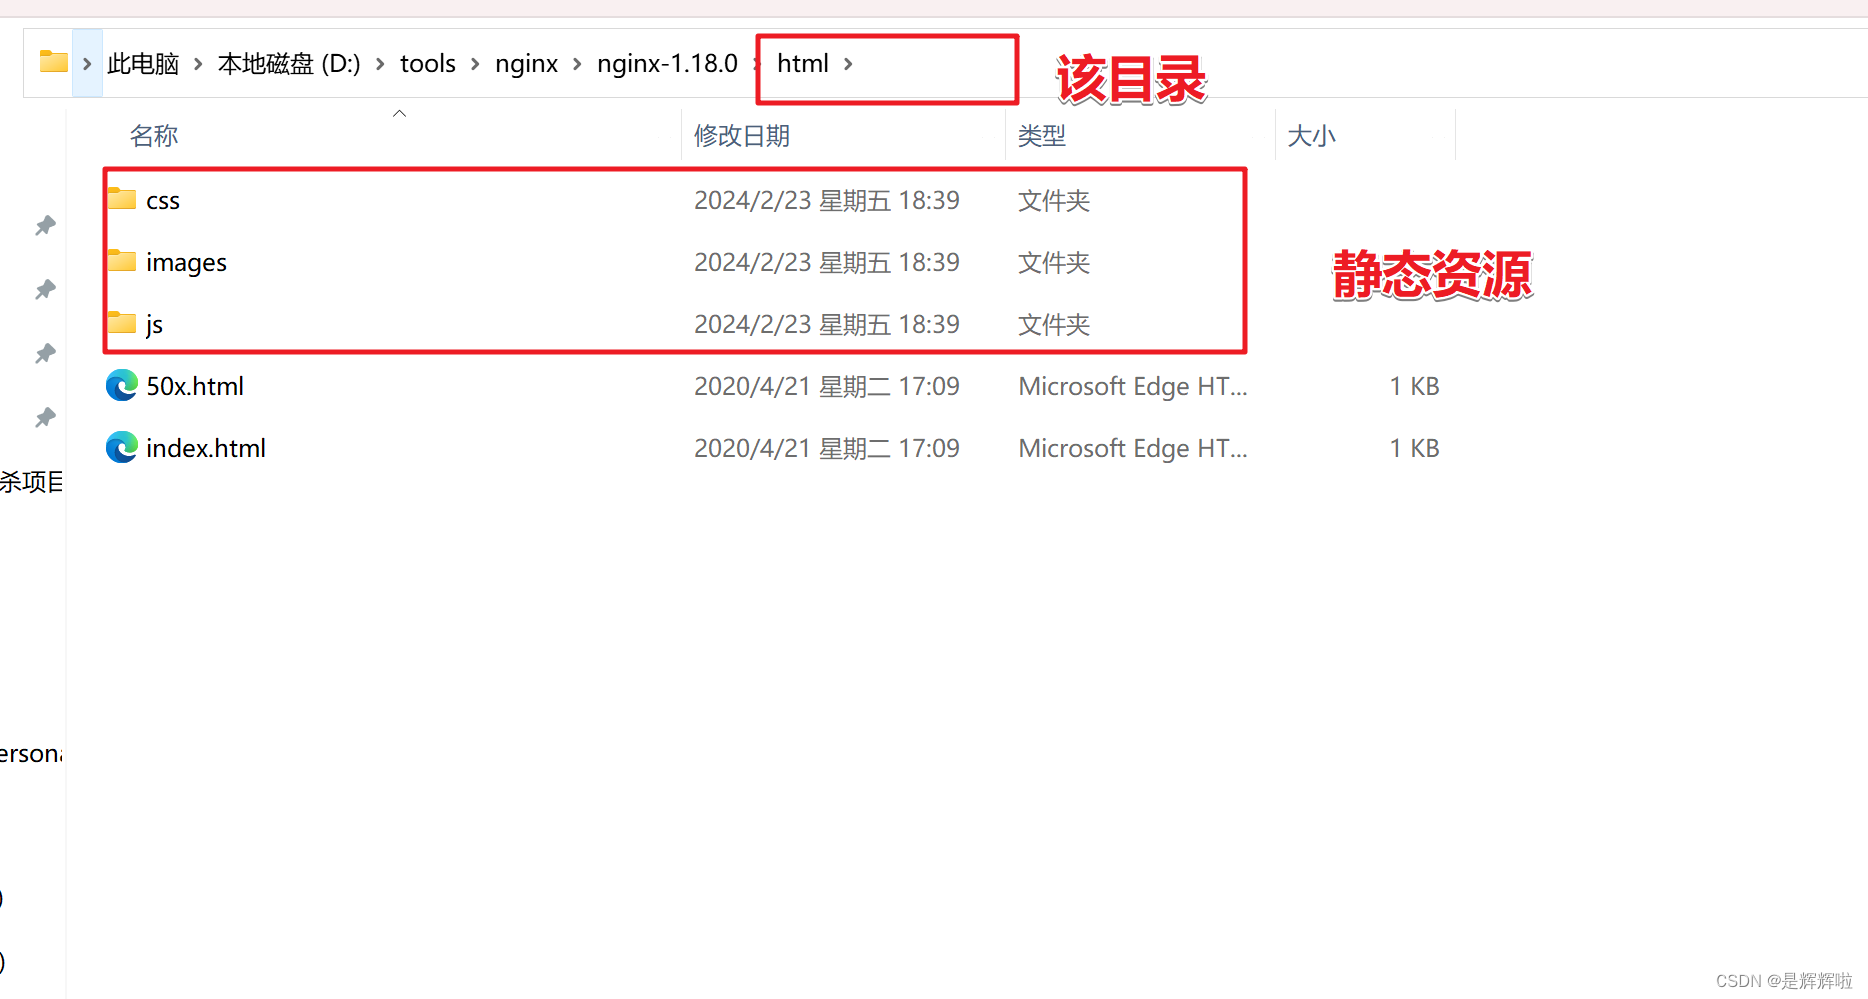
5.运行nginx根目录下的nginx.exe启动nginx
6.修改项目中静态资源的路径
我使用了一个公共的文件,再里面使用了一个base标签,这样其他页面引用这个文件就可以用到其中的静态资源了。
<#assign ctx>
${springMacroRequestContext.contextPath}/
</#assign>
<base href="http:images.zmall.com/"/>
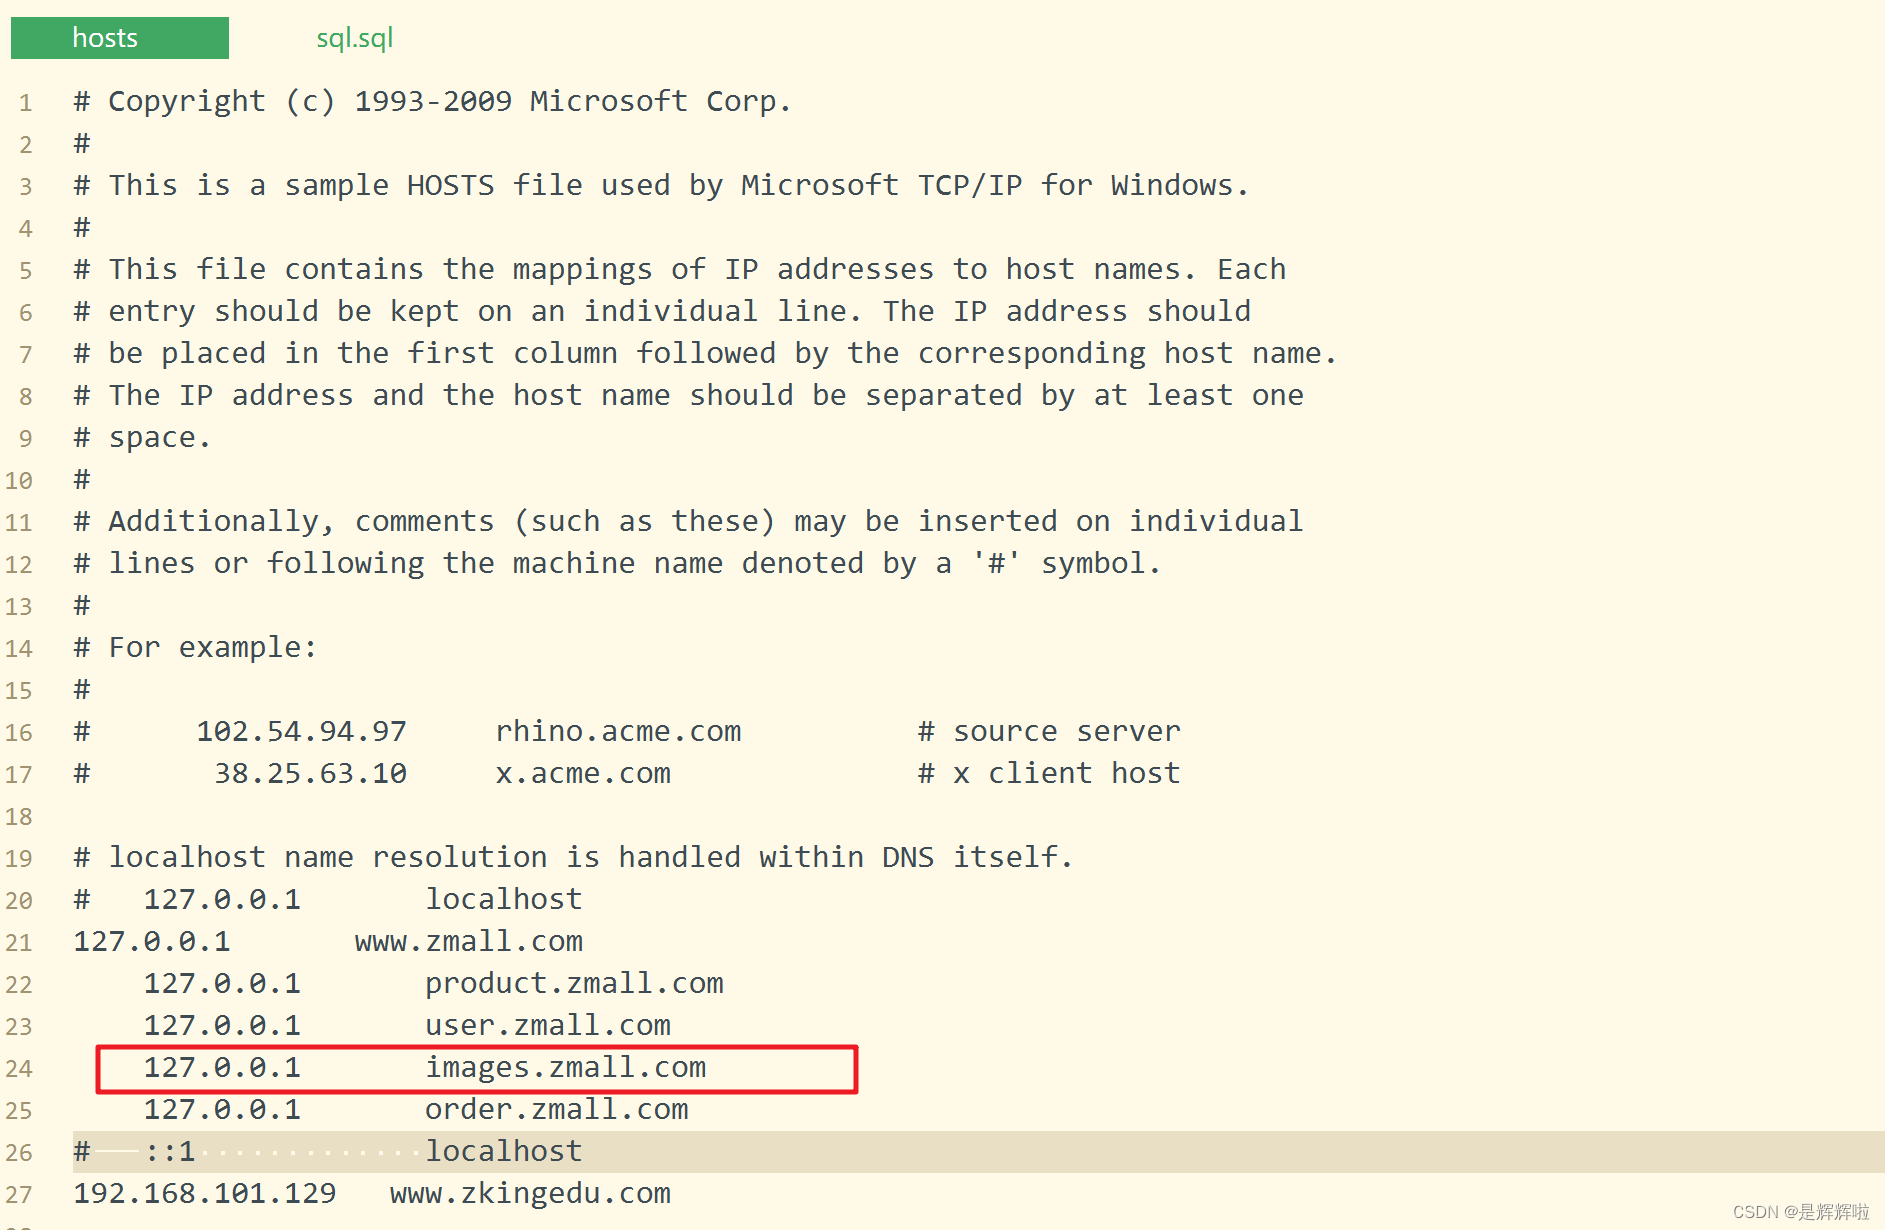
这里的域名也需要做一个域名映射
C:\Windows\System32\drivers\etc\hosts
二、 集成SpringSession
使用其来完成登录成功之后,在首页显示当前用户信息【跨服务】
1.引入依赖
<!--redis-->
<dependency><groupId>org.springframework.boot</groupId><artifactId>spring-boot-starter-data-redis</artifactId>
</dependency>
<!--spring session-->
<dependency><groupId>org.springframework.session</groupId><artifactId>spring-session-data-redis</artifactId>
</dependency>
<!--commons-pool2-->
<dependency><groupId>org.apache.commons</groupId><artifactId>commons-pool2</artifactId>
</dependency>
2.在需要使用到springsession的模块做以下配置
spring:session:redis:flush-mode: on_savenamespace: session.zmallcleanup-cron: 0 * * * * *store-type: redistimeout: 1800redis:host: localhostport: 6379password: 123456jedis:pool:max-active: 100max-wait: 10max-idle: 10min-idle: 10database: 03.编写代码完成登录功能
package com.wh.user.service.impl;import com.alibaba.nacos.common.utils.MD5Utils;
import com.baomidou.mybatisplus.core.conditions.query.QueryWrapper;
import com.wh.user.pojo.User;
import com.wh.user.mapper.UserMapper;
import com.wh.user.service.IUserService;
import com.baomidou.mybatisplus.extension.service.impl.ServiceImpl;
import com.wh.user.utils.JsonResponseBody;
import com.wh.user.utils.JsonResponseStatus;
import com.wh.user.vo.UserVo;
import dto.UserDto;
import org.springframework.beans.BeanUtils;
import org.springframework.stereotype.Service;
import org.springframework.util.DigestUtils;import javax.servlet.http.HttpServletRequest;
import javax.servlet.http.HttpServletResponse;
import javax.servlet.http.HttpSession;
import java.nio.charset.StandardCharsets;
import java.security.MessageDigest;
import java.security.NoSuchAlgorithmException;
import java.util.UUID;/*** <p>*  服务实现类* </p>** @author baomidou* @since 2024-02-21*/
@Service
public class UserServiceImpl extends ServiceImpl<UserMapper, User> implements IUserService {/*** 登录* @param userVo* @return*/@Overridepublic JsonResponseBody<?> userLogin(UserVo userVo) {//通过传递过来的用户名去数据库中查询对应的对象User user = this.getOne(new QueryWrapper<User>().eq("loginName", userVo.getLoginName()));//做密码判断【数据库的密码是经过加密的】//将用户传递过来的密码加密String userpwd = DigestUtils.md5DigestAsHex(userVo.getPassword().getBytes());//加密之后与数据库中的用户密码进行对比if(!userpwd.equals(user.getPassword())){//如果密码不匹配,则提示相关错误信息return JsonResponseBody.other(JsonResponseStatus.LOGIN_NO_EQUALS);}//如果登录成功,就进行属性复制UserDto userDto = new UserDto();//属性复制BeanUtils.copyProperties(user,userDto);return JsonResponseBody.success();}}
package com.wh.user.controller;import com.wh.user.service.IUserService; import com.wh.user.utils.JsonResponseBody; import com.wh.user.vo.UserVo; import dto.UserDto; import org.springframework.beans.BeanUtils; import org.springframework.beans.factory.annotation.Autowired; import org.springframework.web.bind.annotation.RequestMapping; import org.springframework.web.bind.annotation.ResponseBody; import org.springframework.web.bind.annotation.RestController;import javax.servlet.http.HttpServletRequest; import javax.servlet.http.HttpServletResponse;/*** <p>* 前端控制器* </p>** @author baomidou* @since 2024-02-21*/ @RestController public class UserController {@Autowiredprivate IUserService userService;@Autowiredprivate HttpServletRequest request;/*** 用户登陆功能实现* @return*/@RequestMapping("/userLogin")public JsonResponseBody<?> userLogin(UserVo userVo){//设置当前用户的登录信息request.getSession().setAttribute("user",userVo);//调用登录的方法JsonResponseBody<?> user = userService.userLogin(userVo);return user;} }在跳首页的controller方法中获取当前登录用户的session信息
@Autowiredprivate IProductService productService;@Autowiredprivate HttpServletRequest request;/*** 首页跳转* @param model* @return*/@RequestMapping("/index.html")public String index(Model model){//获取当前用户的登录信息UserDto user = (UserDto)request.getSession().getAttribute("user");//按照商品的销量降序排序获取销量排名Top5的商品List<Product> products = productService.list(new QueryWrapper<Product>().orderByDesc("hot").last("limit 4"));model.addAttribute("top4",products);model.addAttribute("user",user);return "Index";}4.前端显示
<div class="soubg"><div class="sou"><span class="fr"><span class="fl">你好,<#if user??>${user.loginName}<#else><a href="Login.html">请登录</a></#if> <a href="Regist.html" style="color:#ff4e00;">免费注册</a> </span><span class="fl">| 关注我们:</span><span class="s_sh"><a href="#" class="sh1">新浪</a><a href="#" class="sh2">微信</a></span><span class="fr">| <a href="#">手机版 <img src="images/s_tel.png" align="absmiddle" /></a></span></span></div> </div>
三、 集成sentinel
1.导入pom依赖
到网关中
<!-- sentinel --><dependency><groupId>com.alibaba.cloud</groupId><artifactId>spring-cloud-starter-alibaba-sentinel</artifactId></dependency>2.在application文件中进行配置
sentinel:transport:port: 9998 #跟控制台交流的端口,随意指定一个未使用的端口即可dashboard: localhost:9999 # 指定控制台服务的地址eager: true #当服务启动时是否与sentinel建立连接web-context-unify: false # 关闭URL PATH聚合
3.浏览器访问sentinel
在此之前需要启动sentinel的那个jar包
# 直接使用jar命令启动项目(控制台本身是一个SpringBoot项目)
java -Dserver.port=9999 -Dcsp.sentinel.dashboard.server=localhost:9999 -Dproject.name=sentinel-dashboard -jar sentinel-dashboard-1.8.4.jar
四、集成seata
1.下载seata
下载地址
http://Release v1.3.0 · apache/incubator-seata · GitHubRelease v1.3.0 · apache/incubator-seata · GitHub
2.修改配置文件及初始化
①seata-server-1.4.0.zip
将下载得到的seata-server-1.4.0.zip(非源码包)压缩包进行解压
配置seata-1.4.0.zip(源码包)
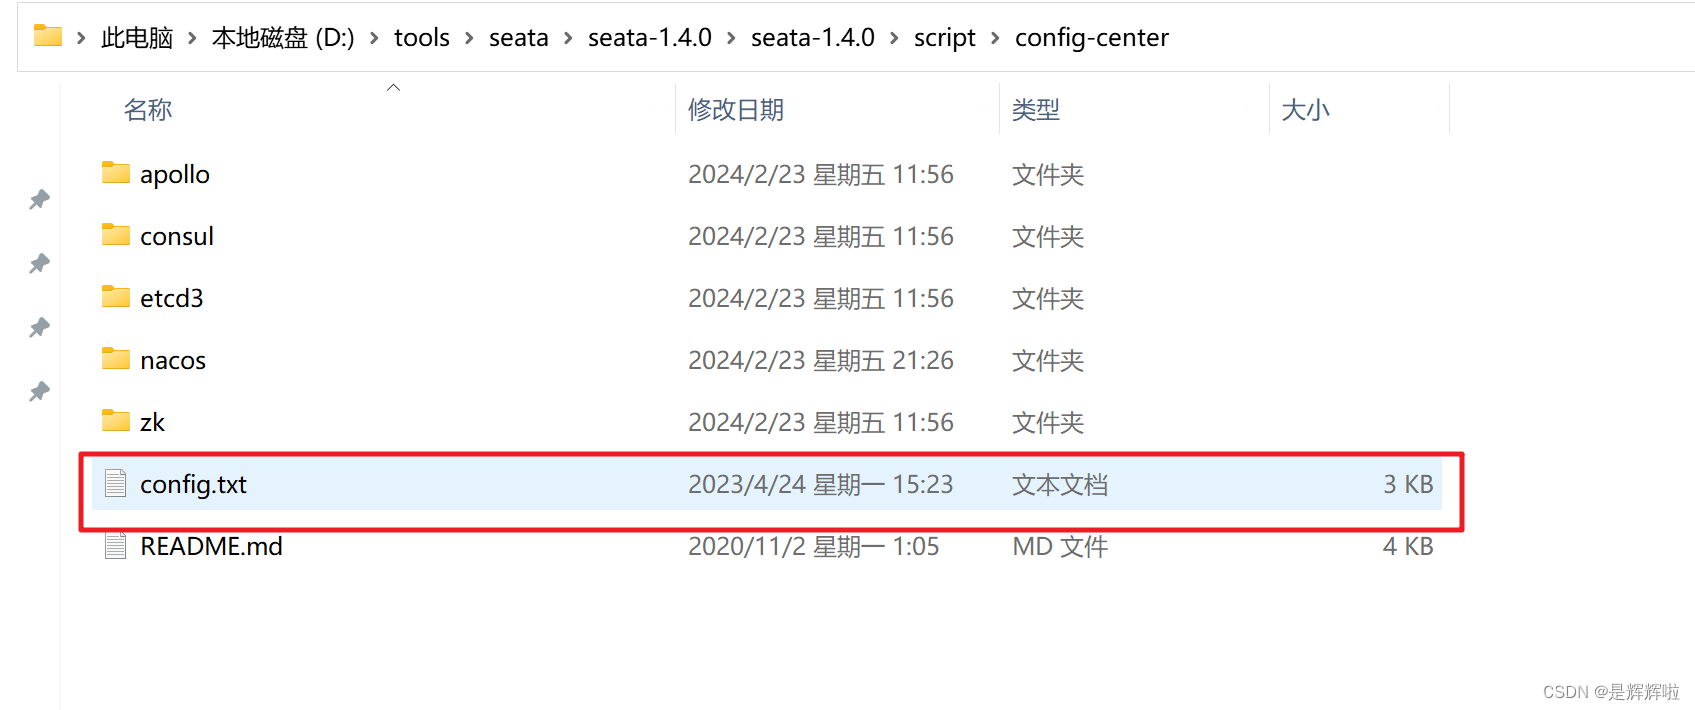
修改seata-1.4.0中script/config-center目录中的config.txt配置:
store.mode=db    #修改存储方式为db
...
store.db.url=jdbc:mysql://127.0.0.1:3306/seata?useUnicode=true   #修改数据库名
store.db.user=root      #修改数据库账号
store.db.password=1234  #修改数据库密码
- 初始化Seata配置到Nacos中
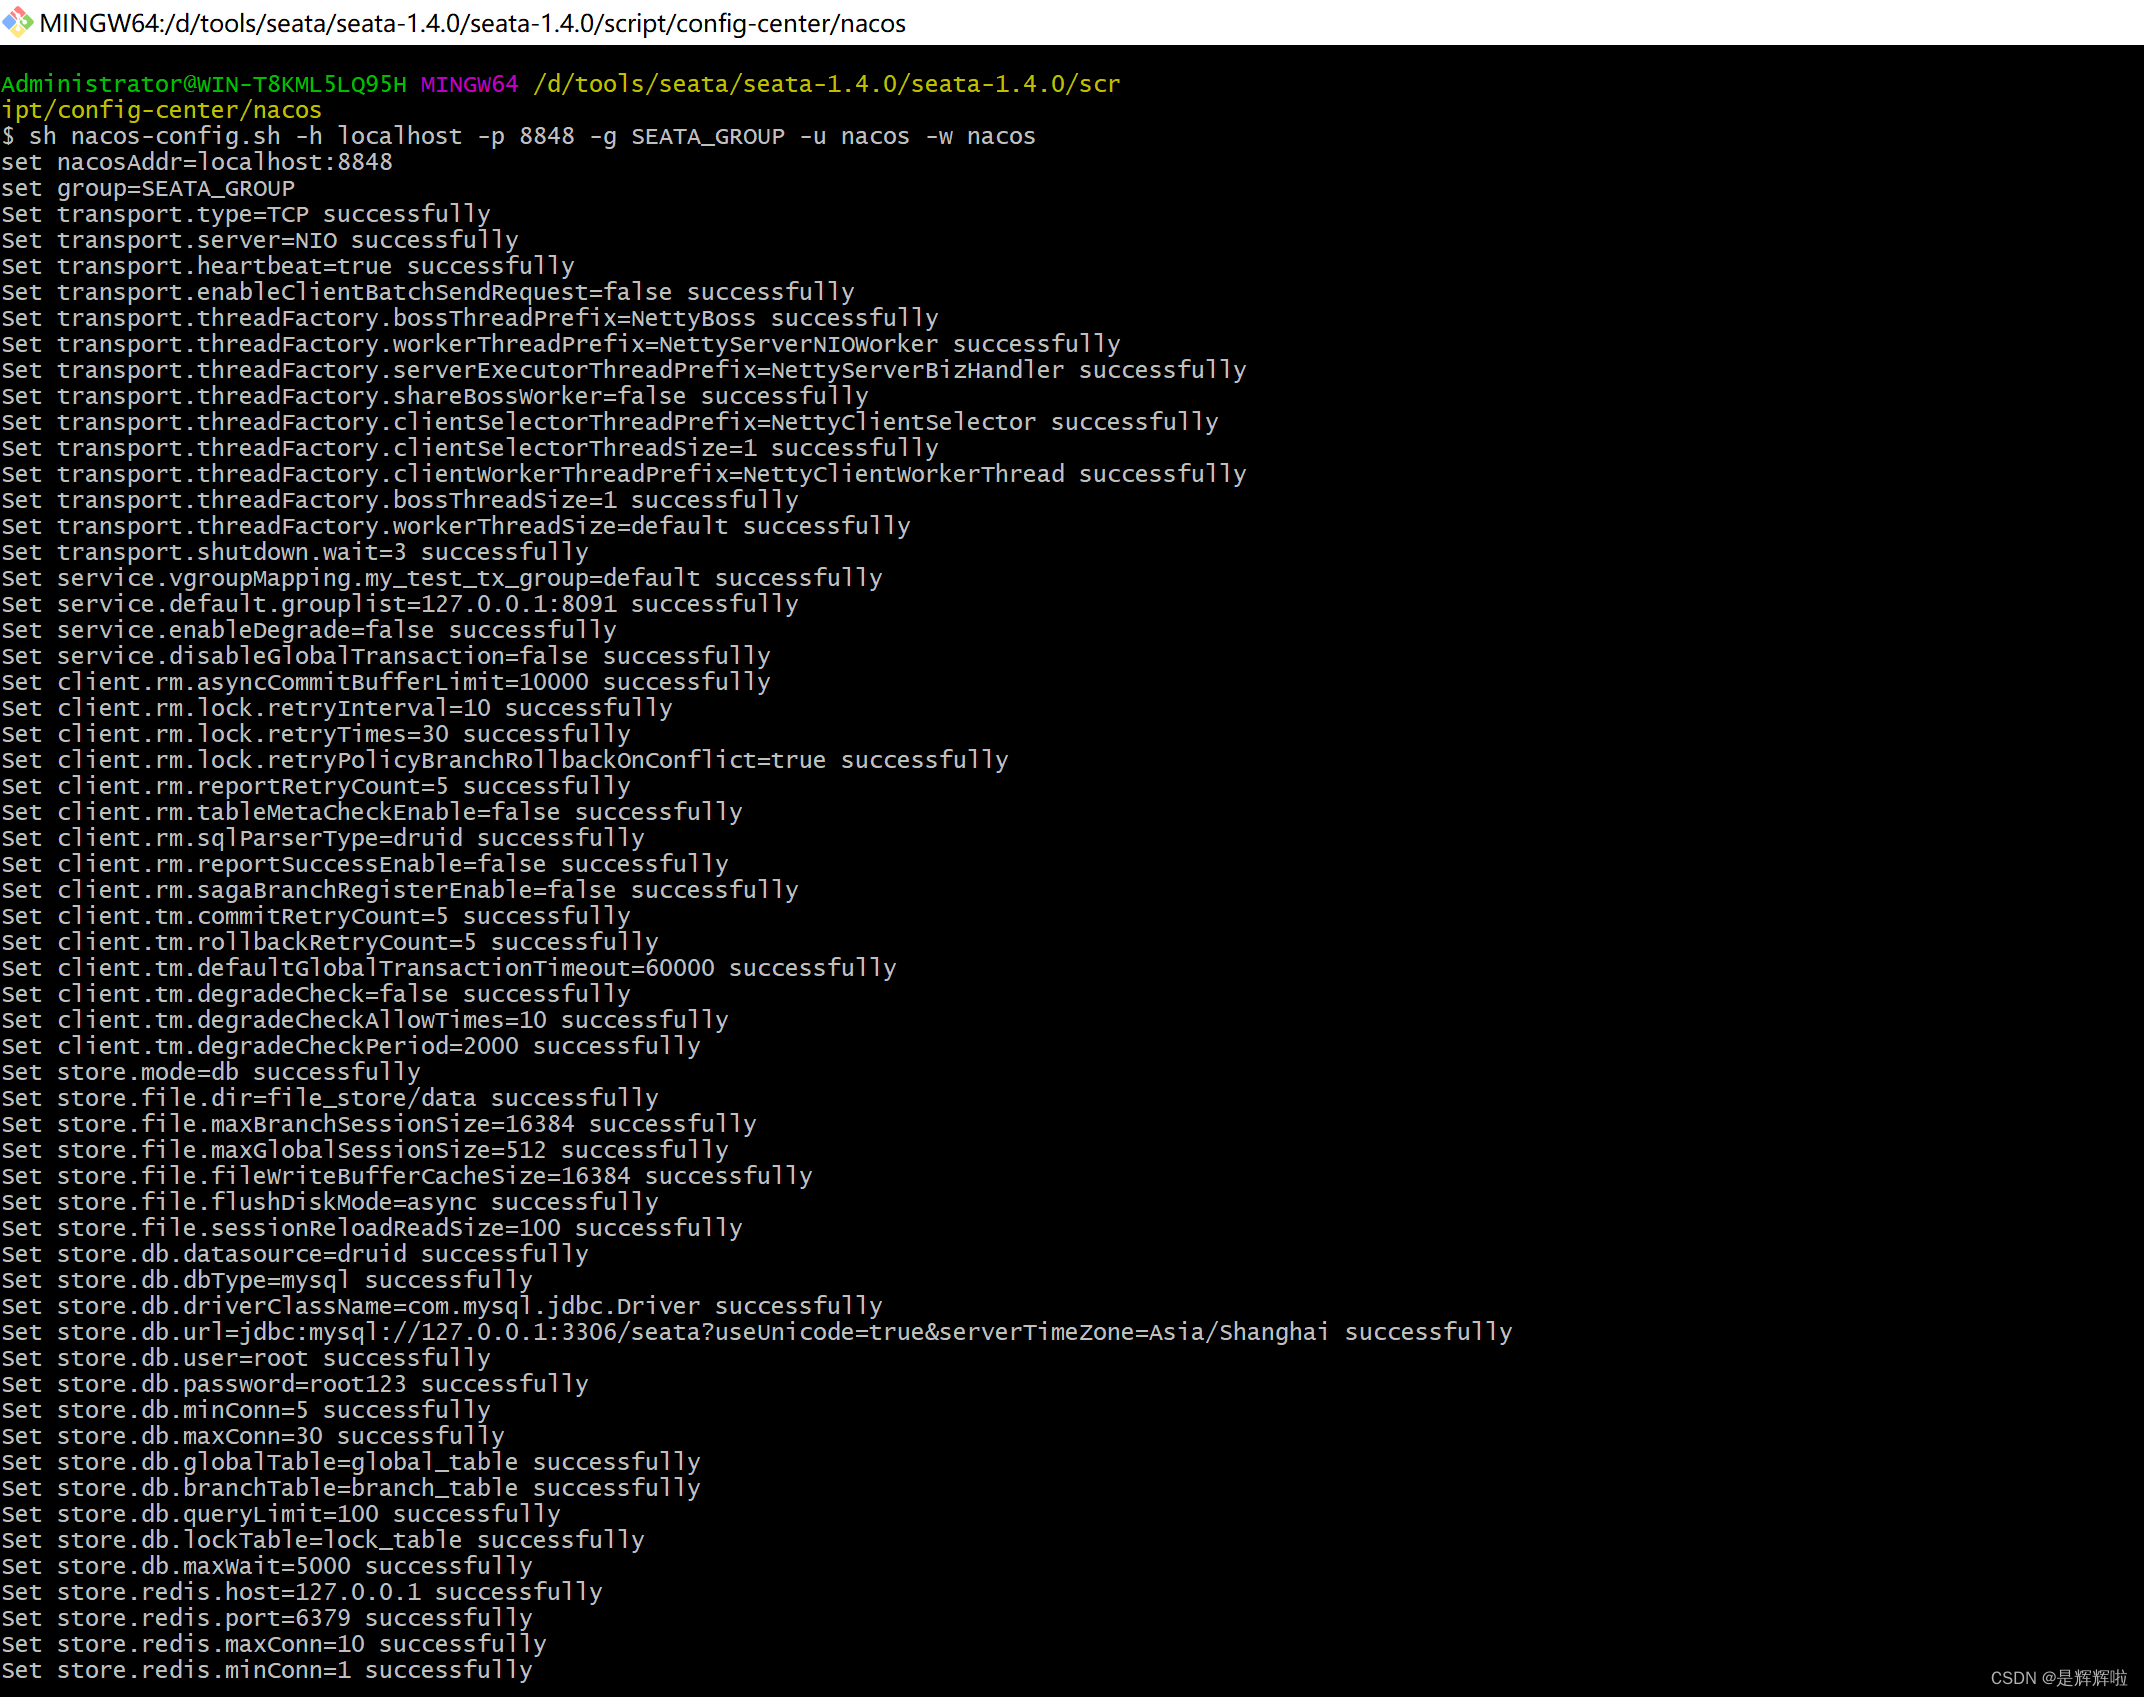
在seata-1.4.0\script\config-center\nacos目录中右键选择git bash here,运行git命令窗口。并输入以下命令:
sh nacos-config.sh -h localhost -p 8848 -g SEATA_GROUP -u nacos -w nacos
参数 说明 -h nacos注册中心IP地址,默认是localhost -p nacos注册中心端口,默认是8848 -g nacos配置中心分组,默认是SEATA_GROUP -t nacos配置中心namespace命名空间名称,默认是'',即public默认命名空间 -u nacos注册中心账号 -w nacos注册中心密码
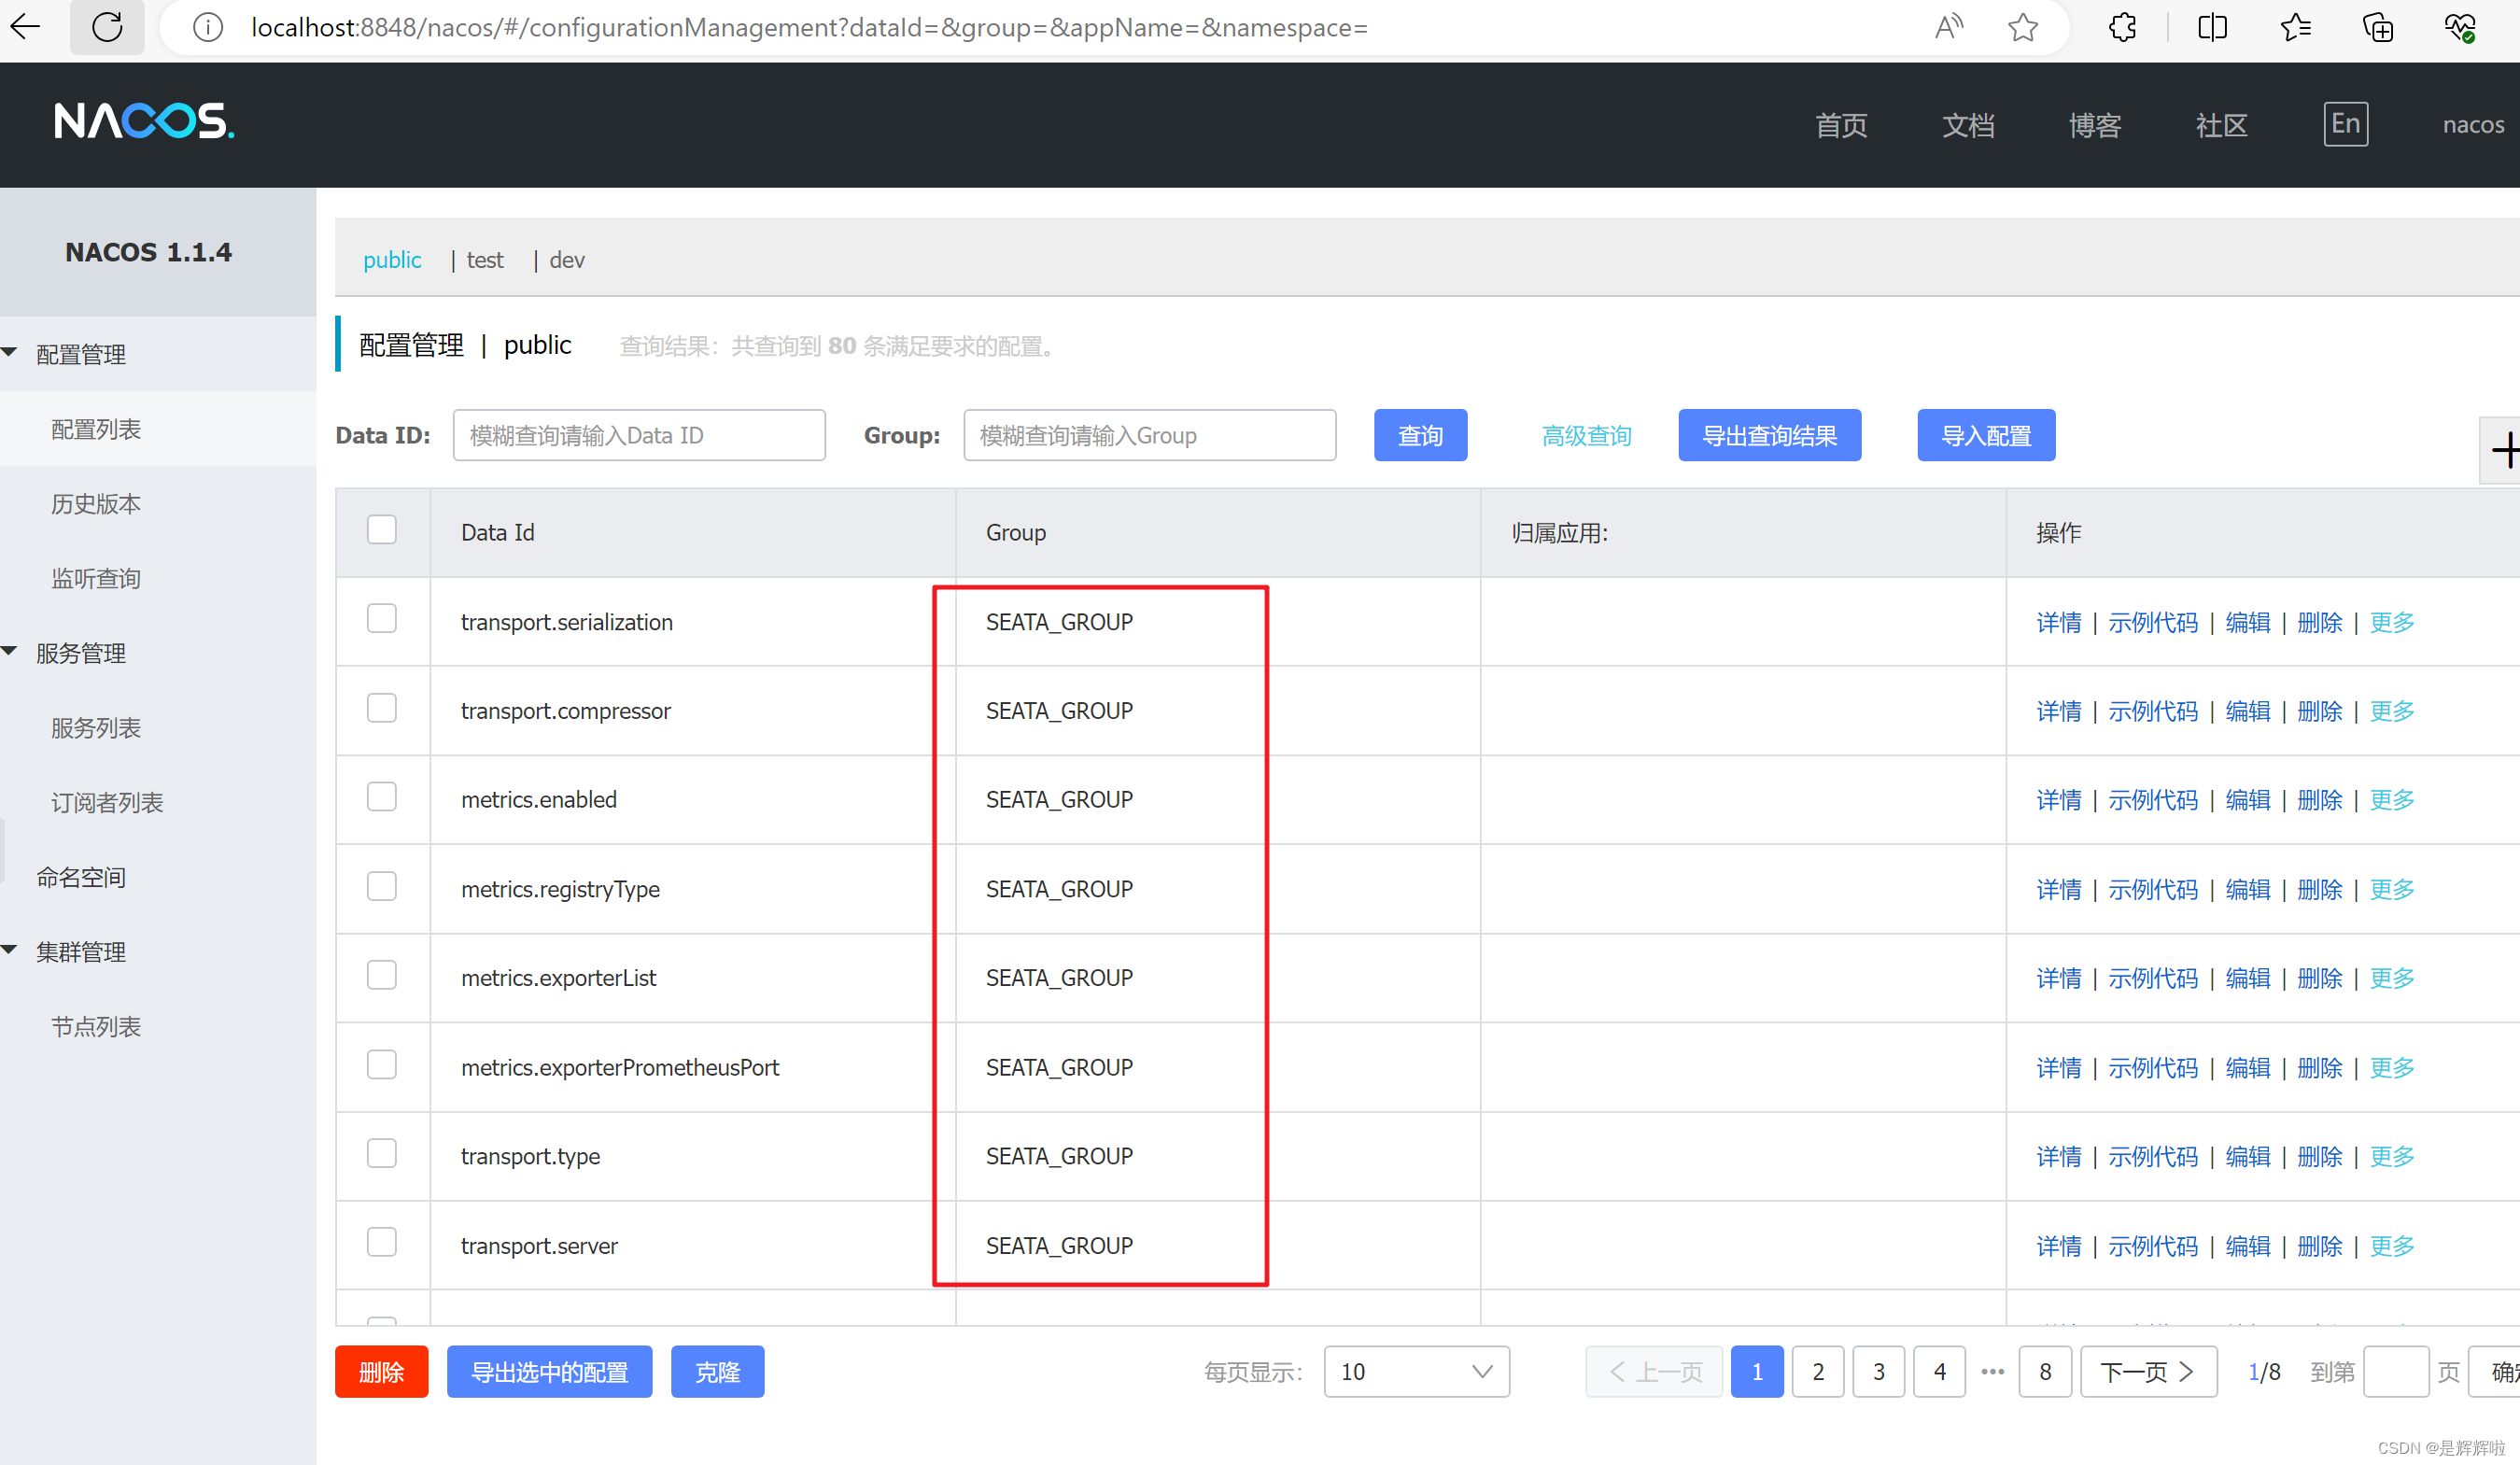
执行成功后可以打开Nacos的控制台,在配置列表中,可以看到初始化了很多Group为SEATA_GROUP 的配置。
②修改file.conf
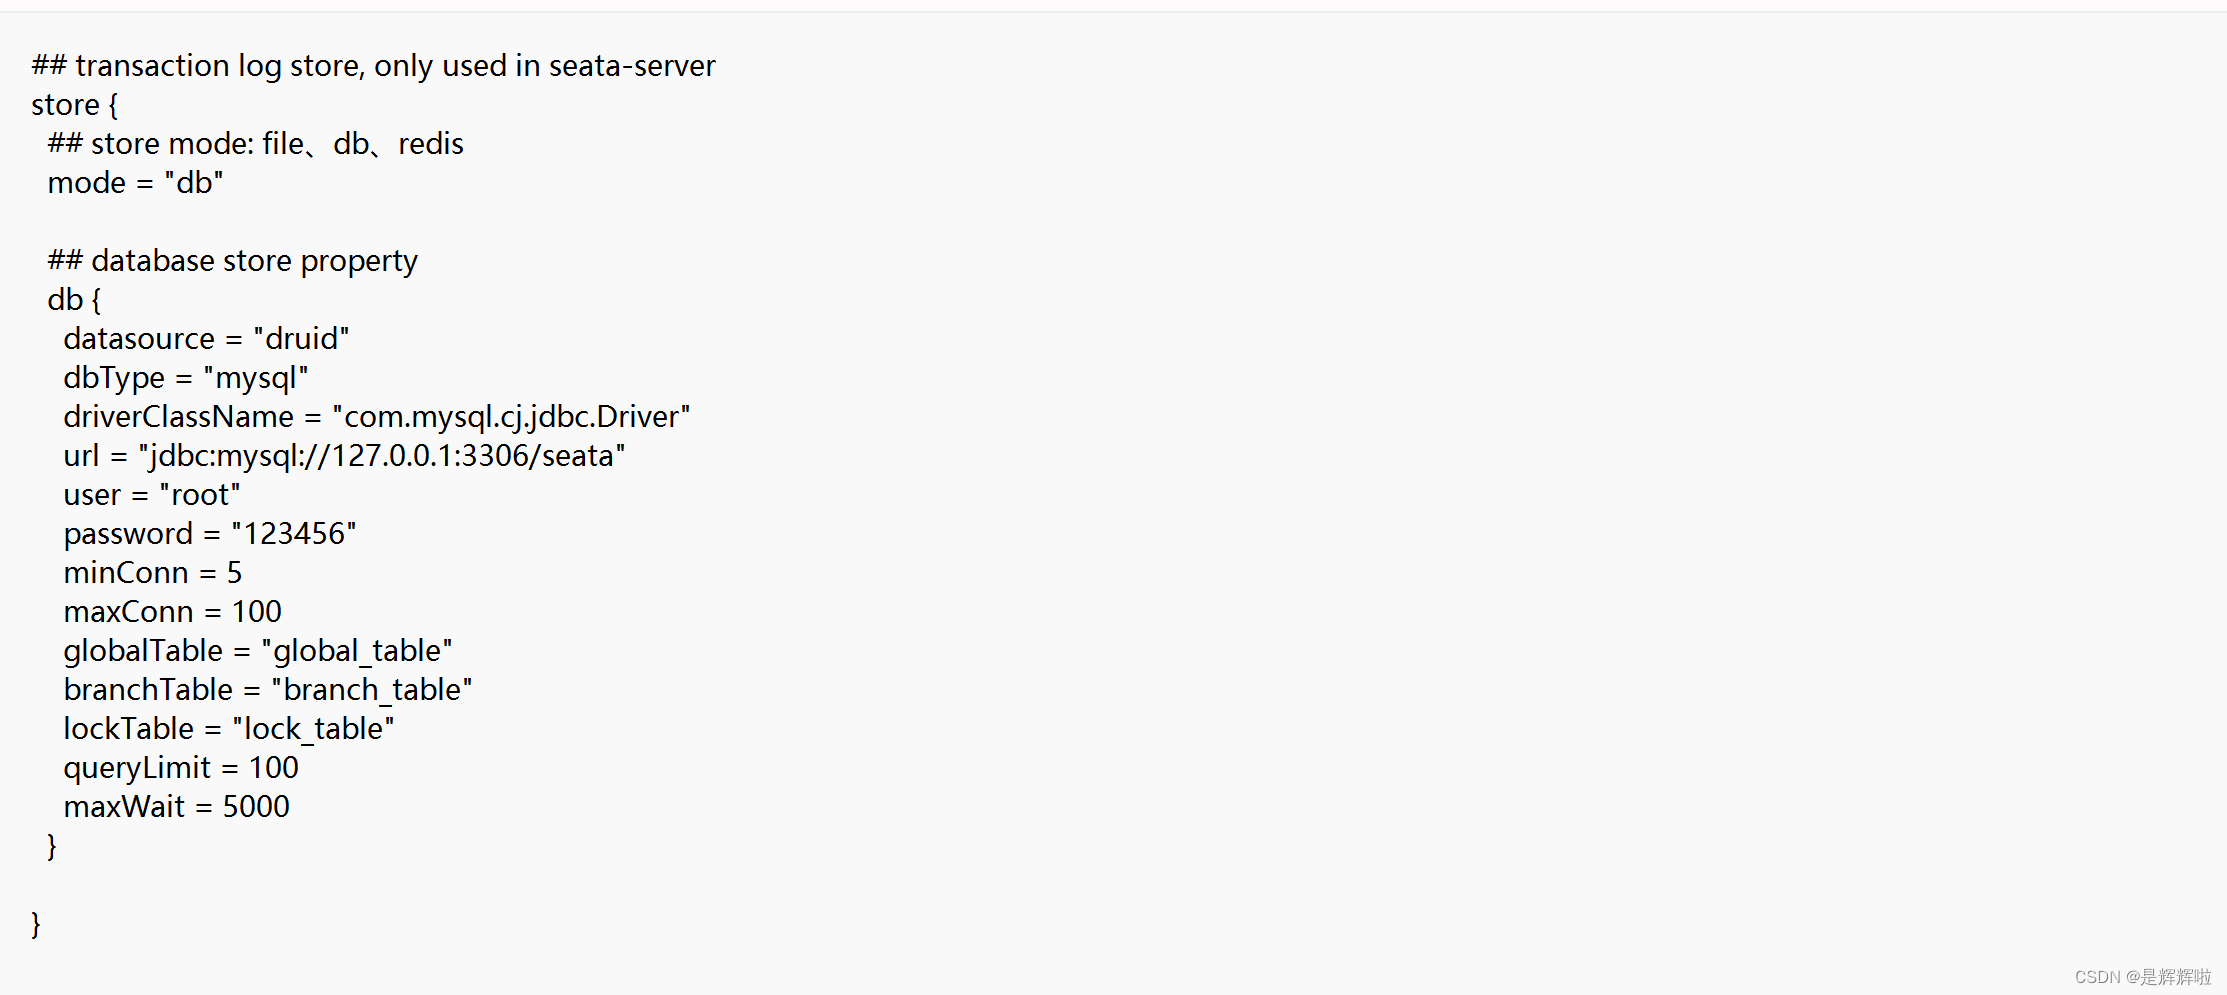
将mode=“type”修改成mode="db" 2.设置数据库名、用户账号及密码
③创建数据库Seata并初始化数据表
解压seata-1.4.0源码包,并进入到seata-1.4.0\script\server\db目录,复制运行mysql.sql脚本完成seata服务端数据库初始化工作。【记得先创建一个数据库:seata】
④修改registry.conf
registry {type = "nacos"                     #这里使用nacos为注册中心,将type修改成nacosnacos {application = "seata-server"   #注册的服务名serverAddr = "127.0.0.1:8848"  #nacos注册中心地址及端口group = "SEATA_GROUP" #服务注册分组namespace = ""        #namespace是服务注册时的命名空间,可不填,不填默认publiccluster = "default"   #默认即可username = "nacos"    #nacos的登录账号password = "nacos"    #nacos的登录密码}
}
config {type = "nacos"nacos {serverAddr = "127.0.0.1:8848"namespace = ""group = "SEATA_GROUP"username = "nacos"password = "nacos"}
}
registry:指定注册中心,将seata-server注册到指定位置 config: 指定配置中心
3.启动seata服务
直接进入seata服务的seata\bin目录下,双击运行seata-server.bat文件即可。或者使用以下命令方式运行:
cd bin
seata-server.bat -p 9000 -m file
seata-server.bat -h ip地址 -p 9000 -m file
-p 9000:指定监听端口,默认为8091
-m file: 模式
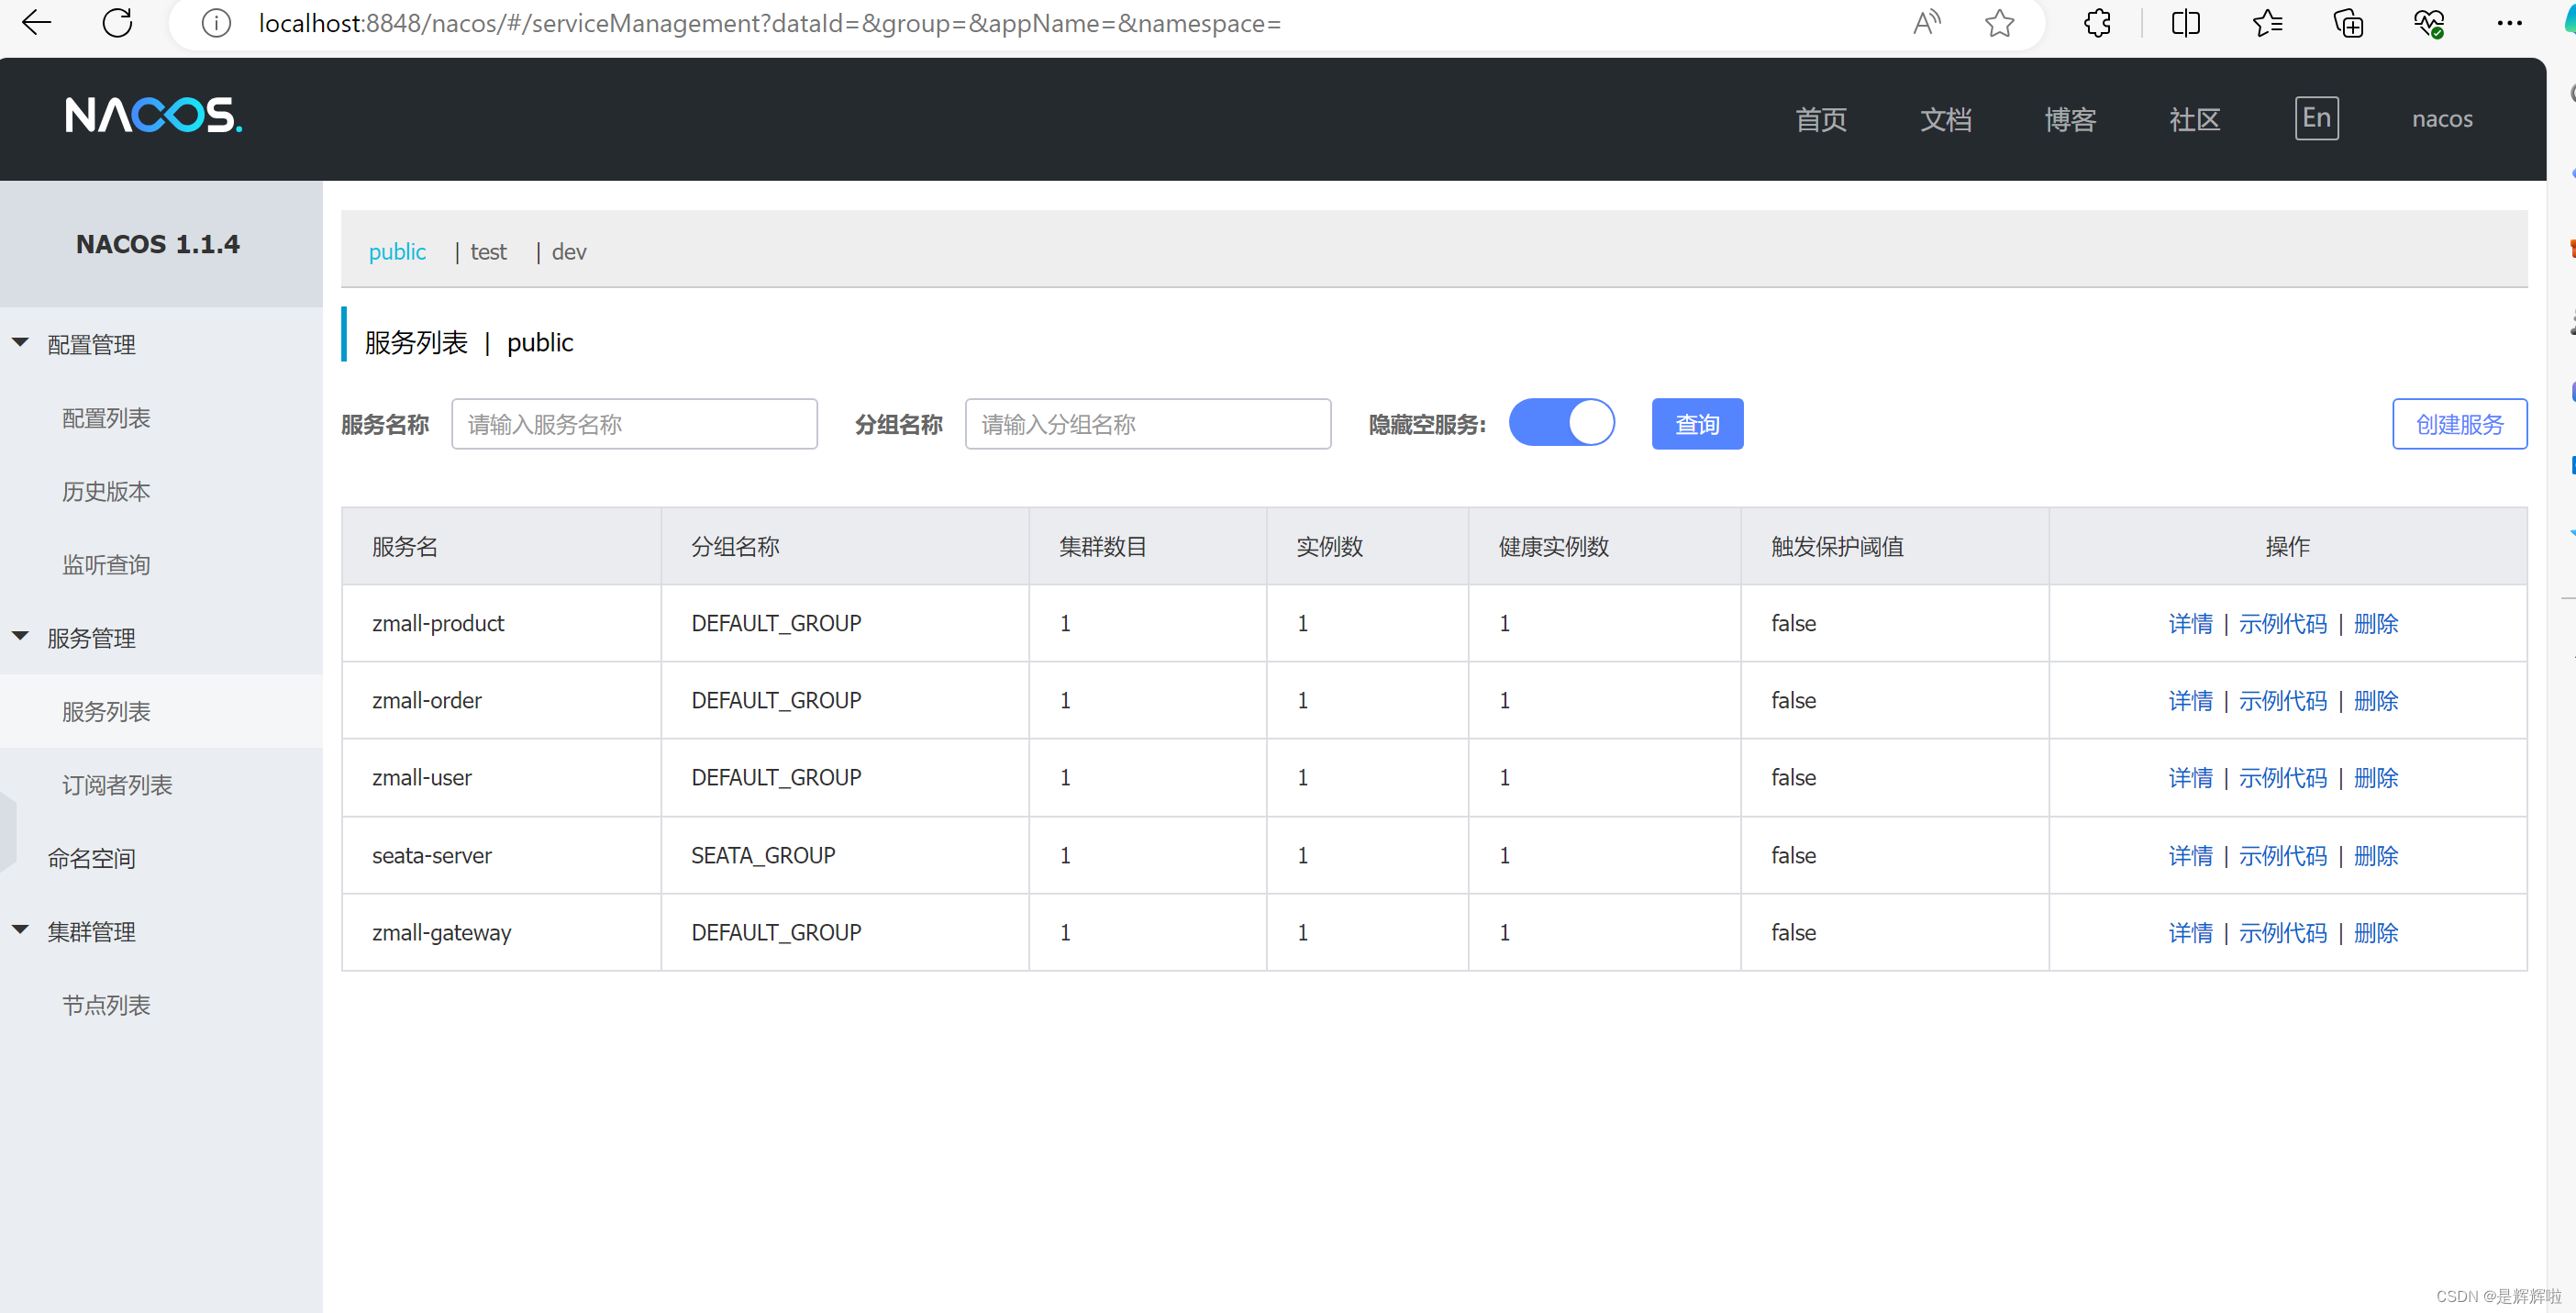
启动后在 Nacos 的服务列表下面可以看到一个seata的服务。
4.使用Seata实现事务控制
1.初始化数据表
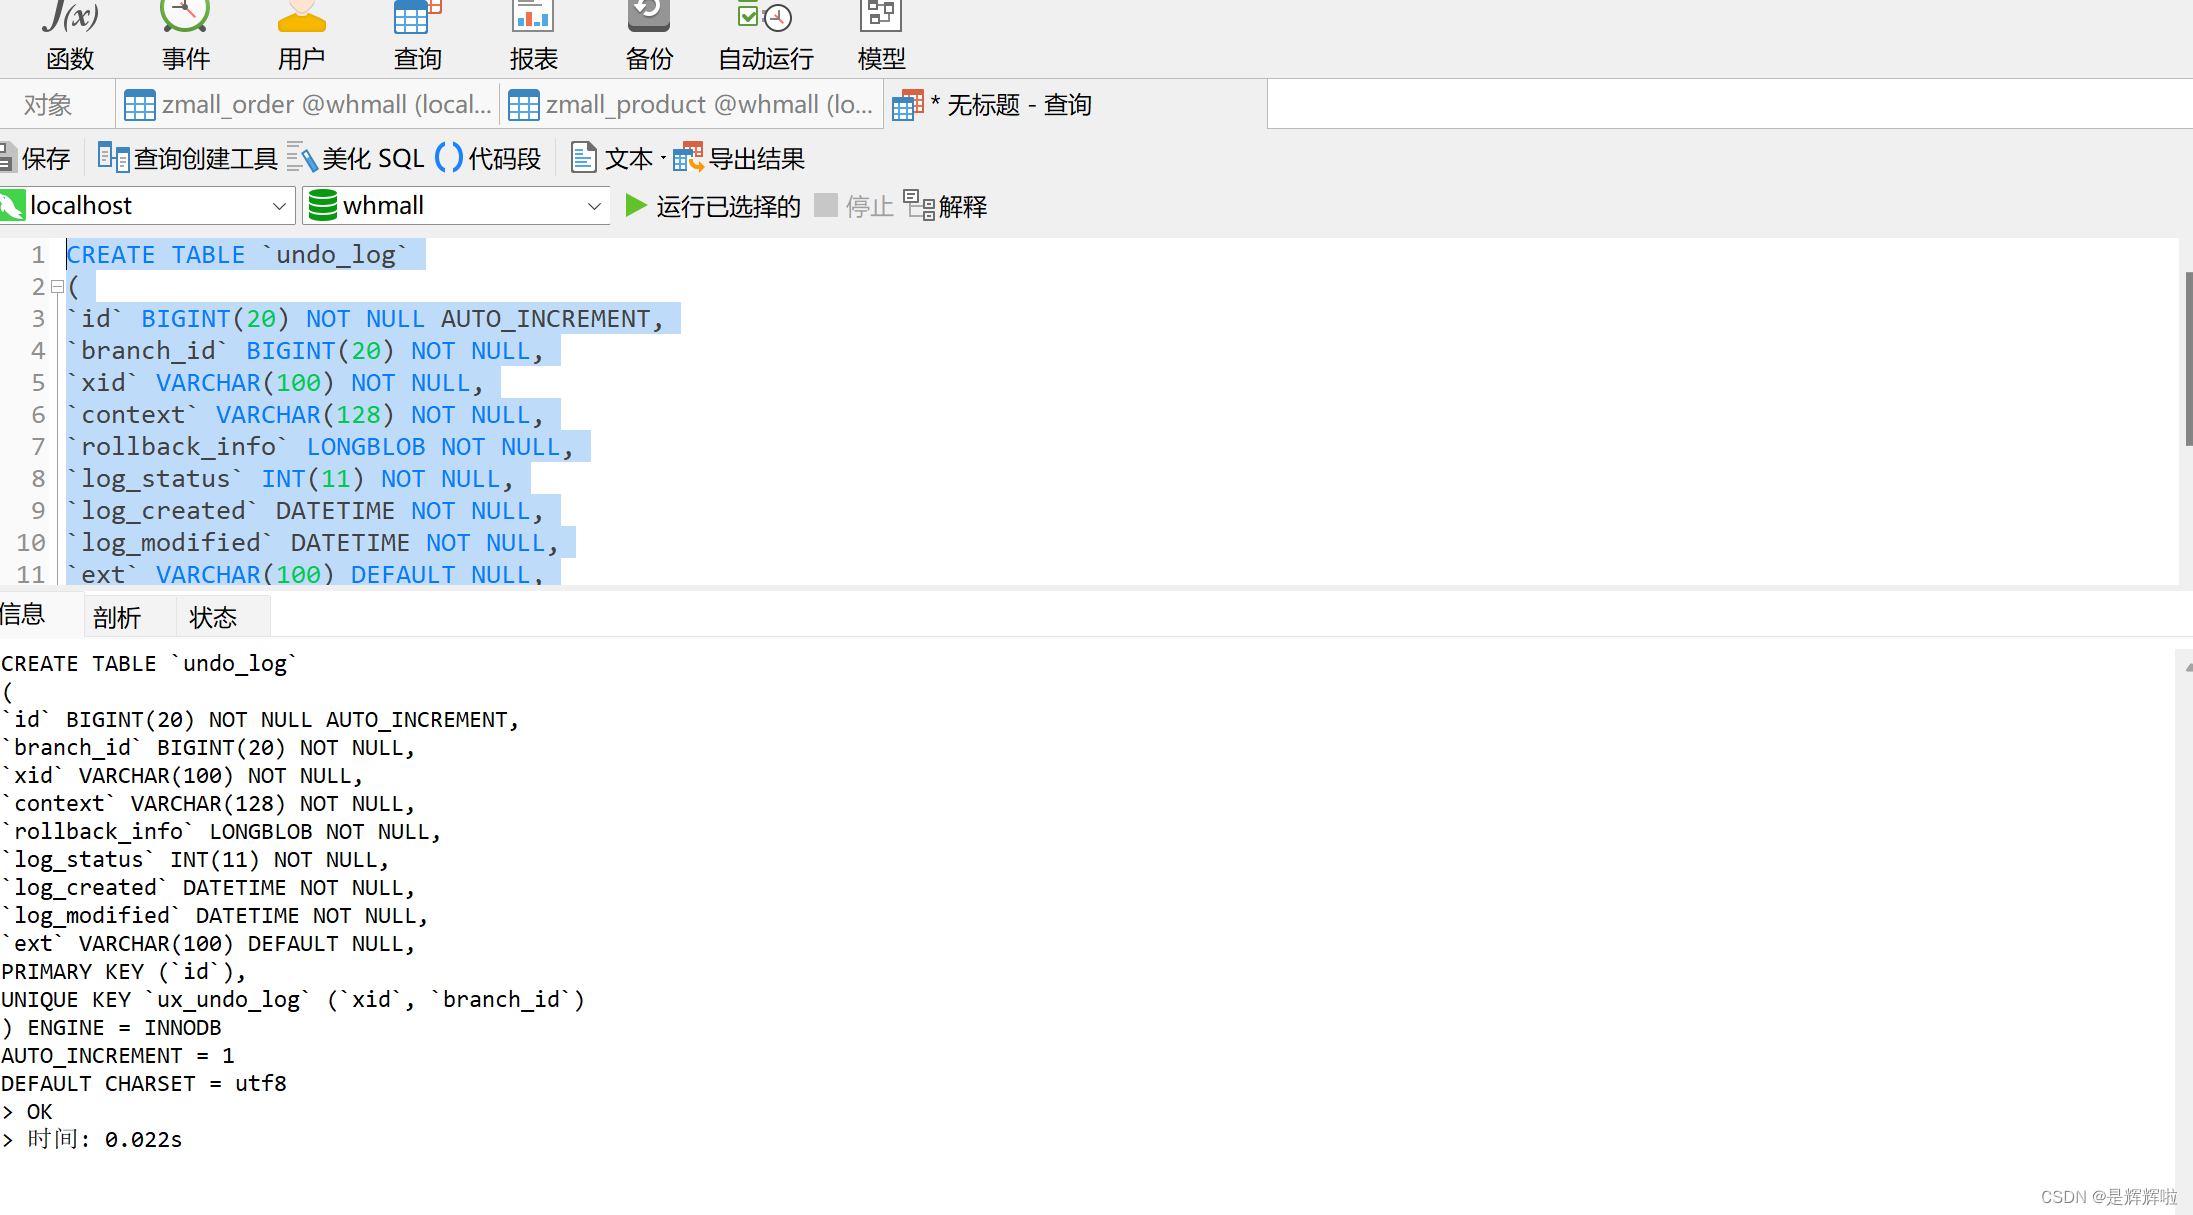
进入源码包seata-1.4.0\script\client\at\db目录,复制并运行数据库脚本完成undo_log表创建,这是Seata记录事务日志要用到的表。
CREATE TABLE `undo_log`
(
`id` BIGINT(20) NOT NULL AUTO_INCREMENT,
`branch_id` BIGINT(20) NOT NULL,
`xid` VARCHAR(100) NOT NULL,
`context` VARCHAR(128) NOT NULL,
`rollback_info` LONGBLOB NOT NULL,
`log_status` INT(11) NOT NULL,
`log_created` DATETIME NOT NULL,
`log_modified` DATETIME NOT NULL,
`ext` VARCHAR(100) DEFAULT NULL,
PRIMARY KEY (`id`),
UNIQUE KEY `ux_undo_log` (`xid`, `branch_id`)
) ENGINE = INNODB
AUTO_INCREMENT = 1
DEFAULT CHARSET = utf8;
2.添加配置
①DataSourceProxyConfig
package com.zking.zmall.config;import com.alibaba.druid.pool.DruidDataSource;
import io.seata.rm.datasource.DataSourceProxy;
import io.seata.rm.datasource.xa.DataSourceProxyXA;
import org.springframework.boot.context.properties.ConfigurationProperties;
import org.springframework.context.annotation.Bean;
import org.springframework.context.annotation.Configuration;
import org.springframework.context.annotation.Primary;import javax.sql.DataSource;@Configuration
public class DataSourceProxyConfig {@Bean@ConfigurationProperties(prefix = "spring.datasource")public DruidDataSource druidDataSource() {return new DruidDataSource();}@Primary@Bean("dataSourceProxy")public DataSource dataSource(DruidDataSource druidDataSource) {//AT模式return new DataSourceProxy(druidDataSource);//XA模式//return new DataSourceProxyXA(druidDataSource);}
}
在启动类(使用到SeaTa)上排除DataSource数据源自动配置类
@SpringBootApplication(exclude = DataSourceAutoConfiguration.class)②application.yml
在需要进行分布式事务的各个微服务中的application.yml数据源更新成阿里巴巴的DruidDataSource
#type连接池类型 DBCP,C3P0,Hikari,Druid,默认为Hikaritype: com.alibaba.druid.pool.DruidDataSource③registry.conf
在微服务模块中的resources目录下添加seata的配置文件 registry.conf,该配置文件来自于seata-server/conf目录下的配置文件。
registry {type = "nacos"nacos {serverAddr = "localhost"namespace = "public"cluster = "default"}
}
config {type = "nacos"nacos {serverAddr = "localhost"namespace = "public"cluster = "default"}
}
③bootstrap.yaml
请注意spring.cloud.alibaba.seata.tx-service-group=my_test_txgroup配置。这里的my_test_tx_group名称必须与seata源码包中的config.txt配置文件中的名字一致。重要,重要,重要!!!
请打开seata源码包目录seata-1.4.0\script\config-center\下的config.txt去进行配置。
spring:application:name: service-productcloud:nacos:config:server-addr: localhost:8848 # nacos的服务端地址namespace: publicgroup: SEATA_GROUPalibaba:seata:tx-service-group: my_test_tx_group注意:一定要加一个配置
<!--bootstrap文件的配置--><dependency><groupId>org.springframework.cloud</groupId><artifactId>spring-cloud-starter-bootstrap</artifactId></dependency>
好啦,今天的分享就到这了,希望能够帮到你呢!😊😊
这篇关于【技术分享】使用nginx完成动静分离➕集成SpringSession➕集成sentinel➕集成seata的文章就介绍到这儿,希望我们推荐的文章对编程师们有所帮助!
