本文主要是介绍旋转齿轮加载,希望对大家解决编程问题提供一定的参考价值,需要的开发者们随着小编来一起学习吧!
效果演示

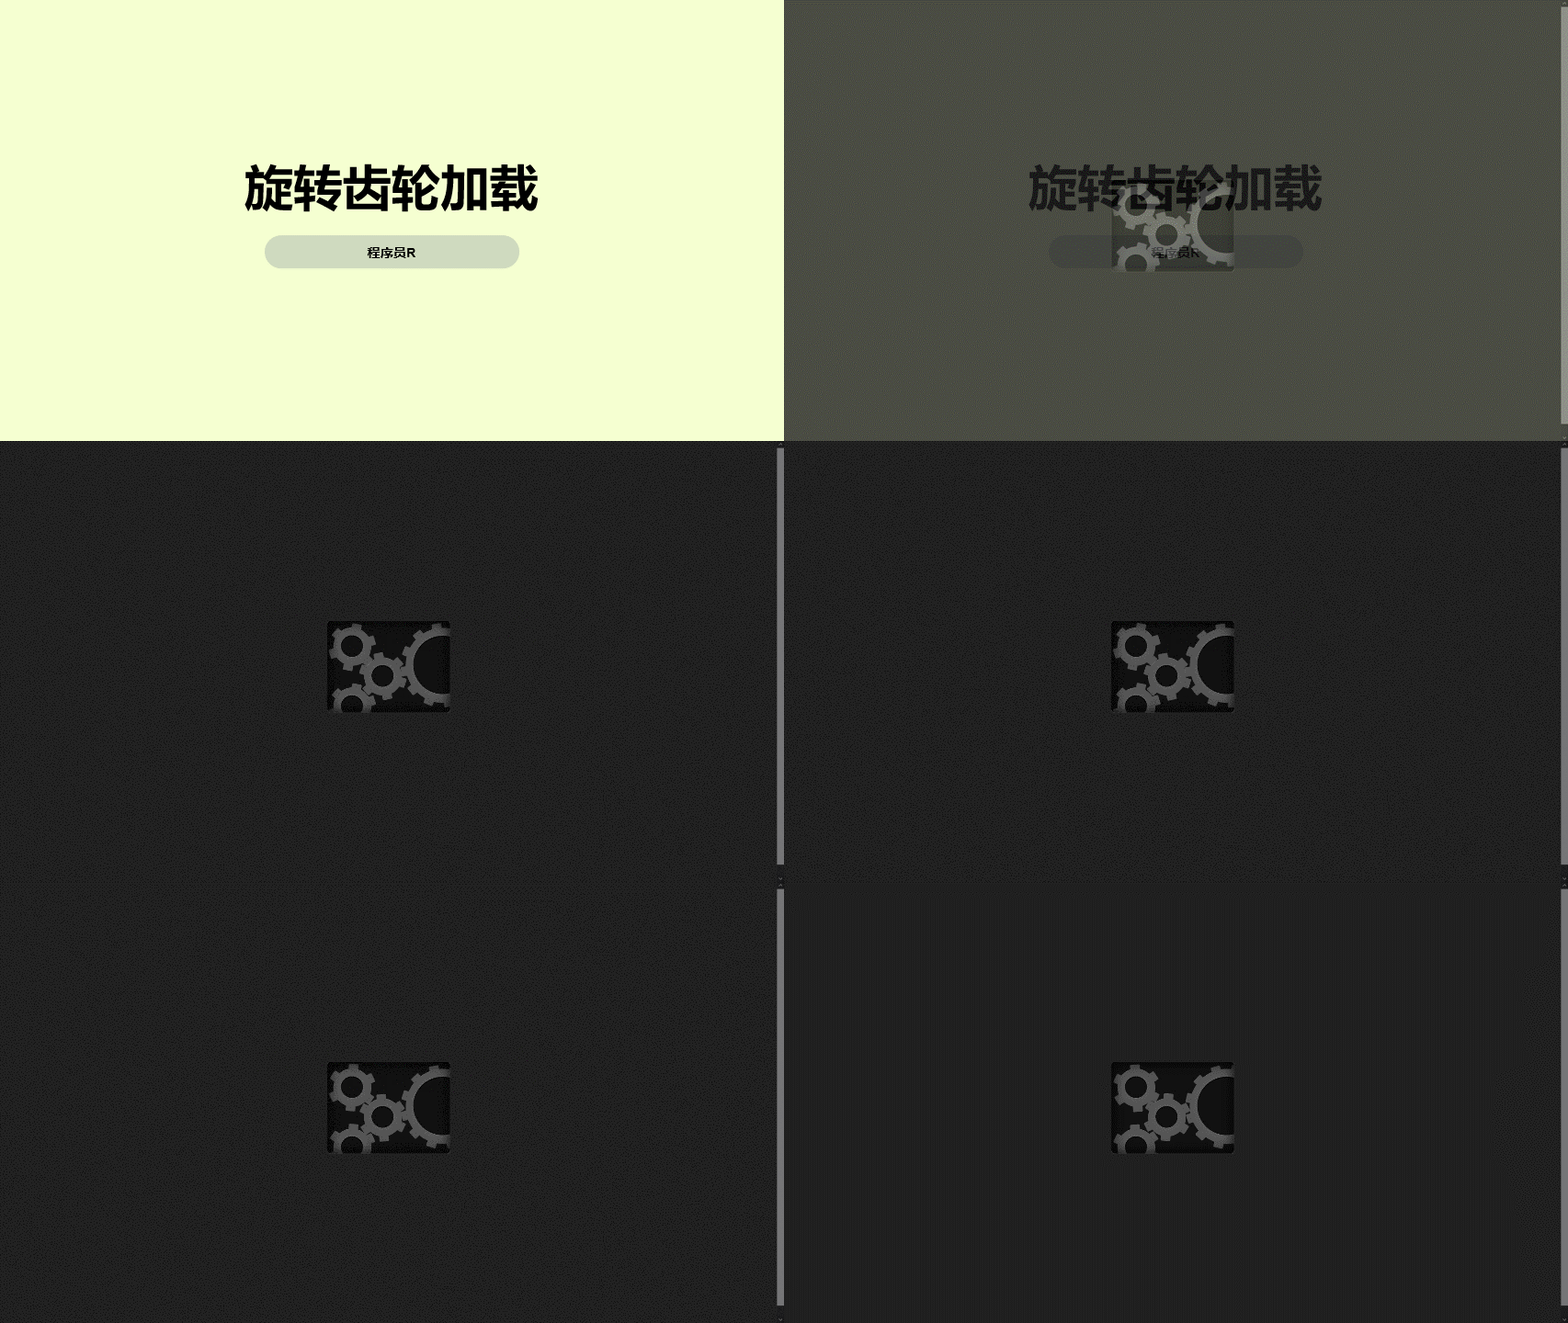
实现了一个旋转齿轮的动画效果。具体来说,页面背景为深灰色,中间有一个齿轮装置,包括四个齿轮。每个齿轮都有内部的齿轮条,整体呈现出旋转的效果。其中,齿轮2是顺时针旋转的,齿轮1、3、4是逆时针旋转的。整体效果是四个齿轮交错旋转,形成一个动态的机械装置效果。
Code
<div class="gearbox"><div class="overlay"></div><div class="gear one"><div class="gear-inner"><div class="bar"></div><div class="bar"></div><div class="bar"></div></div></div><div class="gear two"><div class="gear-inner"><div class="bar"></div><div class="bar"></div><div class="bar"></div></div></div><div class="gear three"><div class="gear-inner"><div class="bar"></div><div class="bar"></div><div class="bar"></div></div></div><div class="gear four large"><div class="gear-inner"><div class="bar"></div><div class="bar"></div><div class="bar"></div><div class="bar"></div><div class="bar"></div><div class="bar"></div></div></div>
</div>
body {height: 100vh; /* 设置body元素的高度为视口高度 */display: flex; /* 使用flex布局 */justify-content: center; /* 水平居中 */align-items: center; /* 垂直居中 */background-color: #212121; /* 设置背景颜色为深灰色 */
}@keyframes clockwise {0% {transform: rotate(0deg); /* 旋转角度从0度开始 */}100% {transform: rotate(360deg); /* 旋转角度到360度结束 */}
}@keyframes counter-clockwise {0% {transform: rotate(0deg); /* 逆时针旋转角度从0度开始 */}100% {transform: rotate(-360deg); /* 逆时针旋转角度到-360度结束 */}
}.gearbox {background: #111; /* 设置齿轮箱的背景颜色为深灰色 */height: 150px; /* 设置齿轮箱的高度 */width: 200px; /* 设置齿轮箱的宽度 */position: relative; /* 相对定位 */border: none; /* 去除边框 */overflow: hidden; /* 内容溢出隐藏 */border-radius: 6px; /* 设置圆角 */box-shadow: 0px 0px 0px 1px rgba(255, 255, 255, 0.1); /* 设置阴影效果 */
}.gearbox .overlay {border-radius: 6px; /* 设置覆盖层的圆角 */content: ""; /* 伪元素内容为空 */position: absolute; /* 绝对定位 */top: 0; /* 顶部对齐 */left: 0; /* 左侧对齐 */width: 100%; /* 宽度100% */height: 100%; /* 高度100% */z-index: 10; /* 设置层级 */box-shadow: inset 0px 0px 20px black; /* 设置内阴影效果 */transition: background 0.2s; /* 背景颜色过渡效果 */
}.gearbox .overlay {background: transparent; /* 设置覆盖层背景为透明 */
}.gear {position: absolute; /* 绝对定位 */height: 60px; /* 设置齿轮的高度 */width: 60px; /* 设置齿轮的宽度 */box-shadow: 0px -1px 0px 0px #888888, 0px 1px 0px 0px black; /* 设置齿轮的阴影效果 */border-radius: 30px; /* 设置齿轮的圆角 */
}.gear.large {height: 120px; /* 设置大齿轮的高度 */width: 120px; /* 设置大齿轮的宽度 */border-radius: 60px; /* 设置大齿轮的圆角 */
}.gear.large:after {height: 96px; /* 设置大齿轮内部圆的高度 */width: 96px; /* 设置大齿轮内部圆的宽度 */border-radius: 48px; /* 设置大齿轮内部圆的圆角 */margin-left: -48px; /* 左偏移 */margin-top: -48px; /* 上偏移 */
}.gear.one {top: 12px; /* 位置调整 */left: 10px; /* 位置调整 */
}.gear.two {top: 61px; /* 位置调整 */left: 60px; /* 位置调整 */
}.gear.three {top: 110px; /* 位置调整 */left: 10px; /* 位置调整 */
}.gear.four {top: 13px; /* 位置调整 */left: 128px; /* 位置调整 */
}.gear:after {content: ""; /* 伪元素内容为空 */position: absolute; /* 绝对定位 */height: 36px; /* 设置齿轮内部圆的高度 */width: 36px; /* 设置齿轮内部圆的宽度 */border-radius: 36px; /* 设置齿轮内部圆的圆角 */background: #111; /* 设置齿轮内部圆的背景颜色 */top: 50%; /* 垂直居中 */left: 50%; /* 水平居中 */margin-left: -18px; /* 左偏移 */margin-top: -18px; /* 上偏移 */z-index: 3; /* 设置层级 */box-shadow: 0px 0px 10px rgba(255, 255, 255, 0.1), inset 0px 0px 10px rgba(0, 0, 0, 0.1), inset 0px 2px 0px 0px #090909, inset 0px -1px 0px 0px #888888; /* 设置阴影效果 */
}.gear-inner {position: relative; /* 相对定位 */height: 100%; /* 设置齿轮内部的高度 */width: 100%; /* 设置齿轮内部的宽度 */background: #555; /* 设置齿轮内部的背景颜色 */border-radius: 30px; /* 设置齿轮内部的圆角 */border: 1px solid rgba(255, 255, 255, 0.1); /* 设置边框 */
}.large .gear-inner {border-radius: 60px; /* 设置大齿轮内部的圆角 */
}.gear.one .gear-inner {animation: counter-clockwise 3s infinite linear; /* 设置逆时针旋转动画 */
}.gear.two .gear-inner {animation: clockwise 3s infinite linear; /* 设置顺时针旋转动画 */
}.gear.three .gear-inner {animation: counter-clockwise 3s infinite linear; /* 设置逆时针旋转动画 */
}.gear.four .gear-inner {animation: counter-clockwise 6s infinite linear; /* 设置逆时针旋转动画 */
}.gear-inner .bar {background: #555; /* 设置齿轮内部条的背景颜色 */height: 16px; /* 设置齿轮内部条的高度 */width: 76px; /* 设置齿轮内部条的宽度 */position: absolute; /* 绝对定位 */left: 50%; /* 水平居中 */margin-left: -38px; /* 左偏移 */top: 50%; /* 垂直居中 */margin-top: -8px; /* 上偏移 */border-radius: 2px; /* 设置齿轮内部条的圆角 */border-left: 1px solid rgba(255, 255, 255, 0.1); /* 设置左边框 */border-right: 1px solid rgba(255, 255, 255, 0.1); /* 设置右边框 */
}.large .gear-inner .bar {margin-left: -68px; /* 左偏移 */width: 136px; /* 设置大齿轮内部条的宽度 */
}.gear-inner .bar:nth-child(2) {transform: rotate(60deg); /* 旋转角度为60度 */
}.gear-inner .bar:nth-child(3) {transform: rotate(120deg); /* 旋转角度为120度 */
}.gear-inner .bar:nth-child(4) {transform: rotate(90deg); /* 旋转角度为90度 */
}.gear-inner .bar:nth-child(5) {transform: rotate(30deg); /* 旋转角度为30度 */
}.gear-inner .bar:nth-child(6) {transform: rotate(150deg); /* 旋转角度为150度 */
}
这篇关于旋转齿轮加载的文章就介绍到这儿,希望我们推荐的文章对编程师们有所帮助!


