本文主要是介绍封装通用mixins,在vue中实现a-table组件的可伸缩列(详细且使用便捷),希望对大家解决编程问题提供一定的参考价值,需要的开发者们随着小编来一起学习吧!
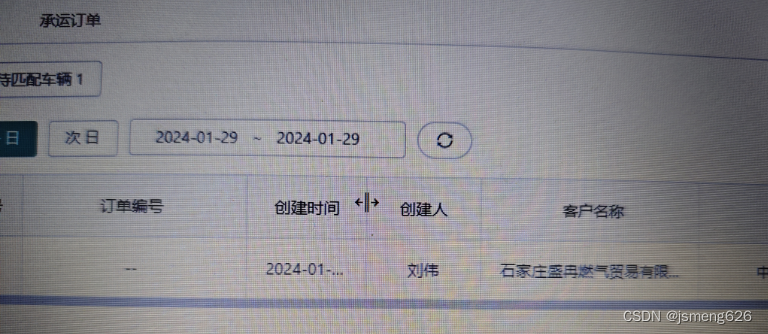
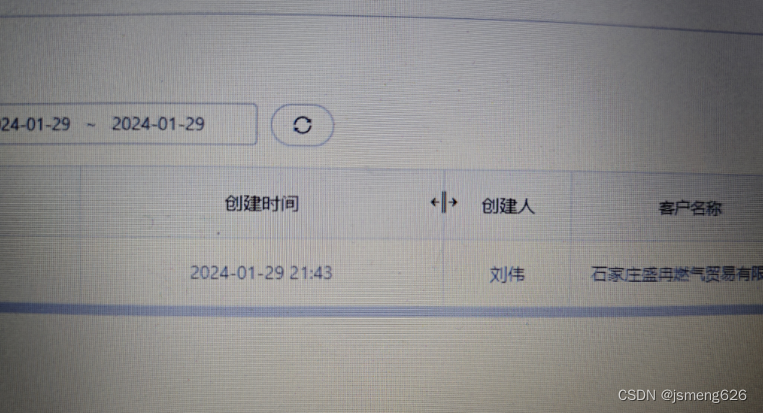
1、实现效果


2、使用场景
- vue2 + antd-vue 1.x版本
- 由于antd-vue 1.x版本的组件库没有提供可伸缩列的功能,才需要我们手动开发
- 在antd-vue 3.x版本以上的表格已经支持这个功能,不需要我们再去手动开发
3、话不多说,上代码
首先安装vue-draggable-resizable,版本2.1.0可以使用,其他版本未尝试
yarn add vue-draggable-resizable@2.1.0
or
npm i vue-draggable-resizable@2.1.0
src/mixins目录下建一个DraggableResizable.js
import Vue from 'vue'
import VueDraggableResizable from 'vue-draggable-resizable'
Vue.component('vue-draggable-resizable', VueDraggableResizable)export default {created() {this.componentsColumns = {header: {cell: (h, props, children) => {const { key, ...restProps } = propsconst col = this.columns.find((col) => {const k = col.dataIndex || col.keyreturn k === key})if (!col || !col.width) {return h('th', { ...restProps }, [...children])}const dragProps = {key: col.dataIndex || col.key,class: 'table-draggable-handle',attrs: {w: 10,x: col.width,z: 1,axis: 'x',draggable: true,resizable: false,},on: {dragging: (x, y) => {col.width = Math.max(x, 1)},},}const drag = h('vue-draggable-resizable', { ...dragProps })return h('th', { ...restProps, class: 'resize-table-th' }, [...children, drag])},},}},computed: {// 动态获取scrollX,防止数组固定列的大小变化scrollX() {return this.columns.reduce((preVal, curVal) => {// console.log(preVal + curVal.width);return preVal + curVal.width}, 0)}}
}
页面中使用
import DraggableResizable from '@/mixins/DraggableResizable'
export default {mixins: [DraggableResizable],
}
绑定到a-table组件上,组件上新增:components="componentsColumns"和:scroll="{ x: scrollX }"
<a-table:loading="loading"bordered@change="handleTableChange":row-key="(record, index) => index":columns="columns":data-source="list":pagination="pagination":row-class-name="isRedRow"filtered:components="componentsColumns":scroll="{ x: scrollX }"
></a-table>
调整列配置项集合columns
-
由于我封装的mixins中对当前页面中的columns做的操作,所以你表格中columns属性绑定的数据也应该叫做columns
-
width和dataIndex为必传项,如果你的width是字符串'100px',请改为数字类型100,因为涉及到某些计算
-
当然如果某一列不想伸缩,可以不传dataIndex,但是width是必传哦,例如如下代码中的序号列
data() {return {columns: [{title: '序号',width: 65,customRender: (text, record, index, column) => {return index + 1},align: 'center',},{title: '订单编号',dataIndex: 'orderNumber',align: 'center',ellipsis: true,width: 200,},{title: '创建时间',dataIndex: 'createTime',customRender: (text) => (text ? text : '--'),align: 'center',ellipsis: true,width: 200,},{title: '创建人',dataIndex: 'createByName',customRender: (text) => (text ? text : '--'),align: 'center',ellipsis: true,width: 100},{title: '客户名称',dataIndex: 'clientName',customRender: (text) => (text ? text : '--'),align: 'center',ellipsis: true,width: 200,}] }
}
最后是当前页面的css,如果是less或者scss记得带上/deep/或者::v-deep
/deep/.table-draggable-handle {/* width: 10px !important; */height: 100% !important;left: auto !important;right: -5px;cursor: col-resize;touch-action: none;border: none;position: absolute;transform: none !important;bottom: 0;
}
/deep/.resize-table-th {position: relative;
}
4、页面使用完整代码
<template><div><a-tablebordered@change="handleTableChange":columns="columns":data-source="list":pagination="pagination"filtered:components="componentsColumns":scroll="{ x: scrollX }"></a-table></div>
</template><script>
import DraggableResizable from '@/mixins/DraggableResizable'
export default {mixins: [DraggableResizable],data() {return {pagination: {current: 1,pageSize: 100,pageSizeOptions: ['10', '20', '50', '100', '200'],showQuickJumper: false,showSizeChanger: true,total: 0,},list: [],columns: [{title: '序号',width: 65,customRender: (text, record, index, column) => {return index + 1},align: 'center',},{title: '订单编号',dataIndex: 'orderNumber',customRender: (text, record) => (text ? (text + (record.divideOrderNumber || '')) : '--'),align: 'center',ellipsis: true,width: 200,},{title: '创建时间',dataIndex: 'createTime',customRender: (text) => (text ? text : '--'),align: 'center',ellipsis: true,width: 200,},{title: '创建人',dataIndex: 'createByName',customRender: (text) => (text ? text : '--'),align: 'center',ellipsis: true,width: 100},{title: '客户名称',dataIndex: 'clientName',customRender: (text) => (text ? text : '--'),align: 'center',ellipsis: true,width: 200,},{title: '操作',dataIndex: 'action',scopedSlots: {customRender: 'action'},align: 'center',width: 120,fixed: 'right'},],}},
}
</script>
<style lang="less" scoped>
/deep/.table-draggable-handle {/* width: 10px !important; */height: 100% !important;left: auto !important;right: -5px;cursor: col-resize;touch-action: none;border: none;position: absolute;transform: none !important;bottom: 0;
}
/deep/.resize-table-th {position: relative;
}
</style>
如果解决了你的问题点个赞吧^_^
这篇关于封装通用mixins,在vue中实现a-table组件的可伸缩列(详细且使用便捷)的文章就介绍到这儿,希望我们推荐的文章对编程师们有所帮助!


