本文主要是介绍springboot 整合 Activiti6,希望对大家解决编程问题提供一定的参考价值,需要的开发者们随着小编来一起学习吧!
1.添加maven依赖
<dependency><groupId>org.activiti</groupId><artifactId>activiti-spring-boot-starter-basic</artifactId><version>6.0.0</version>
</dependency>
2.添加配置
spring:activiti:check-process-definitions: falsedatabase-schema-update: true#流程定义文件存放目录process-definition-location-prefix: "classpath:/processes/"history-level: full
3.修改数据库连接,在后面添加nullCatalogMeansCurrent=true的配置,否则不能自动建表
spring:datasource:hikari:driver-class-name: com.mysql.cj.jdbc.Driver#数据库名称以数字结尾,则必须用引号把值包起来,否则会报错jdbc-url: 'jdbc:mysql://localhost:3306/vwl?autoReconnect=true&nullCatalogMeansCurrent=true'username: 'root'password: 'root'
4.排除security依赖
因为activiti自带了spring-security依赖,而我自己的项目使用的是自定义的权限管理,所以需要排除该依赖

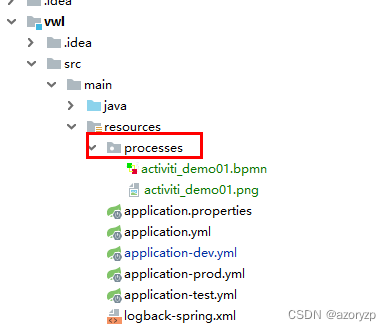
5.在resource目录下新建process目录
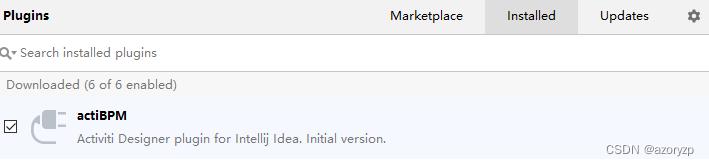
6.在idea中安装actiBPM插件
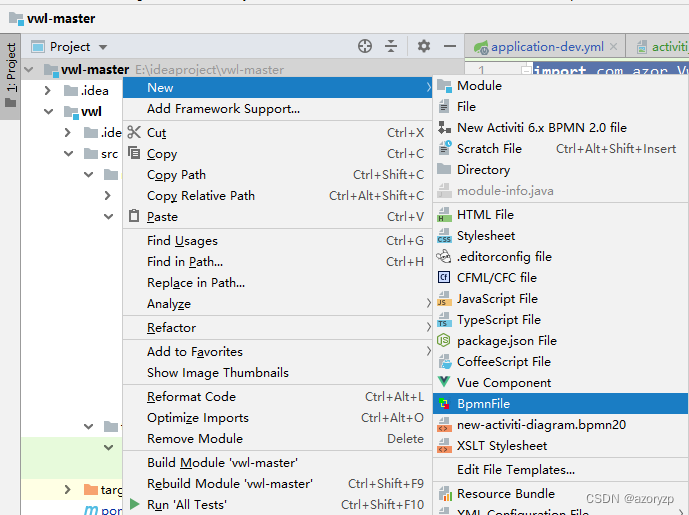
7.在process目录上右键新建流程文件
<?xml version="1.0" encoding="UTF-8" standalone="yes"?>
<definitions xmlns="http://www.omg.org/spec/BPMN/20100524/MODEL" xmlns:activiti="http://activiti.org/bpmn" xmlns:bpmndi="http://www.omg.org/spec/BPMN/20100524/DI" xmlns:dc="http://www.omg.org/spec/DD/20100524/DC" xmlns:di="http://www.omg.org/spec/DD/20100524/DI" xmlns:xsd="http://www.w3.org/2001/XMLSchema" xmlns:xsi="http://www.w3.org/2001/XMLSchema-instance" expressionLanguage="http://www.w3.org/1999/XPath" id="m1706238257249" name="" targetNamespace="http://www.activiti.org/testm1706238257249" typeLanguage="http://www.w3.org/2001/XMLSchema"><process id="myProcess_1" isClosed="false" isExecutable="true" processType="None"><userTask activiti:exclusive="true" id="_3" name="请假申请"/><userTask activiti:assignee="${depter}" activiti:exclusive="true" id="_4" name="部门经理审批"/><endEvent id="_5" name="结束"/><sequenceFlow id="_7" sourceRef="_3" targetRef="_4"/><sequenceFlow id="_8" sourceRef="_4" targetRef="_5"/><startEvent id="_9" name="开始"/><sequenceFlow id="_10" sourceRef="_9" targetRef="_3"/></process><bpmndi:BPMNDiagram documentation="background=#FFFFFF;count=1;horizontalcount=1;orientation=0;width=842.4;height=1195.2;imageableWidth=832.4;imageableHeight=1185.2;imageableX=5.0;imageableY=5.0" id="Diagram-_1" name="New Diagram"><bpmndi:BPMNPlane bpmnElement="myProcess_1"><bpmndi:BPMNShape bpmnElement="_3" id="Shape-_3"><dc:Bounds height="55.0" width="85.0" x="190.0" y="175.0"/><bpmndi:BPMNLabel><dc:Bounds height="55.0" width="85.0" x="0.0" y="0.0"/></bpmndi:BPMNLabel></bpmndi:BPMNShape><bpmndi:BPMNShape bpmnElement="_4" id="Shape-_4"><dc:Bounds height="55.0" width="85.0" x="185.0" y="290.0"/><bpmndi:BPMNLabel><dc:Bounds height="55.0" width="85.0" x="0.0" y="0.0"/></bpmndi:BPMNLabel></bpmndi:BPMNShape><bpmndi:BPMNShape bpmnElement="_5" id="Shape-_5"><dc:Bounds height="32.0" width="32.0" x="215.0" y="405.0"/><bpmndi:BPMNLabel><dc:Bounds height="32.0" width="32.0" x="0.0" y="0.0"/></bpmndi:BPMNLabel></bpmndi:BPMNShape><bpmndi:BPMNShape bpmnElement="_9" id="Shape-_9"><dc:Bounds height="32.0" width="32.0" x="220.0" y="75.0"/><bpmndi:BPMNLabel><dc:Bounds height="32.0" width="32.0" x="0.0" y="0.0"/></bpmndi:BPMNLabel></bpmndi:BPMNShape><bpmndi:BPMNEdge bpmnElement="_7" id="BPMNEdge__7" sourceElement="_3" targetElement="_4"><di:waypoint x="230.0" y="230.0"/><di:waypoint x="230.0" y="290.0"/><bpmndi:BPMNLabel><dc:Bounds height="0.0" width="0.0" x="0.0" y="0.0"/></bpmndi:BPMNLabel></bpmndi:BPMNEdge><bpmndi:BPMNEdge bpmnElement="_8" id="BPMNEdge__8" sourceElement="_4" targetElement="_5"><di:waypoint x="231.0" y="345.0"/><di:waypoint x="231.0" y="405.0"/><bpmndi:BPMNLabel><dc:Bounds height="0.0" width="0.0" x="0.0" y="0.0"/></bpmndi:BPMNLabel></bpmndi:BPMNEdge><bpmndi:BPMNEdge bpmnElement="_10" id="BPMNEdge__10" sourceElement="_9" targetElement="_3"><di:waypoint x="236.0" y="107.0"/><di:waypoint x="236.0" y="175.0"/><bpmndi:BPMNLabel><dc:Bounds height="0.0" width="0.0" x="0.0" y="0.0"/></bpmndi:BPMNLabel></bpmndi:BPMNEdge></bpmndi:BPMNPlane></bpmndi:BPMNDiagram>
</definitions>
8.导入测试依赖,编写测试类
<!--test测试-->
<dependency><groupId>org.springframework.boot</groupId><artifactId>spring-boot-starter-test</artifactId>
</dependency>
import com.azor.VwlApplication;
import org.activiti.engine.HistoryService;
import org.activiti.engine.RepositoryService;
import org.activiti.engine.RuntimeService;
import org.activiti.engine.repository.Deployment;
import org.junit.jupiter.api.Test;
import org.springframework.boot.test.context.SpringBootTest;import javax.annotation.Resource;/*** @author zhuoping.yu* @date 2024/1/26 10:46*/
@SpringBootTest(classes = VwlApplication.class)
public class ActivitiJpaTest01 {@Resourceprivate RepositoryService repositoryService;@Resourceprivate RuntimeService runtimeService;@Resourceprivate HistoryService historyService;/*** 部署流程*/@Testpublic void demo01(){Deployment deploy = repositoryService.createDeployment().addClasspathResource("processes/activiti_demo01.bpmn").addClasspathResource("processes/activiti_demo01.png").name("整合JPA测试01").deploy();System.out.println("部署ID:"+deploy.getId());System.out.println("部署名称"+deploy.getName());}
}
9.运行测试方法后,会自动生成act开头的28张数据表。

运行过程中出现异常:org.activiti.bpmn.exceptions.XMLException: 3 字节的 UTF-8 序列的字节 3 无效。
用notepad打开bpmn文件,将其中乱码的地方改为中文即可,其他网上的办法,我试了一些,没作用。因为后续需要把activiti流程的绘制转移到前端页面上,在此就不纠结了。
这篇关于springboot 整合 Activiti6的文章就介绍到这儿,希望我们推荐的文章对编程师们有所帮助!


