本文主要是介绍springboot 多环境配置 --spring.profiles.active,希望对大家解决编程问题提供一定的参考价值,需要的开发者们随着小编来一起学习吧!
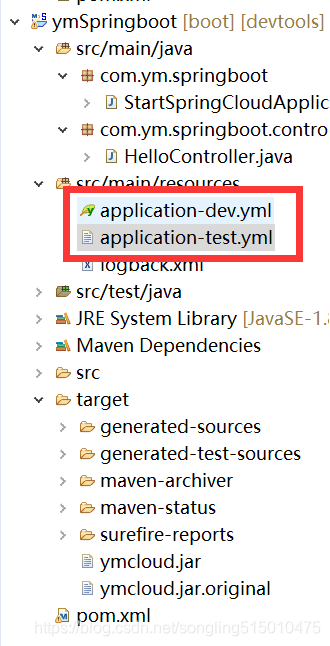
1、修改配置文件,配置文件格式为 application-{XXX}.yml 并且两件配置文件端口不能冲突,我这里测试(test)环境用的是9090,开发(dev)环境用的是8080

2、在pom文件中加入如下配置,否则运行时会提示找为到主清单

在pom中新增如下配置
<build><plugins><plugin><groupId>org.springframework.boot</groupId><artifactId>spring-boot-maven-plugin</artifactId><executions><execution><goals><goal>repackage</goal></goals></execution></executions></plugin></plugins>
</build>
3、重新打包

4、运行命令
java -jar ymcloud.jar --spring.profiles.active=dev
java -jar ymcloud.jar --spring.profiles.active=test
5、运行后效果


这篇关于springboot 多环境配置 --spring.profiles.active的文章就介绍到这儿,希望我们推荐的文章对编程师们有所帮助!


