本文主要是介绍Qt5.15.2中加入图片资源,希望对大家解决编程问题提供一定的参考价值,需要的开发者们随着小编来一起学习吧!
系列文章目录
文章目录
- 系列文章目录
- 前言
- 一、加入图片资源
- 二、代码
前言
以前用的Qt5.15.2之前的版本,QtCreator默认的工程文件是*.pro,现在用5.15.2创建工程默认的工程文件是CMameList.txt,当然在创建项目时,仍然可以使用pro工程文件用QtCreator打开CMakeList.txt
以前用习惯了pro文件,现在改成CMakeList很不习惯,现在我们在CMakeList.txt中加入资源文件
一、加入图片资源
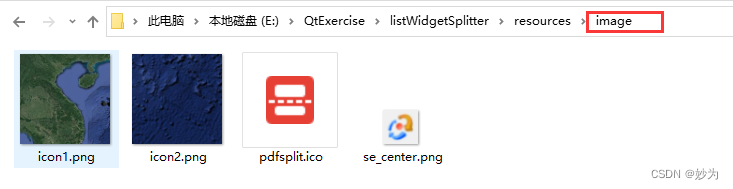
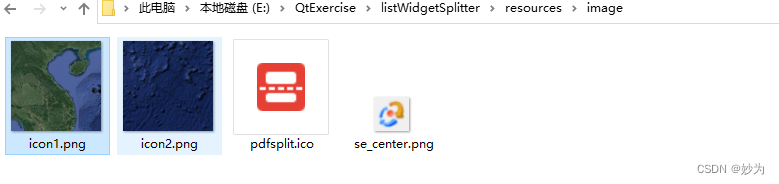
1.首先,在Qt项目里创建一个目录image,然后将图片资源放image目录中
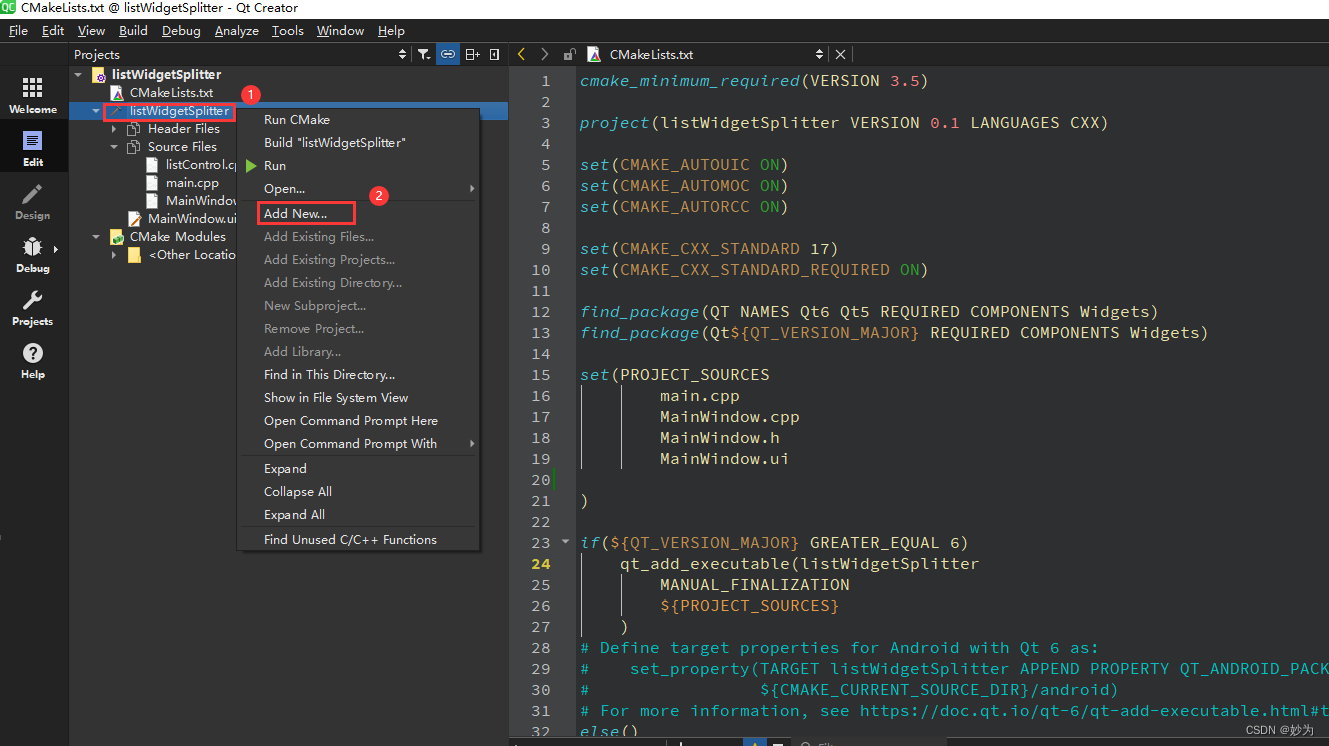
2.在Qt creator中创建resource file
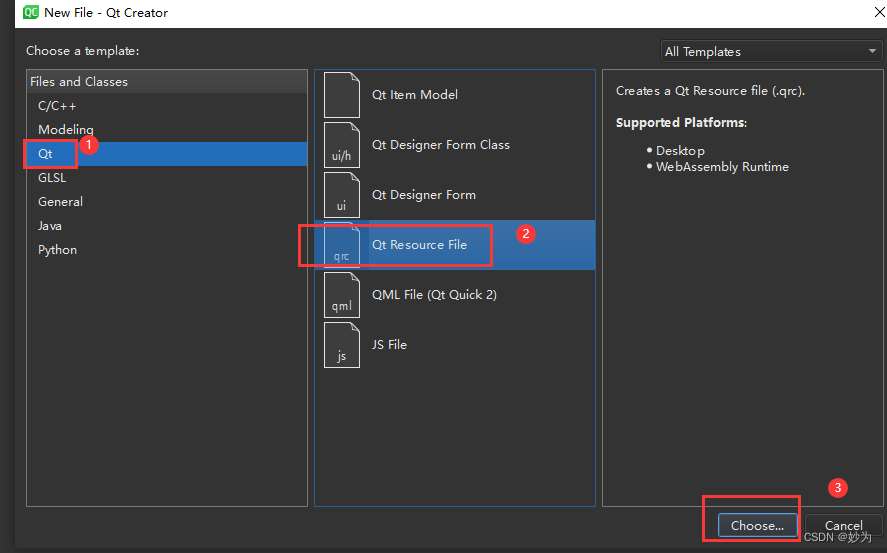
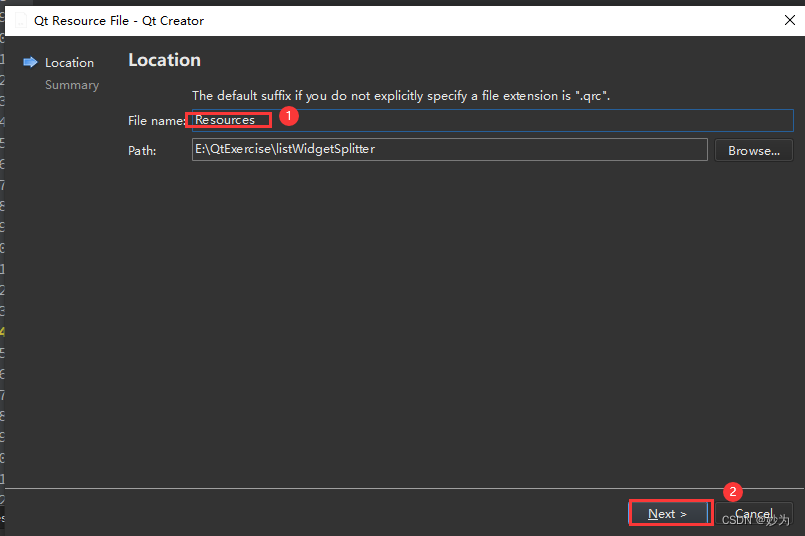
鼠标右键项目listWidgetSplitter> Add New… > Qt > Qt Resource File > 输入文件名Resources,->next
3.新建资源文件.qrc
4.创建资源文件名Resources.qrc
5.把资源文件加入到你的工程中
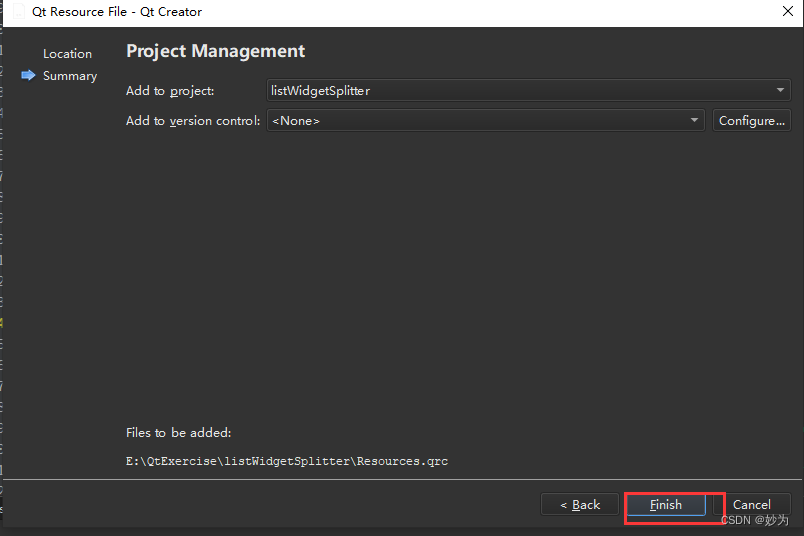
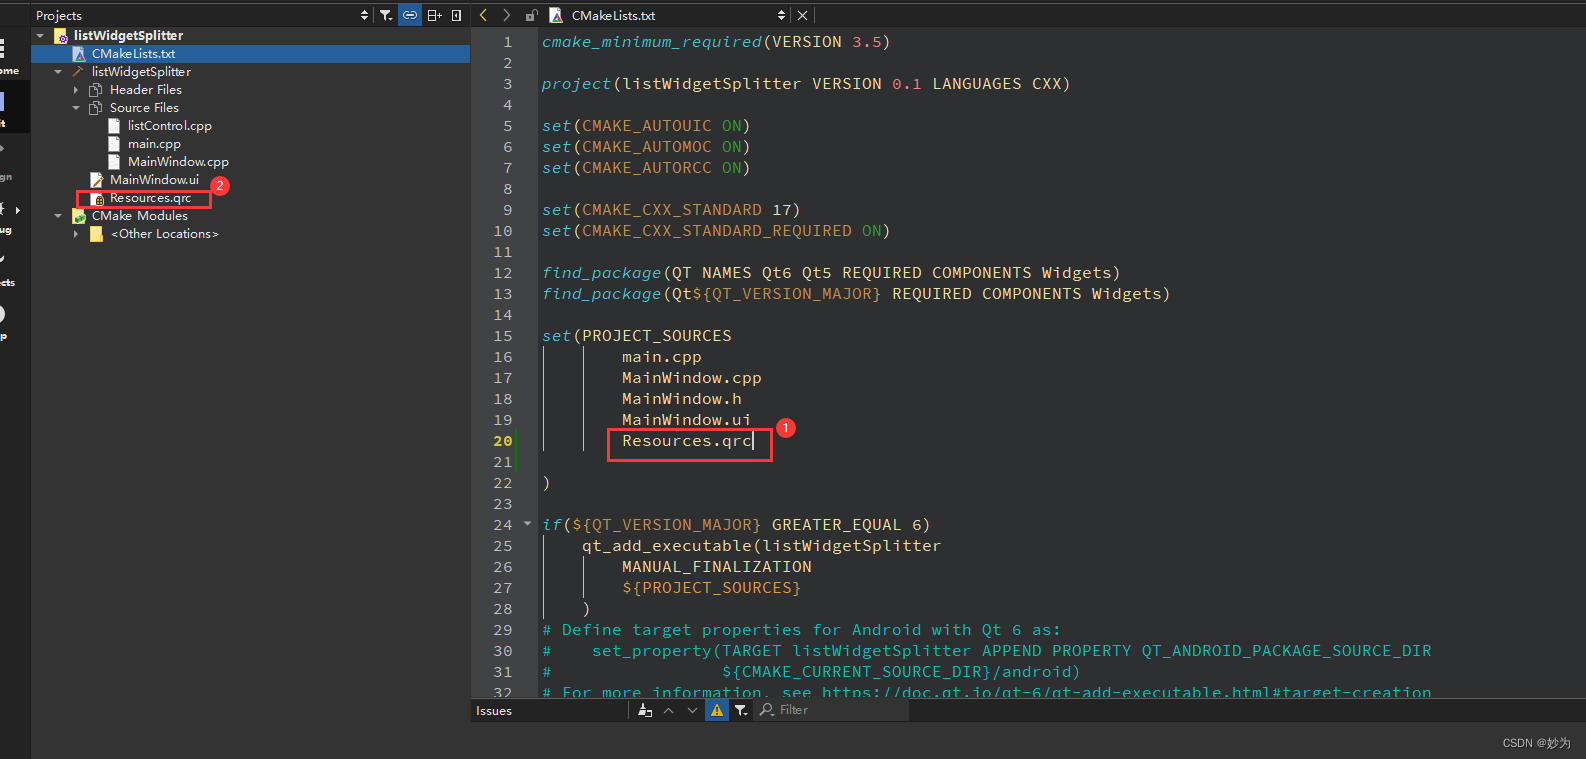
6.并在CMakeLists.txt加入Resources.qrc并保存(control + s),这时左侧项目工程会自动生成Resources.qrs
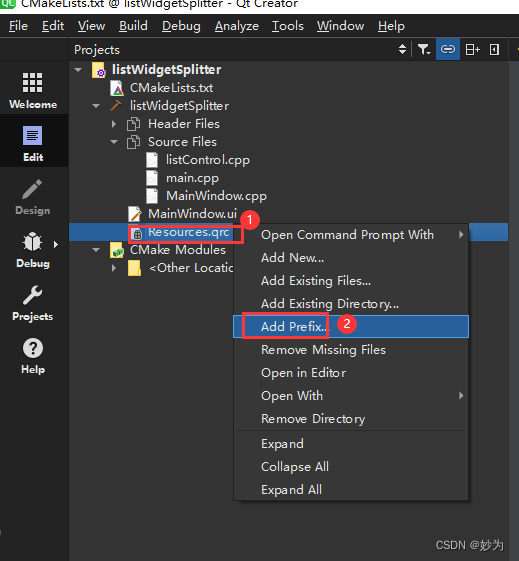
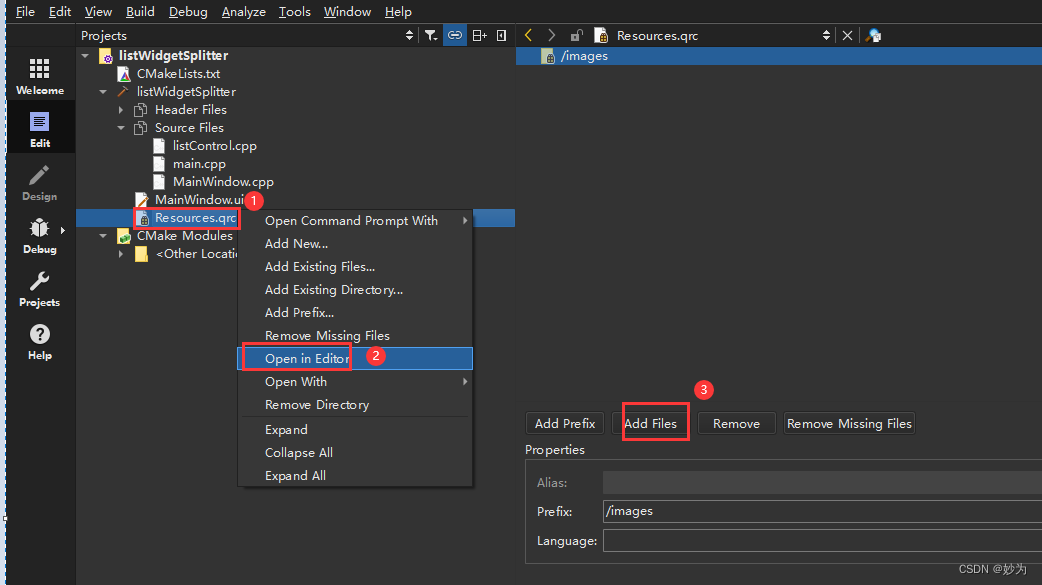
7.左侧右键点击Resources.qrs文件添加前缀
8.添加图片,关联到此前缀来:
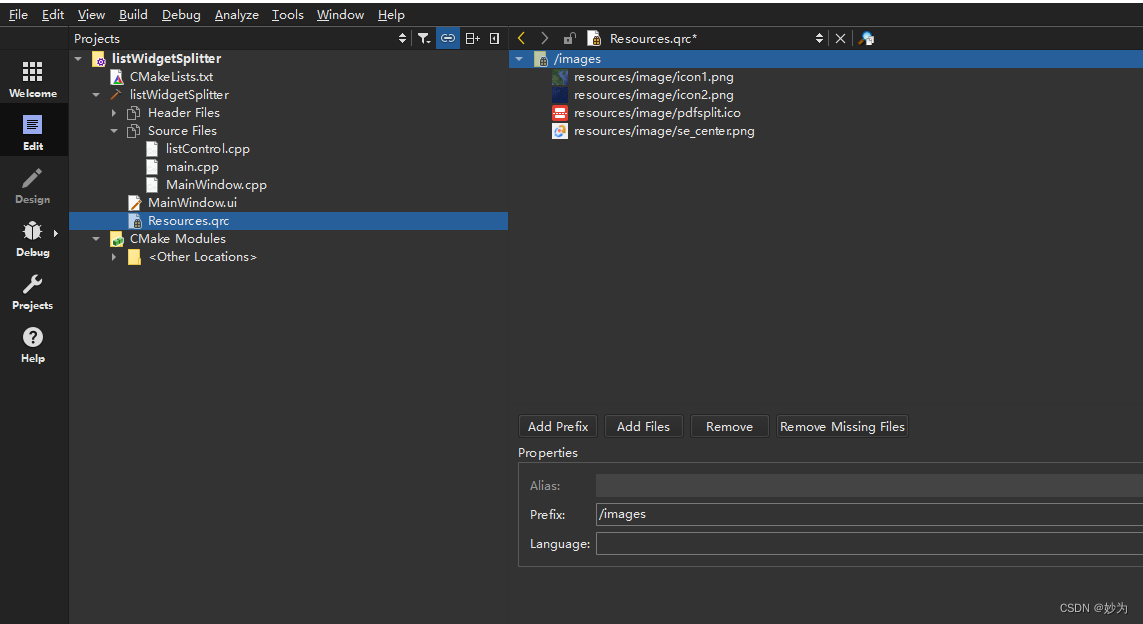
右键·Resources.qrc > Open in Editor > 选中>Add Files > 从打开的文件选择器中选择icon1.png,icon2.png,padfsplit.ico,se_center.png
9.添加图片,复制图片路径
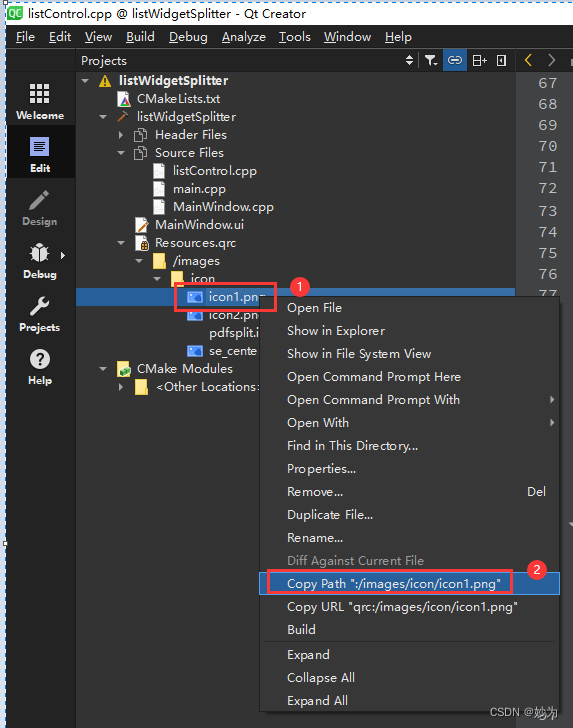
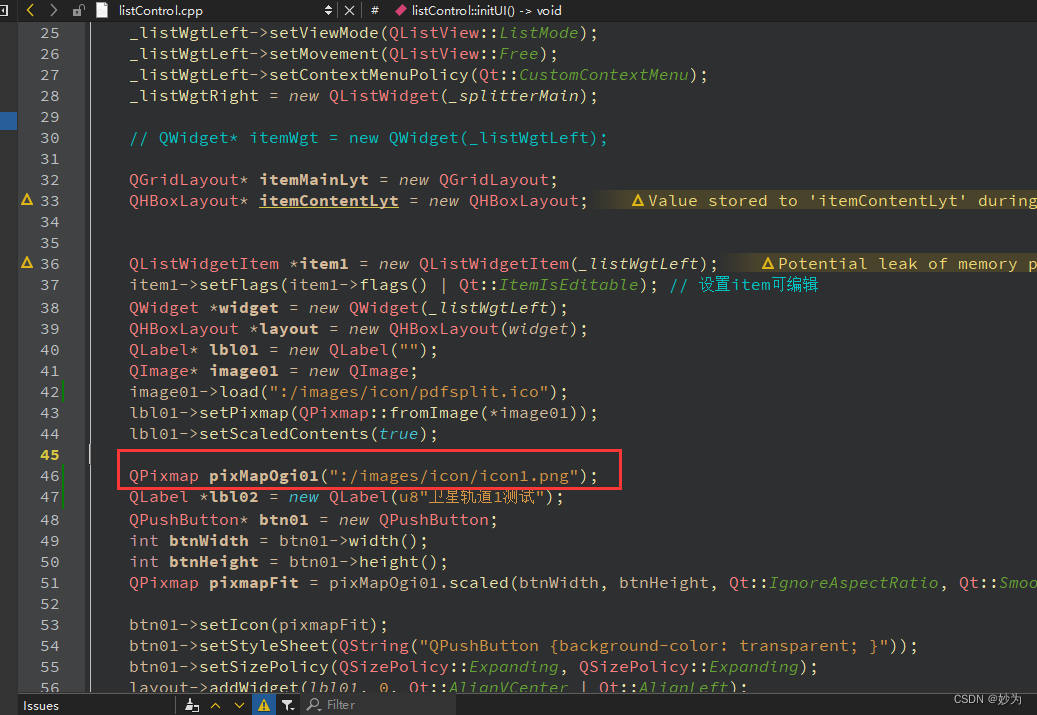
在代码中加入图片路径
二、代码
头文件
#ifndef LISTCONTROL_H
#define LISTCONTROL_H#include <QWidget>
#include <QListWidget>
#include <QListWidgetItem>
#include <QMenu>
#include <QSplitter>
#include <QGridLayout>
#include <QVBoxLayout>
#include <QHBoxLayout>
#include <QLabel>
#include <QPixmap>
#include <QImage>
#include <QIcon>
#include <QMessageBox>
#include <QPushButton>
#include <QAction>
#include <QMouseEvent>class listControl : public QWidget
{Q_OBJECT
public:explicit listControl(QWidget *parent = nullptr);QListWidget* _listWgtLeft;QListWidget* _listWgtRight;QSplitter* _splitterMain;QMenu* _popMenuLeft;QMenu* _menuRight;
private:void initUI();signals:private slots:void onMenuPopSlot(const QPoint &pos);
};#endif // LISTCONTROL_H
实现文件
#include "listControl.h"listControl::listControl(QWidget *parent): QWidget{parent}
{initUI();
}void listControl::initUI()
{_splitterMain = new QSplitter(Qt::Horizontal, 0); //新建主分割窗口,水平分割_listWgtLeft = new QListWidget(_splitterMain);//设置样式,直接在函数中设置_listWgtLeft->setStyleSheet("QListWidget{border:1px solid gray; color:black; }""QListWidget::Item{padding-top:1px; padding-bottom:4px; }""QListWidget::Item:hover{background:skyblue; }""QListWidget::item:selected{background:lightgray; color:red; }""QListWidget::item:selected:!active{border-width:0px; background:lightgreen; }");// _listWgtLeft->setResizeMode(QListView::Adjust); //适应布局调整_listWgtLeft->setViewMode(QListView::ListMode);_listWgtLeft->setMovement(QListView::Free);_listWgtLeft->setContextMenuPolicy(Qt::CustomContextMenu);_listWgtRight = new QListWidget(_splitterMain);// QWidget* itemWgt = new QWidget(_listWgtLeft);QGridLayout* itemMainLyt = new QGridLayout;QHBoxLayout* itemContentLyt = new QHBoxLayout;QListWidgetItem *item1 = new QListWidgetItem(_listWgtLeft);item1->setFlags(item1->flags() | Qt::ItemIsEditable); // 设置item可编辑QWidget *widget = new QWidget(_listWgtLeft);QHBoxLayout *layout = new QHBoxLayout(widget);QLabel* lbl01 = new QLabel("");QImage* image01 = new QImage;image01->load(":/images/icon/pdfsplit.ico");lbl01->setPixmap(QPixmap::fromImage(*image01));lbl01->setScaledContents(true);QPixmap pixMapOgi01(":/images/icon/icon1.png");QLabel *lbl02 = new QLabel(u8"卫星轨道1测试");QPushButton* btn01 = new QPushButton;int btnWidth = btn01->width();int btnHeight = btn01->height();QPixmap pixmapFit = pixMapOgi01.scaled(btnWidth, btnHeight, Qt::IgnoreAspectRatio, Qt::SmoothTransformation);btn01->setIcon(pixmapFit);btn01->setStyleSheet(QString("QPushButton {background-color: transparent; }"));btn01->setSizePolicy(QSizePolicy::Expanding, QSizePolicy::Expanding);layout->addWidget(lbl01, 0, Qt::AlignVCenter | Qt::AlignLeft);layout->addWidget(lbl02);layout->addWidget(btn01, 0, Qt::AlignVCenter | Qt::AlignRight);widget->setLayout(layout);item1->setSizeHint(widget->sizeHint()); // 设置item大小// item5->setData(Qt::UserRole, 1);_listWgtLeft->setItemWidget(item1, widget); // 设置item控件_splitterMain->setStretchFactor(0, 4);_splitterMain->setStretchFactor(1, 6);_splitterMain->setWindowTitle(tr("test splitter"));itemMainLyt->addWidget(_splitterMain);setLayout(itemMainLyt);//右键弹出菜单_popMenuLeft = new QMenu(_listWgtLeft);QAction* addAct = new QAction(tr("add"));QAction* resetHidAct = new QAction(tr("reset hide"));QAction* cutAct = new QAction(tr("cut"));QAction* copyAct = new QAction(tr("copy"));QAction* delAct = new QAction(tr("delete"));_popMenuLeft->addAction(addAct);_popMenuLeft->addAction(resetHidAct);_popMenuLeft->addAction(cutAct);_popMenuLeft->addAction(copyAct);_popMenuLeft->addAction(delAct);connect(_listWgtLeft, &QListView::customContextMenuRequested, this, &listControl::onMenuPopSlot);
}void listControl::onMenuPopSlot(const QPoint &pos)
{// _popMenuLeft->exec(QCursor::pos());_popMenuLeft->exec(_listWgtLeft->mapToGlobal(pos));
}代码调用```cpp
#include "MainWindow.h"
#include "listControl.h"
#include <QApplication>
#include <QTextCodec>
#include <QDebug>int main(int argc, char *argv[])
{QApplication a(argc, argv);// MainWindow w;// w.show();a.setFont(QFont("Microsoft Yahei", 9));QTextCodec::setCodecForLocale(QTextCodec::codecForName("UTF-8"));qDebug() << "中文调试信息";QFont font("ZYSong18030" , 10);a.setFont(font);listControl* contrl = new listControl;contrl->show();return a.exec();
}
运行效果
这篇关于Qt5.15.2中加入图片资源的文章就介绍到这儿,希望我们推荐的文章对编程师们有所帮助!


