本文主要是介绍手拉手Vue组件由浅入深,希望对大家解决编程问题提供一定的参考价值,需要的开发者们随着小编来一起学习吧!
组件 (Component) 是 Vue.js 最强大的功能之一,它是html、css、js等的一个聚合体,封装性和隔离性非常强。
组件化开发:
1、将一个具备完整功能的项目的一部分分割多处使用
2、加快项目的进度
3、可以进行项目的复用
组件注册分为:全局注册和局部注册
目录
Vue组件
组件的生命周期钩子
组件嵌套关系
组件注册
组件数据传递props
传递数组,对象
类型验证
Props实现子传父
组件数据传递$emit
组件+v-model
透传
动态组件
编辑
编辑
异步组件
依赖注入-透传
Vue组件
组件的优点:可复用性
组件构成
<template></template><script>export default{}</script><style></style>组件引入

组件的生命周期钩子
每个 Vue 组件实例在创建时都需要经历一系列的初始化步骤,比如设置好数据侦听,编译模板,挂载实例到 DOM,以及在数据改变时更新 DOM。在此过程中,它也会运行被称为生命周期钩子的函数,让开发者有机会在特定阶段运行自己的代码。
创建期:beforeCreate、created
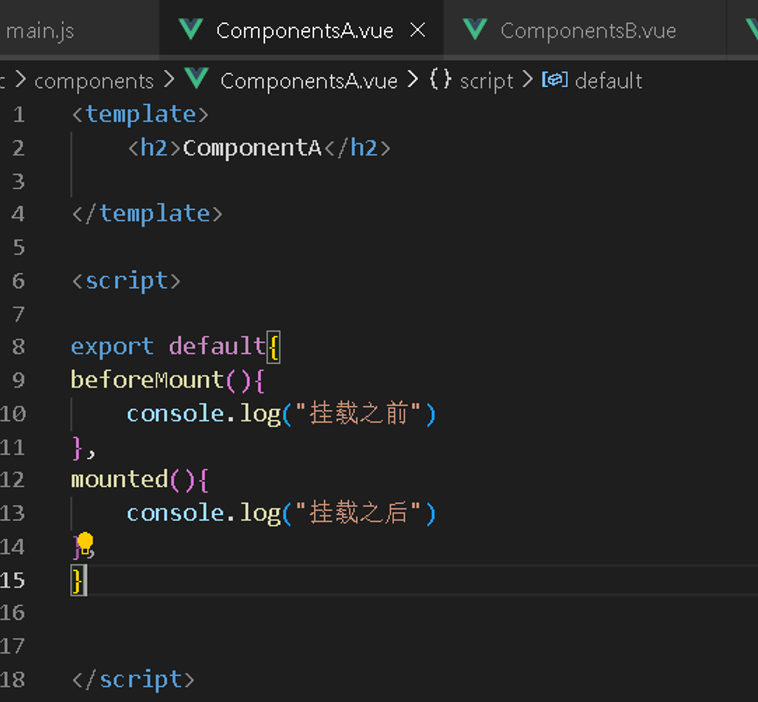
挂载期:beforeMount 、mounted
更新期:beforeUpdate、updated
销毁期:beforeUnmount 、unmountd
<script>
export default{
beforeCreate(){console.log("创建之前")
},
created(){console.log("创建之后")},
beforeMount(){console.log("挂载之前")
},mounted(){console.log("挂载之后")
},beforeUpdate(){console.log("更新之前")
},updated(){console.log("更新之后")
},beforeUnmount(){console.log("销毁之前")
},unmountd(){console.log("销毁之后")
}
}
</script>
组件嵌套关系

组件允许将ui划分为独立的、可重用的部分,并且可以对每个部分进行单独的思考。在实际项目中,组件是层层嵌套的树形结构,每个组件内封装自定义内容与逻辑。
取消main.css依赖


Article.vue
<template><H3>Article</H3>
</template><style scoped>
h3{width: 80%;margin: 0 auto;text-align: center;line-height: 100px;box-sizing: border-box;margin-top: 25px;background: #bdbaba;
}</style>
Item.vue
<template><H3>Item</H3>
</template><style scoped>h3{width: 80%;margin: 0 auto;text-align: center;line-height: 100px;box-sizing: border-box;margin-top: 25px;background: #bdbaba;
}</style>
Hrader.vue
<template><H3>Header</H3>
</template><style scoped>h3{width: 100%;height: 100px;border: 5px solid #999;text-align: center;line-height: 100px;box-sizing: border-box;}
</style>
Main.vue
<template><div class="main"><H3>Main</H3>    <Article/><Article/><Article/></div></template><script>import Article from "./article.vue"
export default{components:{Article}
}</script><style scoped>.main{float: right;width: 85%;height: 500px;border: 5px solid #999;box-sizing: border-box;text-align: center;
}</style>
Aside.vue
<template><div class="aside"><H3>Aside</H3><Item/>  <Item/><Item/></div></template><script>
import Item from './Item.vue';
export default{components:{Item}}</script><style scoped>.aside{float: left;width: 14%;height: 500px;border: 5px solid #999;box-sizing: border-box;text-align: center;
}</style>
效果

组件注册
局部注册(建议使用)
在一个组件中进行注册

全局注册
在main.js中全局注册
全局注册很方便,但是在全局注册中,没有被使用的组件无法在生成打包的时候被自动移除(“tree-shaking”),依然出现在打包后的js文件中。
在项目嵌套较多的时候,全局注册的依赖关系不明确,可能影响应用长期维护性。

组件数据传递props
组件之间是可以传递数据,而传递数据的解决方案是props,注:props传递数据只能父级传递子级。
组件传递的数据类型:数字、对象、数字等。任何类型的值都可以作为props的值传递
组件间传递数据应用场景: 父传子

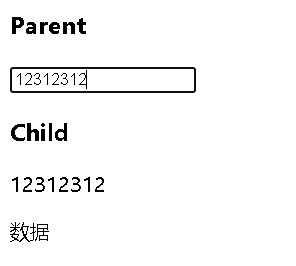
Parent.vue
<template><h3>Parent</h3><input v-model="msg"><Child :title="msg" test="数据"/>
</template><script>
import Child from './Child.vue';
export default{data(){return{msg:""}},components:{Child}
}</script>
Child.vue
<template><h3>Child</h3><p> {{ title }} </p><p>{{ test }}</p></template><script>
export default{data(){return{}},//接收数据props:["title","test"]
}</script>
传递效果
传递数组,对象
Parent.vue
<template><h3>Parent</h3><input v-model="msg"><Child :title="msg" test="数据" :names="names" :user="user" :number1="number1"/>
</template><script>
import Child from './Child.vue';
export default{data(){return{msg:"",names:["张三","李四","王五"],user:{name:"张三",age:20},number1:123}},components:{Child}
}</script>
Child.vue
<template><h3>Child</h3><p> {{ title }} </p><p>{{ test }}</p><p v-for="(name,index) of names" :key="index">{{ index }} : {{ name }}</p><p>{{ user.name }} {{ user.age }}</p>
</template><script>
export default{data(){return{}},//接收数据props:["title","test","names","user"]}</script>
传递对象

类型验证
<template><h3>Child</h3><p> {{ title }} </p><p>{{ test }}</p><p v-for="(name,index) of names" :key="index">{{ index }} : {{ name }}</p><p>{{ user.name }} {{ user.age }}</p></template><script>
export default{data(){return{}},//接收数据props:{title:{type:[String,Number,Array,Object]},names:{type:Array},user:{type:Object,//必选项required:true},test:{type:String},number:{type:Number,default:0}}}
</script>
Props实现子传父

组件数据传递$emit
组件模板表达式中,可以使用$emit方法触发自定义事件
组件间传递数据应用场景:子传父
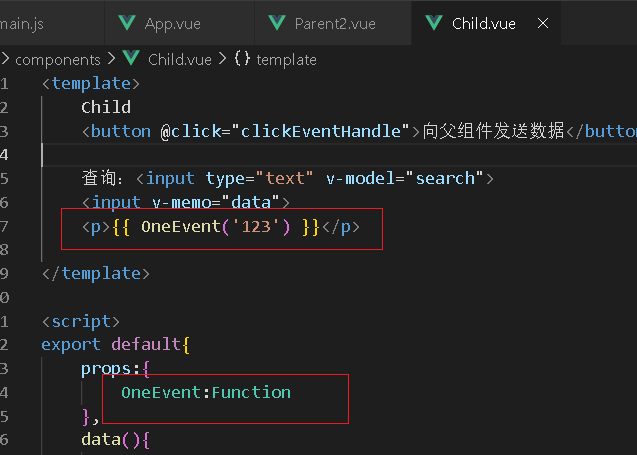
Child.vue
<template>Child<button @click="clickEventHandle">向父组件发送数据</button></template><script>
export default{data(){return{msg:"传递数据"}},methods:{clickEventHandle(){this.$emit("eventDemo",this.msg)}}}</script>
Parent2.vue
<template>
<Child @eventDemo="getHandle"/>
</template>
<script>
import Child from "./Child.vue"
export default {components:{Child},methods:{getHandle(data){console.log(data)}}
}</script>
组件+v-model

查询:<input type="text" v-model="search">
watch:{search(newValue,oldValue){this.$emit("searchEvent",newValue)}},
透传
透传attribute指的是传递给一个组件,没有被该组件声明为props或emits的arrtibute或者v-on事件监听器。最常见的例子就是class、id、style。
一个组件以单个元素为根做渲染时,透传的attribute会自动被添加到根元素上
App.vue

Attr.vue
<template><h2>透传属性测试</h2>
</template><style>
.colorDemo{color: aqua;
}
</style>
效果 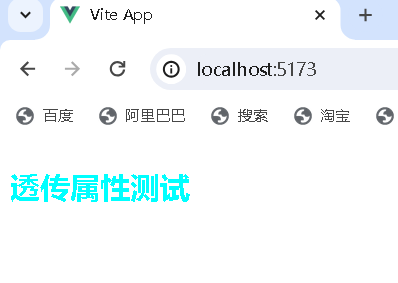
禁用透传attribute
export default{inheritAttrs:false
}
动态组件

<template>
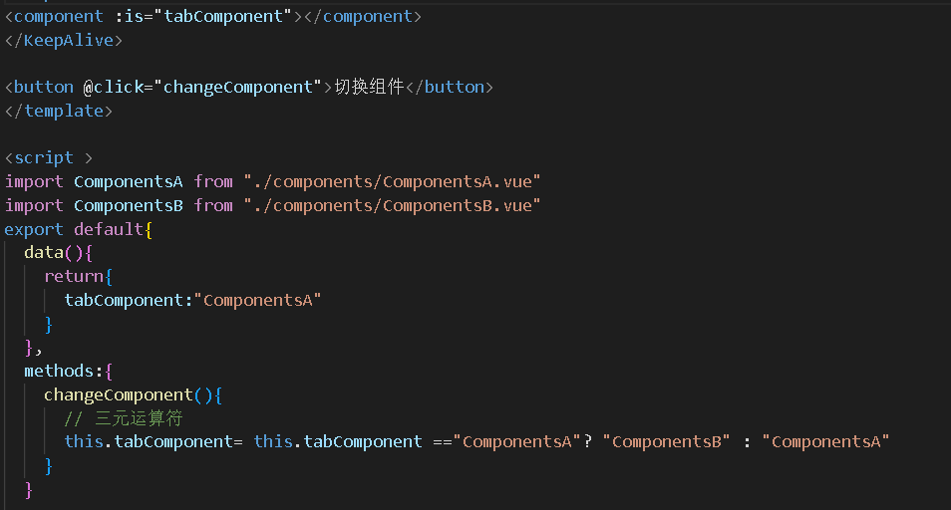
<component :is="tabComponent"></component>
<button @click="changeComponent">切换组件</button>
</template><script >
import ComponentsA from "./components/ComponentsA.vue"
import ComponentsB from "./components/ComponentsB.vue"
export default{data(){return{tabComponent:"ComponentsA"}},methods:{changeComponent(){// 三元运算符this.tabComponent= this.tabComponent =="ComponentsA"? "ComponentsB" : "ComponentsA"}}
当使用<component :is="tabComponent"></component>在多个组件间切换时,被切换掉的组件会被卸载。可以通过<keep-alive>组件前置被切换掉的组件依然保持“存活状态”

<KeepAlive>
<component :is="tabComponent"></component>
</KeepAlive>
异步组件
Vue提供了defineAsyncComponent实现异步组件功能。
import ComponentsA from "./components/ComponentsA.vue"
//异步加载组件
const ComponentsB =defineAsyncComponent(()=>import("./components/ComponentsB.vue")
).catch(function(error){console.log(error);
})

异步组件的优势
1.减少应用程序的初始加载时间
异步组件只有在需要使用该组件时才会进行加载,可以减少应用程序的初始加载时间,提高用户体验。
2.提高应用程序的性能
异步组件可以将组件的加载和渲染分开进行,可以提高应用程序的性能,避免不必要的渲染。
3.优化代码的可维护性
异步组件可以将组件按需加载,可以优化代码的可维护性,减少代码的复杂度。
异步组件的注意事项
1.异步组件的加载时间
异步组件是按需加载的,因此在使用异步组件时,需要考虑组件的加载时间。如果组件的加载时间过长,会对应用程序的性能和用户体验产生影响。
2.异步组件的错误处理
在使用异步组件时,需要对组件加载过程进行错误处理,避免出现错误导致应用程序无法运行。可以通过 catch() 方法来捕获异步加载组件时的错误。
依赖注入-透传
prop逐级透传可以用provide和inject解决这一问题。一个父组件相对于其所有的子组件,会作为依赖提供者。任何子组件树,无论层级多深,都可以注入由父组件提供给整条链路的依赖

App.vue
<template><Parent/></template><script >
import Parent from "./components/Parent.vue"export default{provide:{messages:"app组件"},}
</script>
Parent.vue
<template><h3>Parent</h3><Child></Child></template>Child.vue
<template>Child
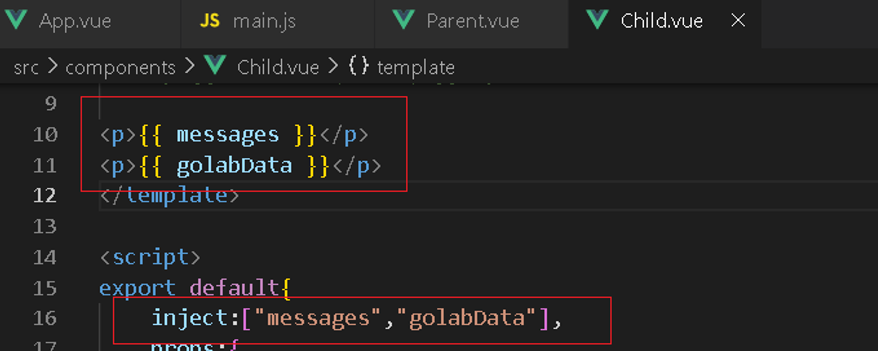
<p>{{ messages }}</p>
</template><script>
export default{inject:["messages"],}
</script>效果

动态穿透
<template><Parent/></template><script >import Parent from "./components/Parent.vue"
provide(){return{messages: this.messages}},data(){return{messages:"app组件"}},
</script>
全局数据
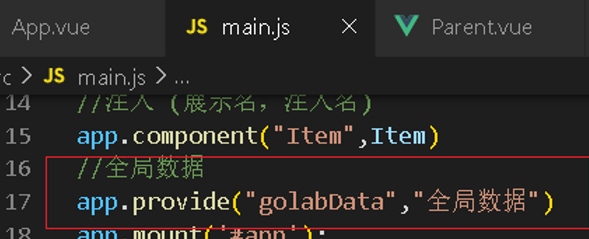
app.provide("golabData","全局数据")
这篇关于手拉手Vue组件由浅入深的文章就介绍到这儿,希望我们推荐的文章对编程师们有所帮助!


