本文主要是介绍Screenshot-to-code开源项目mac上实践,希望对大家解决编程问题提供一定的参考价值,需要的开发者们随着小编来一起学习吧!
github上的开源项目,看介绍可以将设计ui图片转换为 HTML 和 CSS
源码地址:
GitCode - 开发者的代码家园
我的mac安装了2.7和3.11,就用3吧直接上代码
安装 pip3 install keras tensorflow pillow h5py jupyter
报错
ERROR: Could not install packages due to an OSError: [Errno 13] Permission denied: '/Users/xxx/Library/Python/3.11'
Check the permissions.
mac-xxxdeMacBook-Pro:bin xxx$ sudo pip3 install keras tensorflow pillow h5py jupyter
Password:
WARNING: The directory '/Users/xxx/Library/Caches/pip' or its parent directory is not owned or is not writable by the current user. The cache has been disabled. Check the permissions and owner of that directory. If executing pip with sudo, you should use sudo's -H flag.
解决办法
sudo pip3 install keras tensorflow pillow h5py jupyter
安装好了
tensorboard-data-server-0.7.2 tensorflow-2.15.0 tensorflow-estimator-2.15.0 tensorflow-io-gcs-filesystem-0.35.0 termcolor-2.4.0 terminado-0.18.0 tinycss2-1.2.1 tornado-6.4 traitlets-5.14.0 types-python-dateutil-2.8.19.14 typing-extensions-4.9.0 uri-template-1.3.0 urllib3-2.1.0 wcwidth-0.2.12 webcolors-1.13 webencodings-0.5.1 websocket-client-1.7.0 werkzeug-3.0.1 wheel-0.42.0 widgetsnbextension-4.0.9 wrapt-1.14.1
WARNING: Running pip as the 'root' user can result in broken permissions and conflicting behaviour with the system package manager. It is recommended to use a virtual environment instead: https://pip.pypa.io/warnings/venv
执行运行
jupyter notebook
启动成功
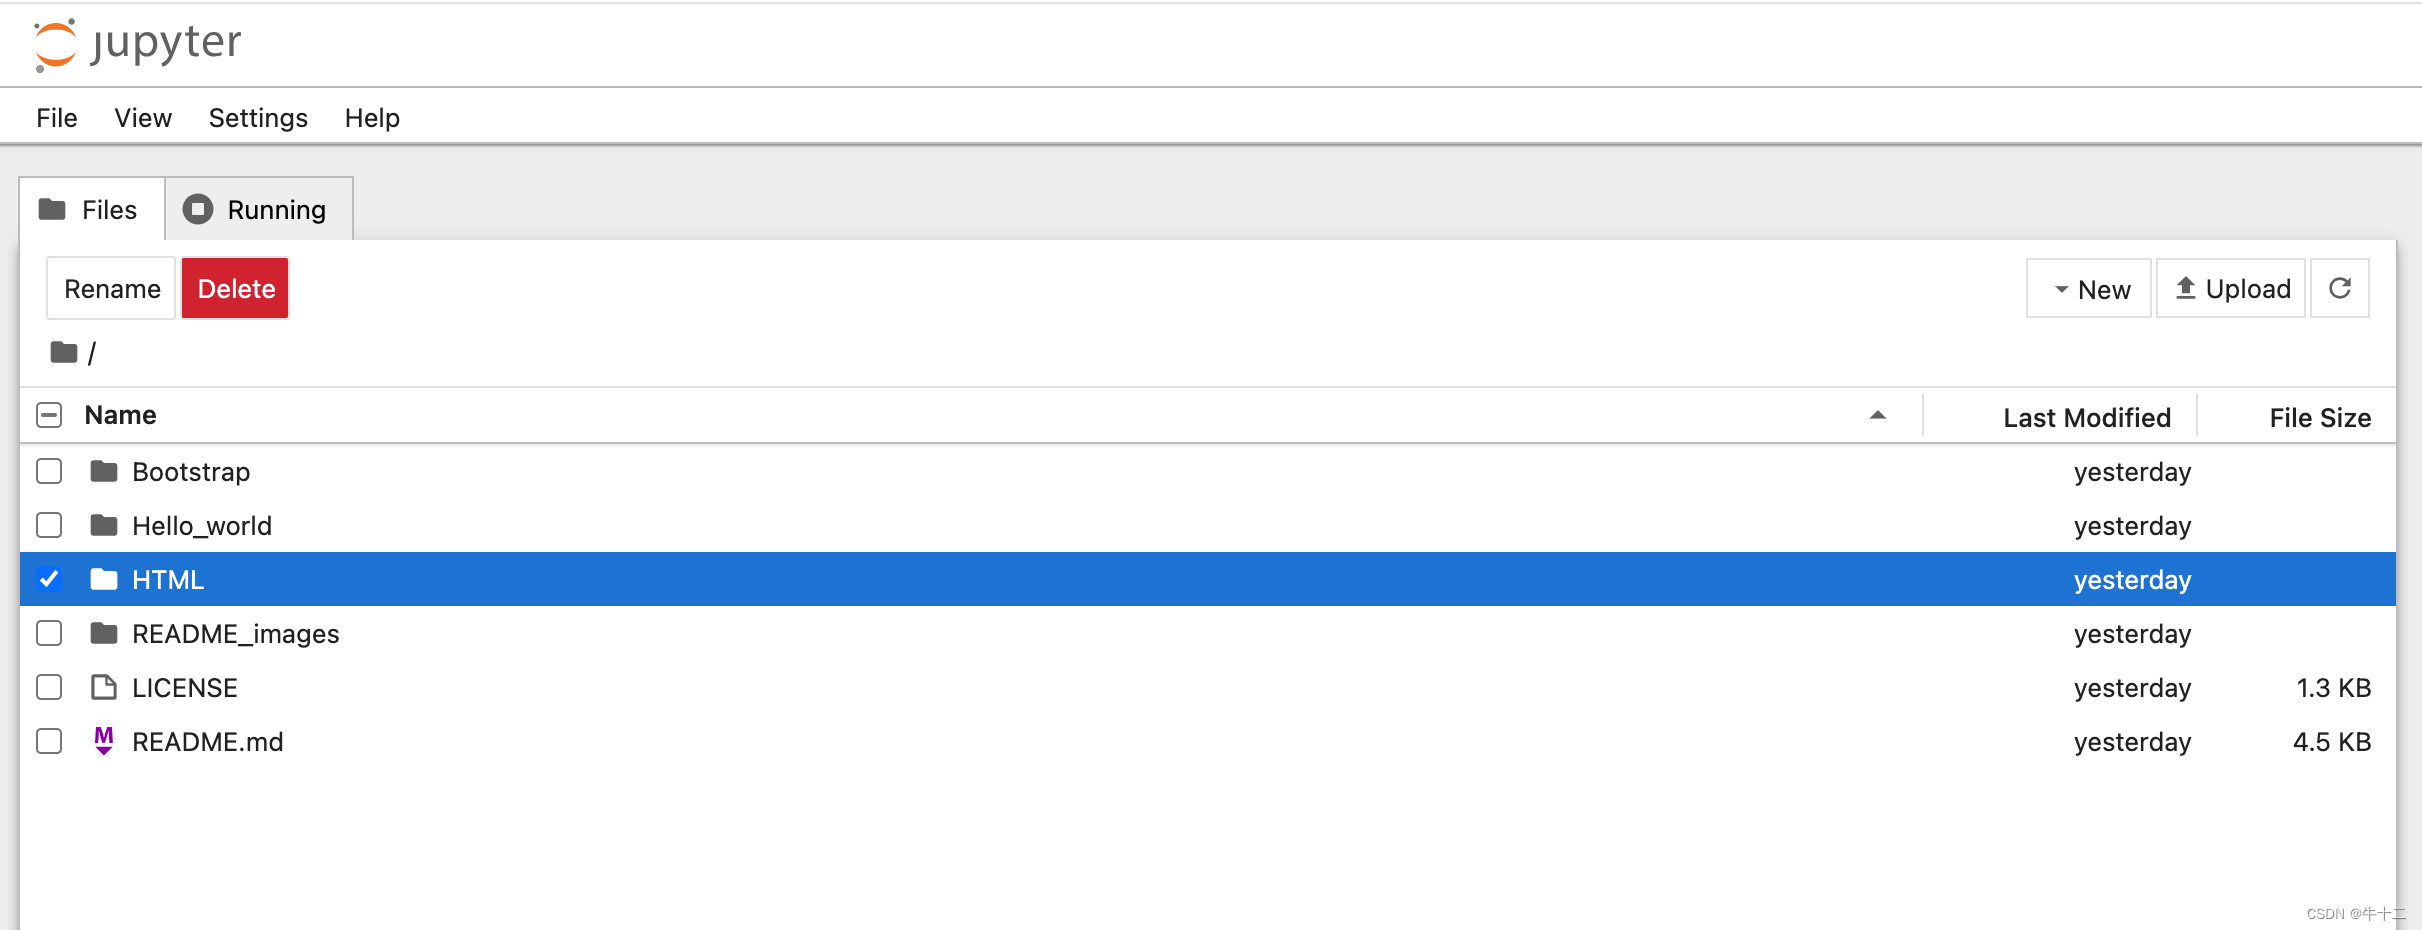
自动打开浏览器,url为http://localhost:8888/tree界面如下图

接下来怎么搞?欢迎评论区讨论
这篇关于Screenshot-to-code开源项目mac上实践的文章就介绍到这儿,希望我们推荐的文章对编程师们有所帮助!


