本文主要是介绍Yapi接口管理平台Centos7部署,希望对大家解决编程问题提供一定的参考价值,需要的开发者们随着小编来一起学习吧!
文章目录
- 1.环境准备
- 1.1 关闭透明大页THP
- 1.2 设置最大文件打开数最大进程数
- 2.Nodejs安装
- 3.安装Mongodb
- 3.1 下载安装
- 3.2 配置
- 3.3 配置环境变量
- 3.4 启动
- 3.5 关闭
- 4.安装YAPI
- 4.1 离线安装
- 4.2 页面安装(本次采用)
- 4.3 访问
1.环境准备
1.1 关闭透明大页THP
# 查看透明大页情况:
cat /sys/kernel/mm/transparent_hugepage/defrag
cat /sys/kernel/mm/transparent_hugepage/enabled# 关闭透明大页:vim /etc/rc.d/rc.local,添加如下配置:
if test -f /sys/kernel/mm/transparent_hugepage/enabled; thenecho never > /sys/kernel/mm/transparent_hugepage/enabled
fi
if test -f /sys/kernel/mm/transparent_hugepage/defrag; thenecho never > /sys/kernel/mm/transparent_hugepage/defrag
fi# 保存退出,然后赋予rc.local文件执行权限:chmod +x /etc/rc.d/rc.local
# 重启服务器才生效:reboot
1.2 设置最大文件打开数最大进程数
vim /etc/security/limits.conf
* soft nofile 64000
* hard nofile 64000
* soft nproc 32000
* hard nproc 32000
2.Nodejs安装
# 1.下载Nodejs安装包
wget https://nodejs.org/download/release/v12.18.3/node-v12.18.3-linux-x64.tar.gz# 注意:此处版本不能太高,如果版本过高会出现各种各样问题
# 官网网站推荐:https://hellosean1025.github.io/yapi/devops/index.html
# nodejs(7.6+)
# mongodb(2.6+)# 2.解压
tar -zxvf node-v12.18.3-linux-x64.tar.gz -C /opt/software/yapi/# 3.修改所属用户及用户组
chown -R root:root /opt/software/yapi/node-v12.18.3-linux-x64# 4.设置环境变量
vim /etc/profile
export NODEJS_HOME=/opt/software/yapi/node-v12.18.3-linux-x64
export PATH=$PATH:${NODEJS_HOME}/bin
source /etc/profile# 4.创建软链接
ln -s /opt/software/yapi/node-v12.18.3-linux-x64/bin/node /usr/local/bin
ln -s /opt/software/yapi/node-v12.18.3-linux-x64/bin/npm /usr/local/bin# 5.检查
[root@jenkins18 ~]# node -v
v12.18.3
[root@jenkins18 ~]# npm -v
6.14.6# 6.设置源
# 安装nrm
[root@jenkins18 ~]# npm install -g nrm
/opt/software/yapi/node-v12.18.3-linux-x64/bin/nrm -> /opt/software/yapi/node-v12.18.3-linux-x64/lib/node_modules/nrm/cli.js
+ nrm@1.2.6
updated 1 package in 13.262s
# 查看源
[root@jenkins18 ~]# nrm lsnpm ---------- https://registry.npmjs.org/yarn --------- https://registry.yarnpkg.com/tencent ------ https://mirrors.cloud.tencent.com/npm/cnpm --------- https://r.cnpmjs.org/taobao ------- https://registry.npmmirror.com/npmMirror ---- https://skimdb.npmjs.com/registry/[root@jenkins18 ~]# nrm use taobaoSUCCESS  The registry has been changed to 'taobao'.
3.安装Mongodb
3.1 下载安装
# 1.下载:www.mongodb.com
https://www.mongodb.com/try/download/community-kubernetes-operator# 选择 Products > MongoDB Community Edition 进入社区版,下载 Linux 版对应的安装包
# 注意,6.0之后的版本改动有点大,yapi并未友好支持,需选择5.0或之前的版本。(主要是6.0之后,mongodb部署包不包含mongo客户端)
# 点击 “Download” 下载
mongodb-linux-x86_64-rhel70-5.0.23.tgz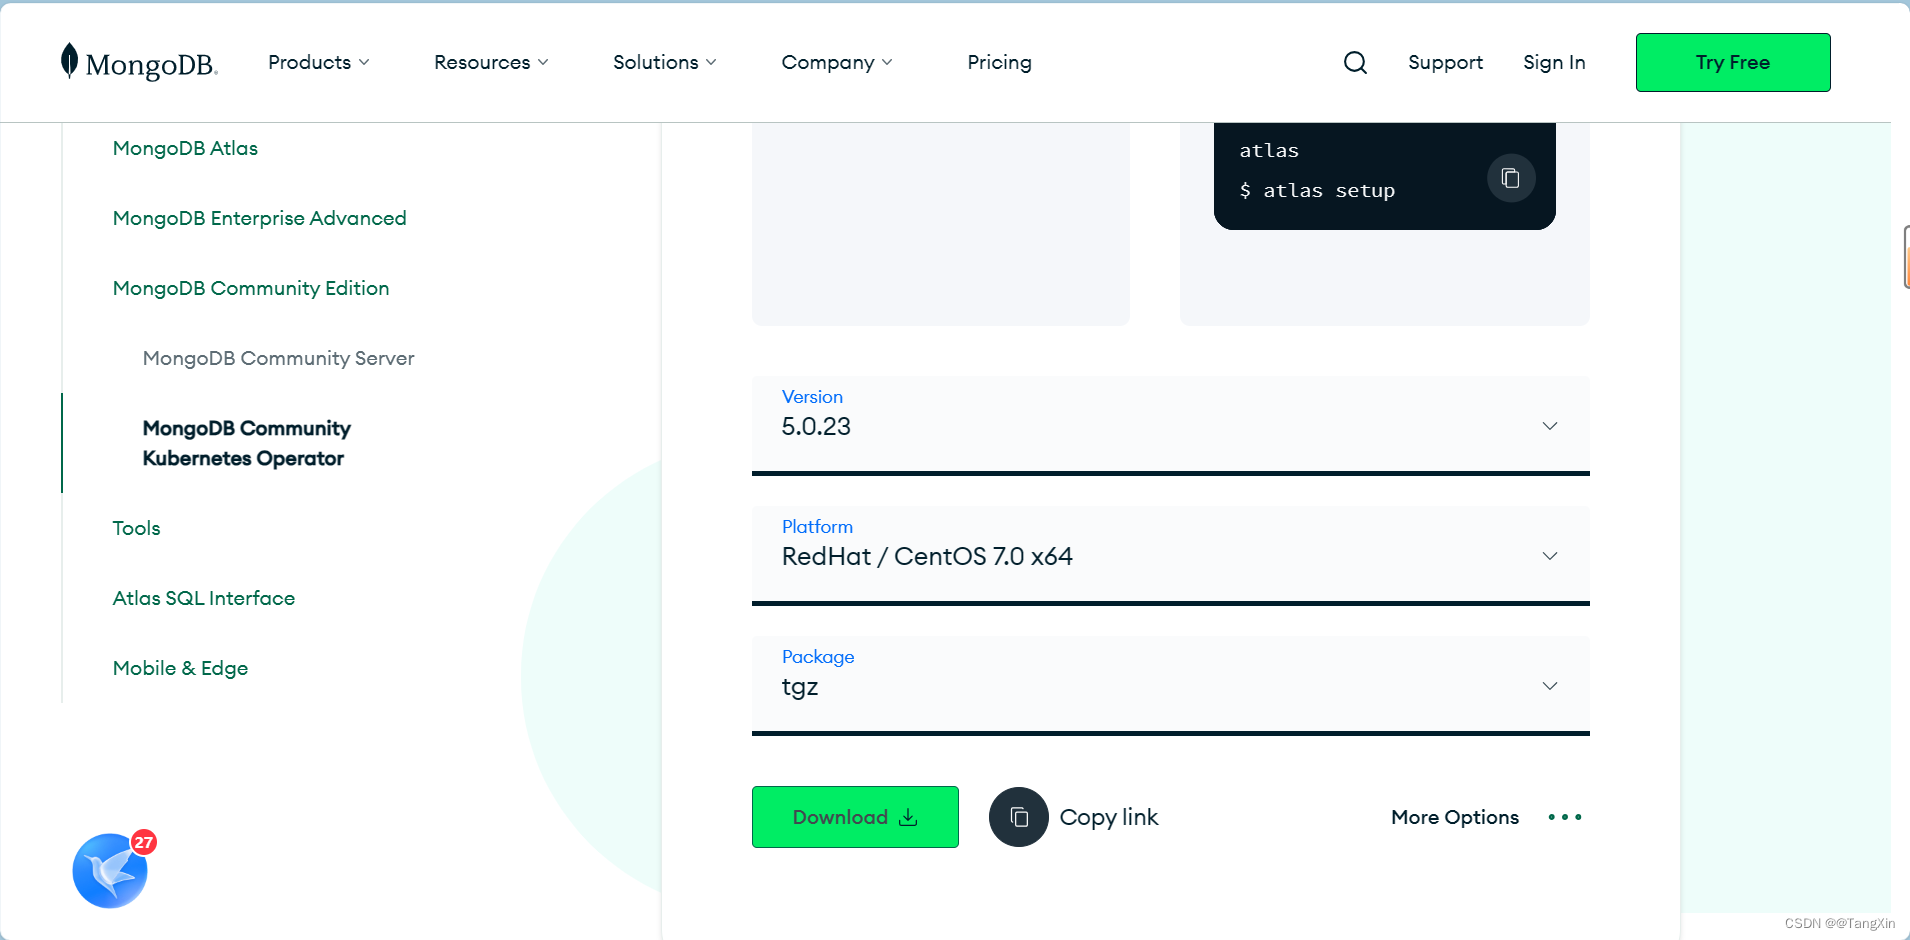
# 2.解压
tar -zxvf mongodb-linux-x86_64-rhel70-5.0.23.tgz -C /opt/software/yapi/# 3.重命名
cd /opt/software/yapi/
mv mongodb-linux-x86_64-rhel70-5.0.23 mongodb-5.0.23# 4.进入mongodb-5.0.23目录
# 创建与 bin 目录同级的 data\db 、log 和 conf 目录用于存放数据和日志
cd mongodb-5.0.23/
# 创建 data/db 文件夹存放数据
mkdir -p data/db# 创建 log 文件夹存放日志
mkdir log
# 在 log 目录下创建 mongodb.log 存放日志
touch log/mongodb.log# 创建 conf 文件夹存放配置文件
mkdir conf
# 在 conf 目录下创建 mongodb.conf 文件
touch conf/mongodb.conf
3.2 配置
# 1.添加 conf/mongodb.conf 配置
systemLog:# MongoDB发送所有日志输出的目标指定为文件# The path of the log file to which mongod or mongos should send all diagnostic logging informationdestination: file# mongod或mongos应向其发送所有诊断日志记录信息的日志文件的路径path: "/opt/software/yapi/mongodb-5.0.23/log/mongod.log"# 当mongos或mongod实例重新启动时,mongos或mongod会将新条目附加到现有日志文件的末尾。logAppend: true
storage:# mongod实例存储其数据的目录。storage.dbPath设置仅适用于mongod。# The directory where the mongod instance stores its data.Default Value is "/data/db".dbPath: "/opt/software/yapi/mongodb-5.0.23/data/db"journal:#启用或禁用持久性日志以确保数据文件保持有效和可恢复。enabled: true
processManagement:#启用在后台运行mongos或mongod进程的守护进程模式。fork: true
net:# 服务实例绑定的IP,默认是localhost(192.168.222.129:局域网IP)#bindIp: localhost,192.168.120.18bindIp: 0.0.0.0# bindIp#绑定的端口,默认是27017port: 27017
3.3 配置环境变量
vim /etc/profile
export MONGO_HOME=/opt/software/yapi/mongodb-5.0.23
export PATH=$PATH:${MONGO_HOME}/bin
source /etc/profile
3.4 启动
[root@jenkins18 ~]# mongod -f /opt/software/yapi/mongodb-5.0.23/conf/mongodb.conf
about to fork child process, waiting until server is ready for connections.
forked process: 8734
child process started successfully, parent exiting
[root@jenkins18 ~]# ps aux | grep mongo
root       8734  2.9  1.4 1579824 75704 ?       Sl   14:42   0:01 mongod -f /opt/software/yapi/mongodb-5.0.23/conf/mongodb.conf
root       8800  0.0  0.0 112808   968 pts/0    S+   14:43   0:00 grep --color=auto mongo
3.5 关闭
方式1:正常关闭:
# 客户端登录服务,注意,这里通过localhost登录,如果需要远程登录,必须先登录认证才行。
mongo --port 27017# 关闭服务
use admin
db.shutdownServer()方式二:快速关闭:
#通过进程编号关闭节点
kill -2 pid
4.安装YAPI
4.1 离线安装
# 1.下载:http://ued.qunar.com/yapi/devops/index.html
# 从GitHub下载最新包:
https://gh.api.99988866.xyz/https://github.com/YMFE/yapi/archive/refs/tags/v1.12.0.tar.gz# 2.解压
tar -zxvf yapi-1.12.0.tar.gz -C /opt/yapi/
cd /opt/yapi/
mv yapi-1.12.0 vendors
cp vendors/config_example.json ./config.json# 3.安装启动
cd vendors
npm install --production --registry https://registry.npm.taobao.org
npm run install-server //安装程序会初始化数据库索引和管理员账号,管理员账号名可在 config.json 配置
node server/app.js //启动服务器后,请访问 127.0.0.1:{config.json配置的端口},初次运行会有个编译的过程,请耐心等候# 部署方式:后台运行
# 直接node启动,在控制台上运行,关闭控制台服务将自动退出,想要服务在后台运行,可以安装forever实现后台运行
cd /opt/yapi/vendors/server
# 安装forever
npm install forever -g
# 添加forever到环境变量
ln -s /opt/software/yapi/node-v12.18.3-linux-x64/lib/node_modules/forever/bin/forever /usr/local/bin
# 在yapi安装目录下/opt/yapi/vendors/server目录下启动应用
[root@jenkins18 server]# forever start app.js
warn:    --minUptime not set. Defaulting to: 1000ms
warn:    --spinSleepTime not set. Your script will exit if it does not stay up for at least 1000ms
info:    Forever processing file: app.js# 关闭应用
[root@jenkins18 server]# forever stop app.js
info:    Forever stopped process:uid  command                                             script forever pid   id logfile                 uptime
[0] tUD7 /opt/software/yapi/node-v12.18.3-linux-x64/bin/node app.js 18927   18934    /root/.forever/tUD7.log 0:0:0:36.07# 重启所有应用
[root@jenkins18 server]# forever restartall
4.2 页面安装(本次采用)
# 可视化部署
npm install -g yapi-cli --registry https://registry.npm.taobao.org
yapi server[root@jenkins18 ~]# npm install -g yapi-cli --registry https://registry.npm.taobao.org
npm WARN deprecated axios@0.16.2: Critical security vulnerability fixed in v0.21.1. For more information, see https://github.com/axios/axios/pull/3410
npm WARN deprecated bson@1.0.9: Fixed a critical issue with BSON serialization documented in CVE-2019-2391, see https://bit.ly/2KcpXdo for more details
/opt/software/yapi/node-v12.18.3-linux-x64/bin/yapi -> /opt/software/yapi/node-v12.18.3-linux-x64/lib/node_modules/yapi-cli/bin/yapi-cli
/opt/software/yapi/node-v12.18.3-linux-x64/bin/yapi-cli -> /opt/software/yapi/node-v12.18.3-linux-x64/lib/node_modules/yapi-cli/bin/yapi-cli
+ yapi-cli@1.5.0
added 268 packages from 122 contributors in 59.095s[root@jenkins18 ~]# yapi server
在浏览器打开 http://0.0.0.0:9090 访问。非本地服务器,请将 0.0.0.0 替换成指定的域名或ip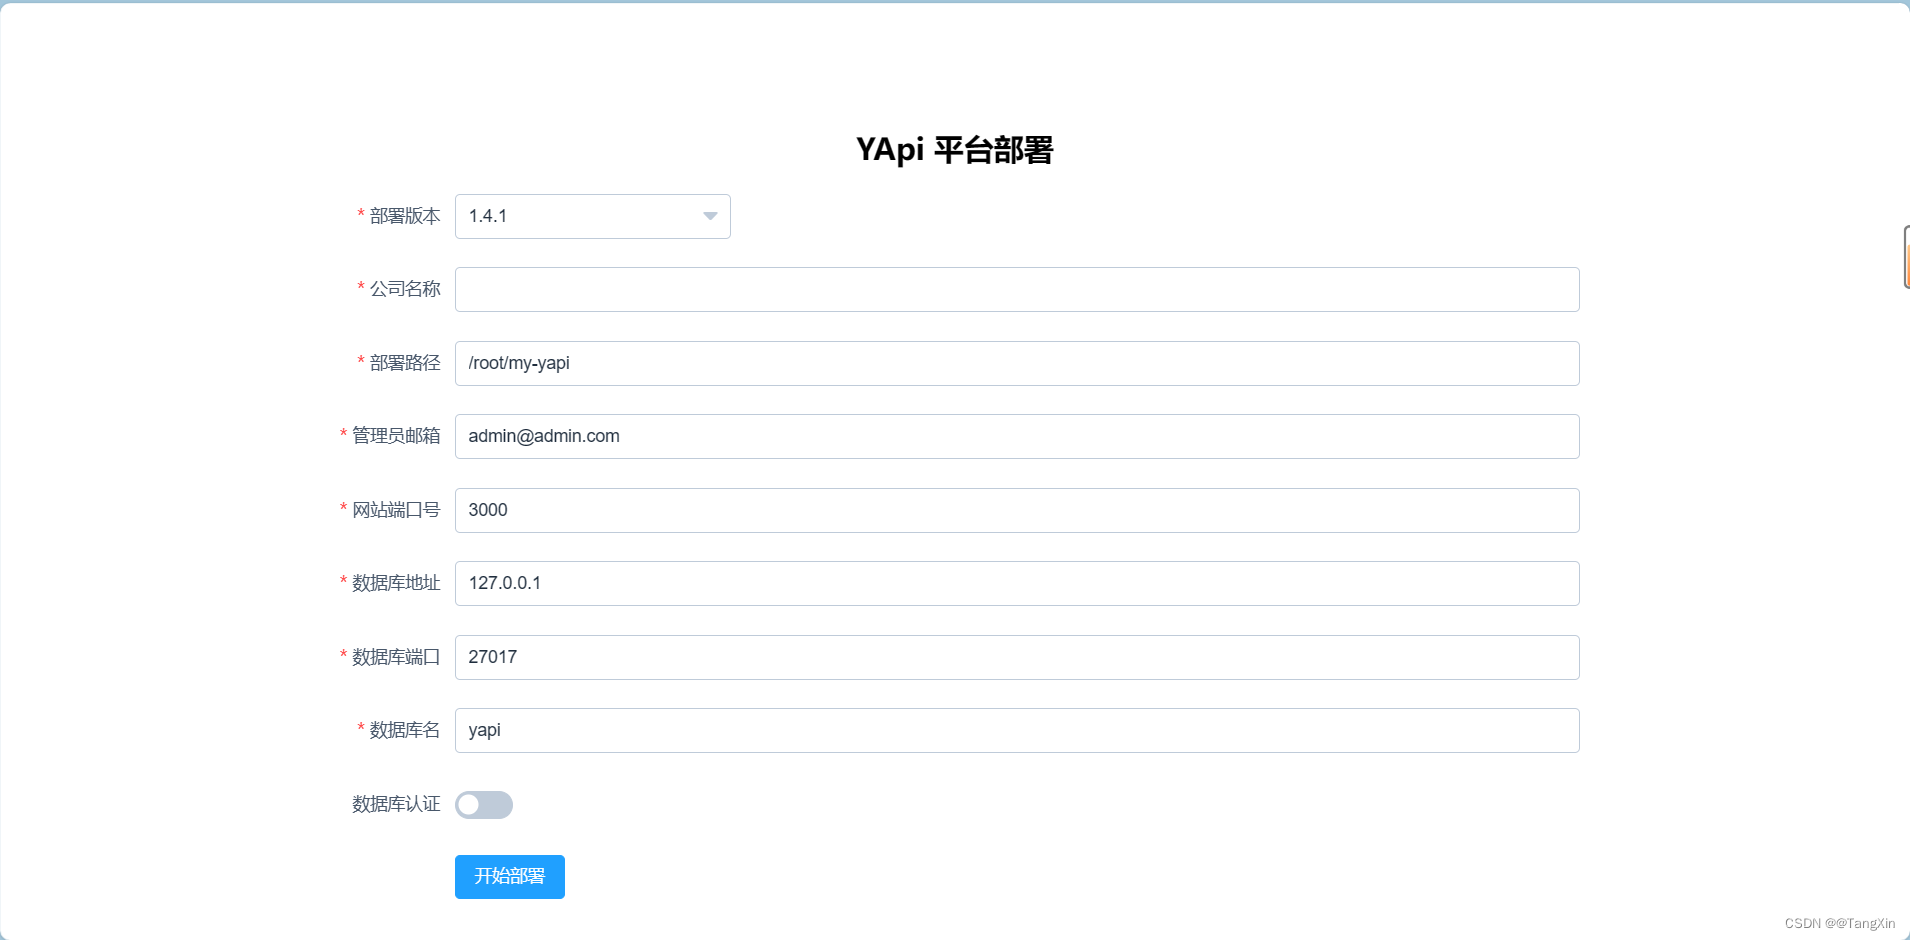

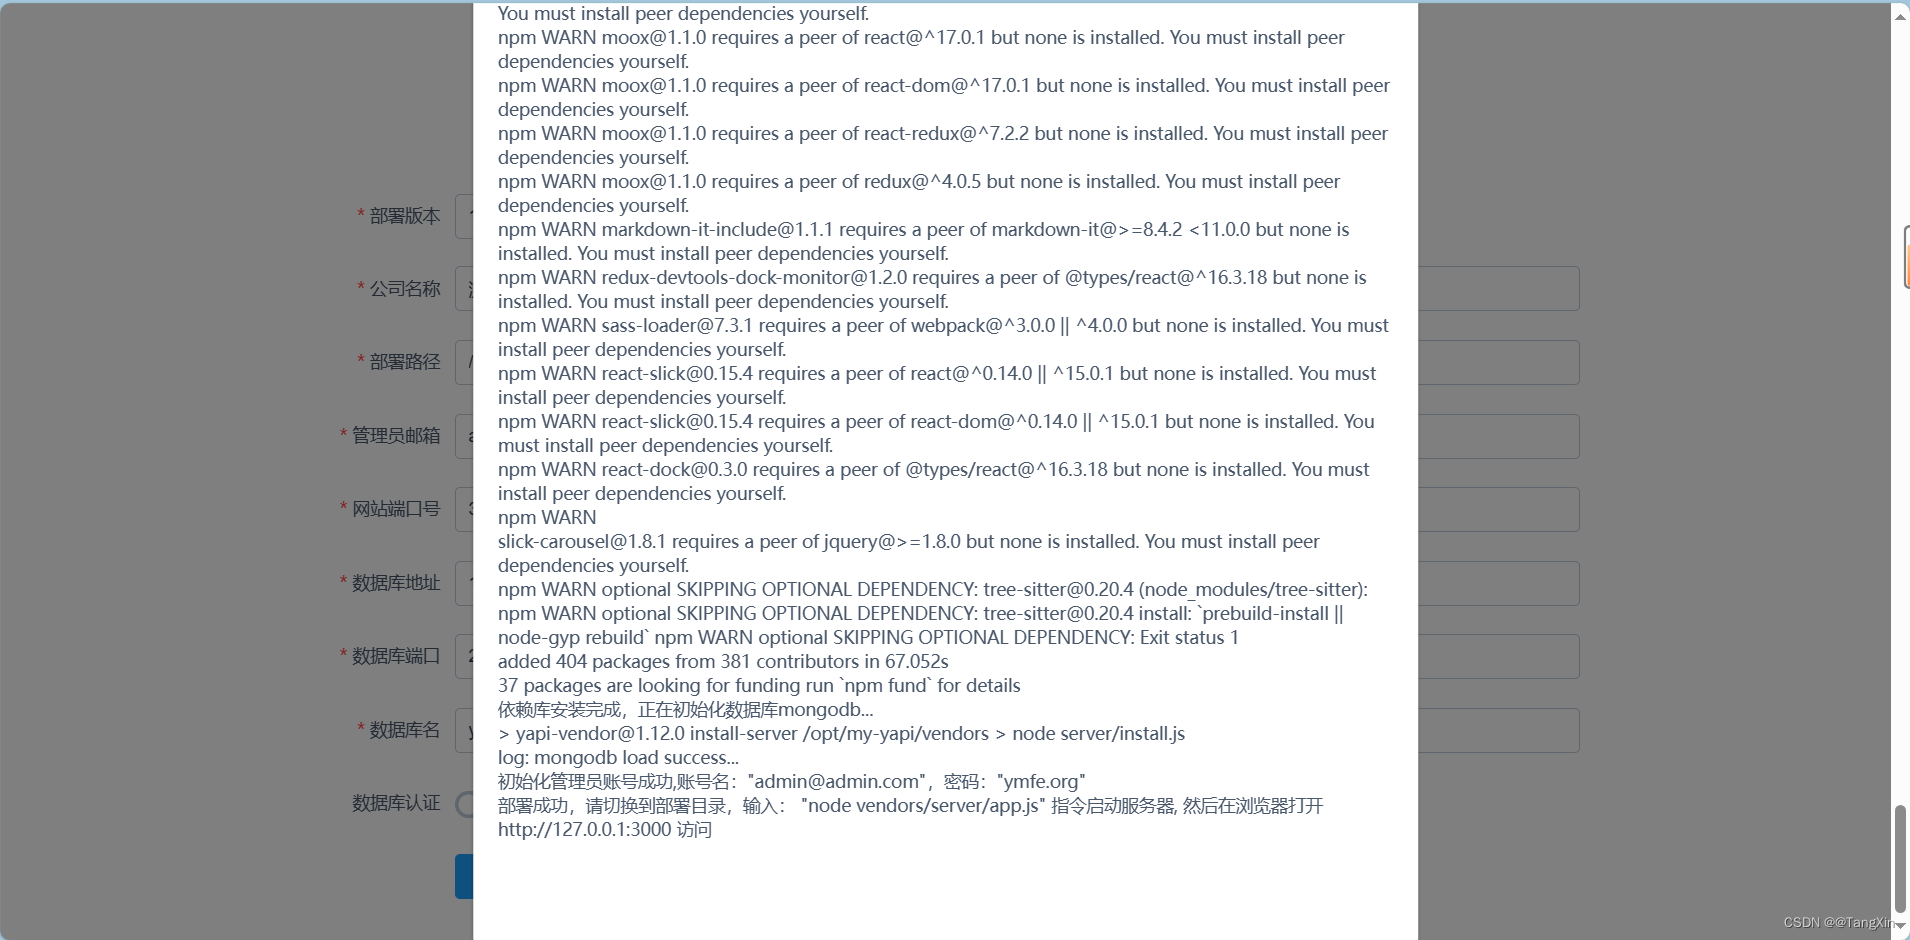
初始化管理员账号成功,账号名:"admin@admin.com",密码:"ymfe.org"
部署成功,请切换到部署目录,输入: "node vendors/server/app.js" 指令启动服务器, 然后在浏览器打开 http://127.0.0.1:3000 访问

4.3 访问
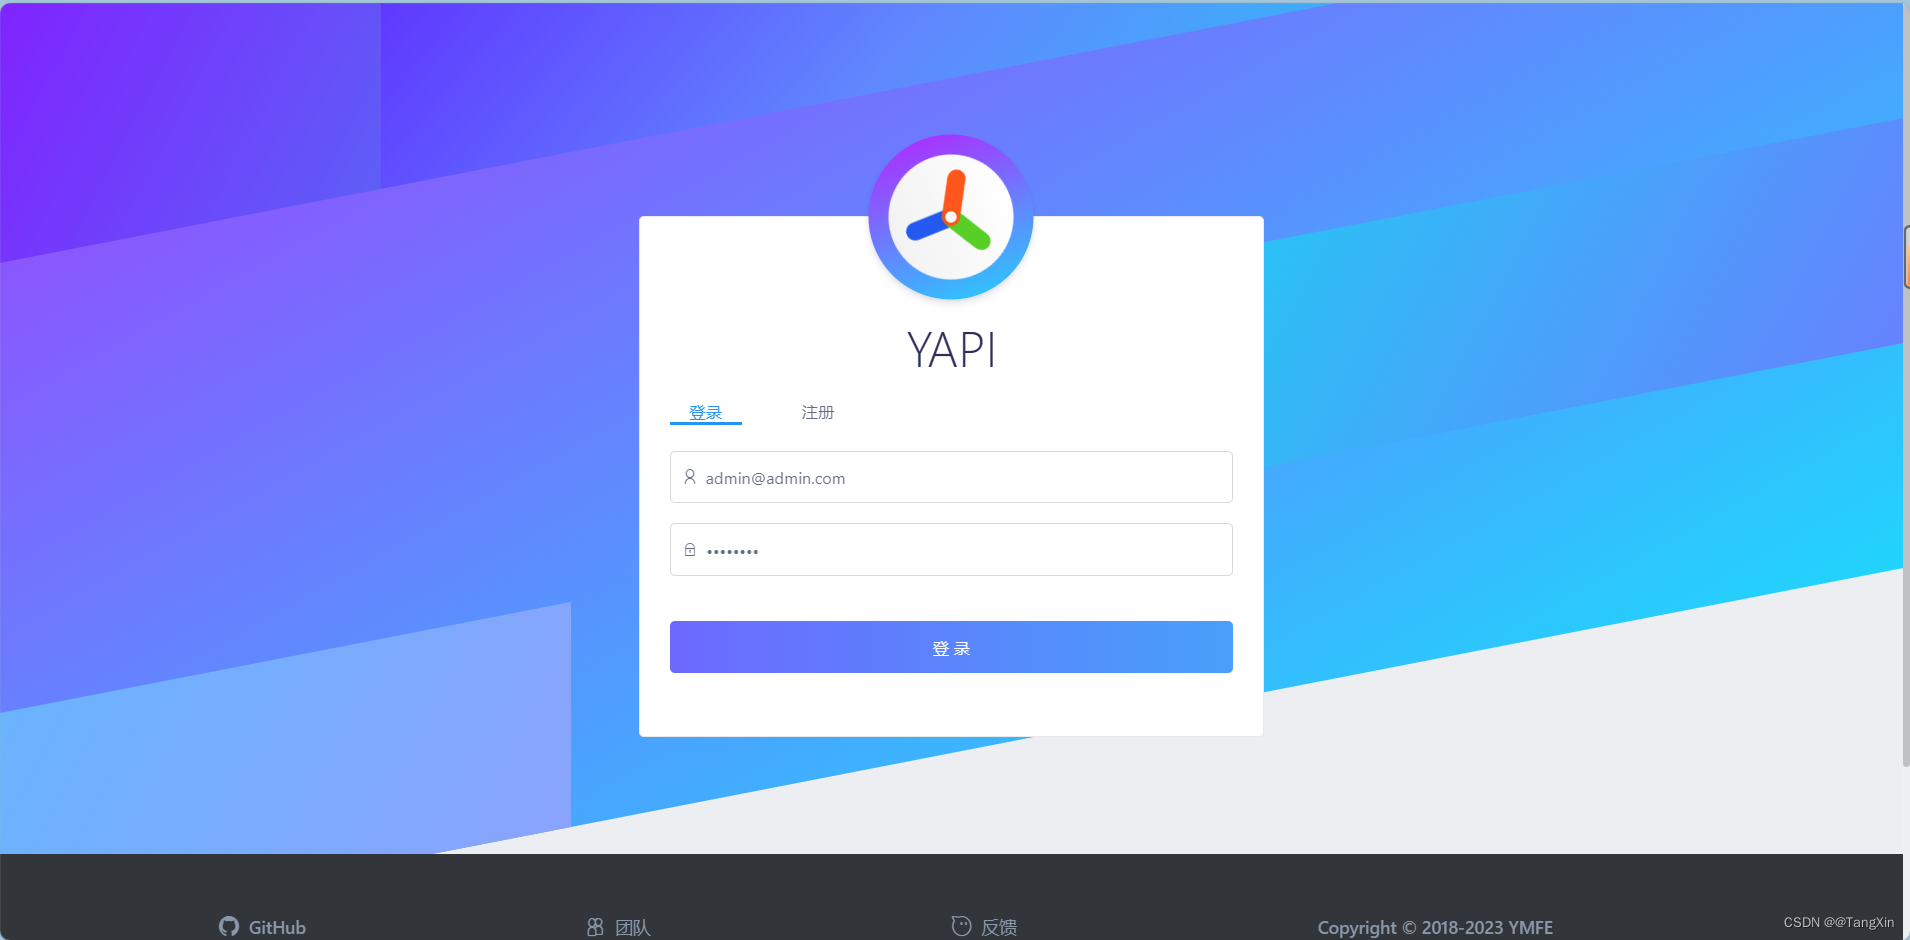
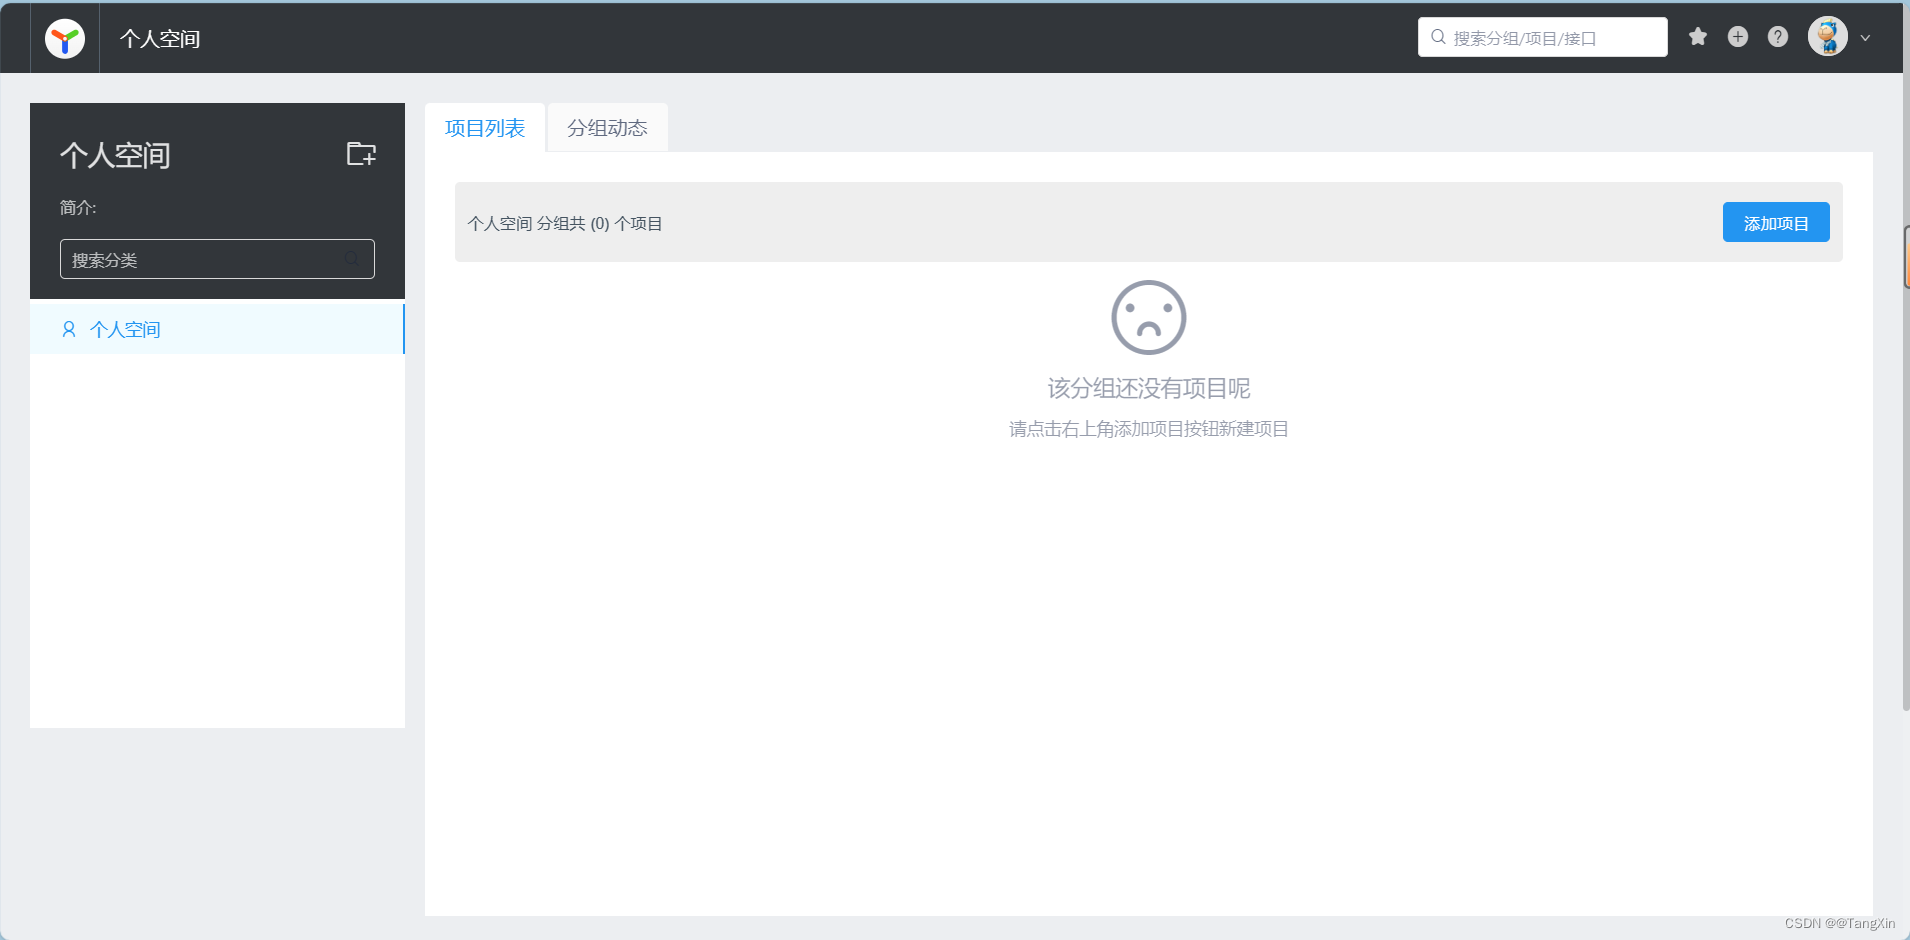
# 通过浏览器打开:http://ip:3000进入安装界面
http://192.168.120.18:3000/login
这篇关于Yapi接口管理平台Centos7部署的文章就介绍到这儿,希望我们推荐的文章对编程师们有所帮助!


