本文主要是介绍【三】Kubernetes 部署一个App 【Deploying an App】,希望对大家解决编程问题提供一定的参考价值,需要的开发者们随着小编来一起学习吧!
Tutorials 指导教程访问地址

Deploy our app
Let’s run our first app on Kubernetes with the kubectl run command. The run command creates a new deployment. We need to provide the deployment name and app image location (include the full repository url for images hosted outside Docker hub). We want to run the app on a specific port so we add the –port parameter:
--下载镜像
docker pull registry.cn-hangzhou.aliyuncs.com/ecloud/kubernetes-bootcamp
docker tag  registry.cn-hangzhou.aliyuncs.com/ecloud/kubernetes-bootcamp gcr.io/google-samples/kubernetes-bootcamp:v1
--运行
kubectl run kubernetes-bootcamp --image=gcr.io/google-samples/kubernetes-bootcamp:v1 --port=8080
Great! You just deployed your first application by creating a deployment. This performed a few things for you:
- searched for a suitable node where an instance of the application could be run (we have only 1 available node)
- scheduled the application to run on that Node
- configured the cluster to reschedule the instance on a new Node when needed
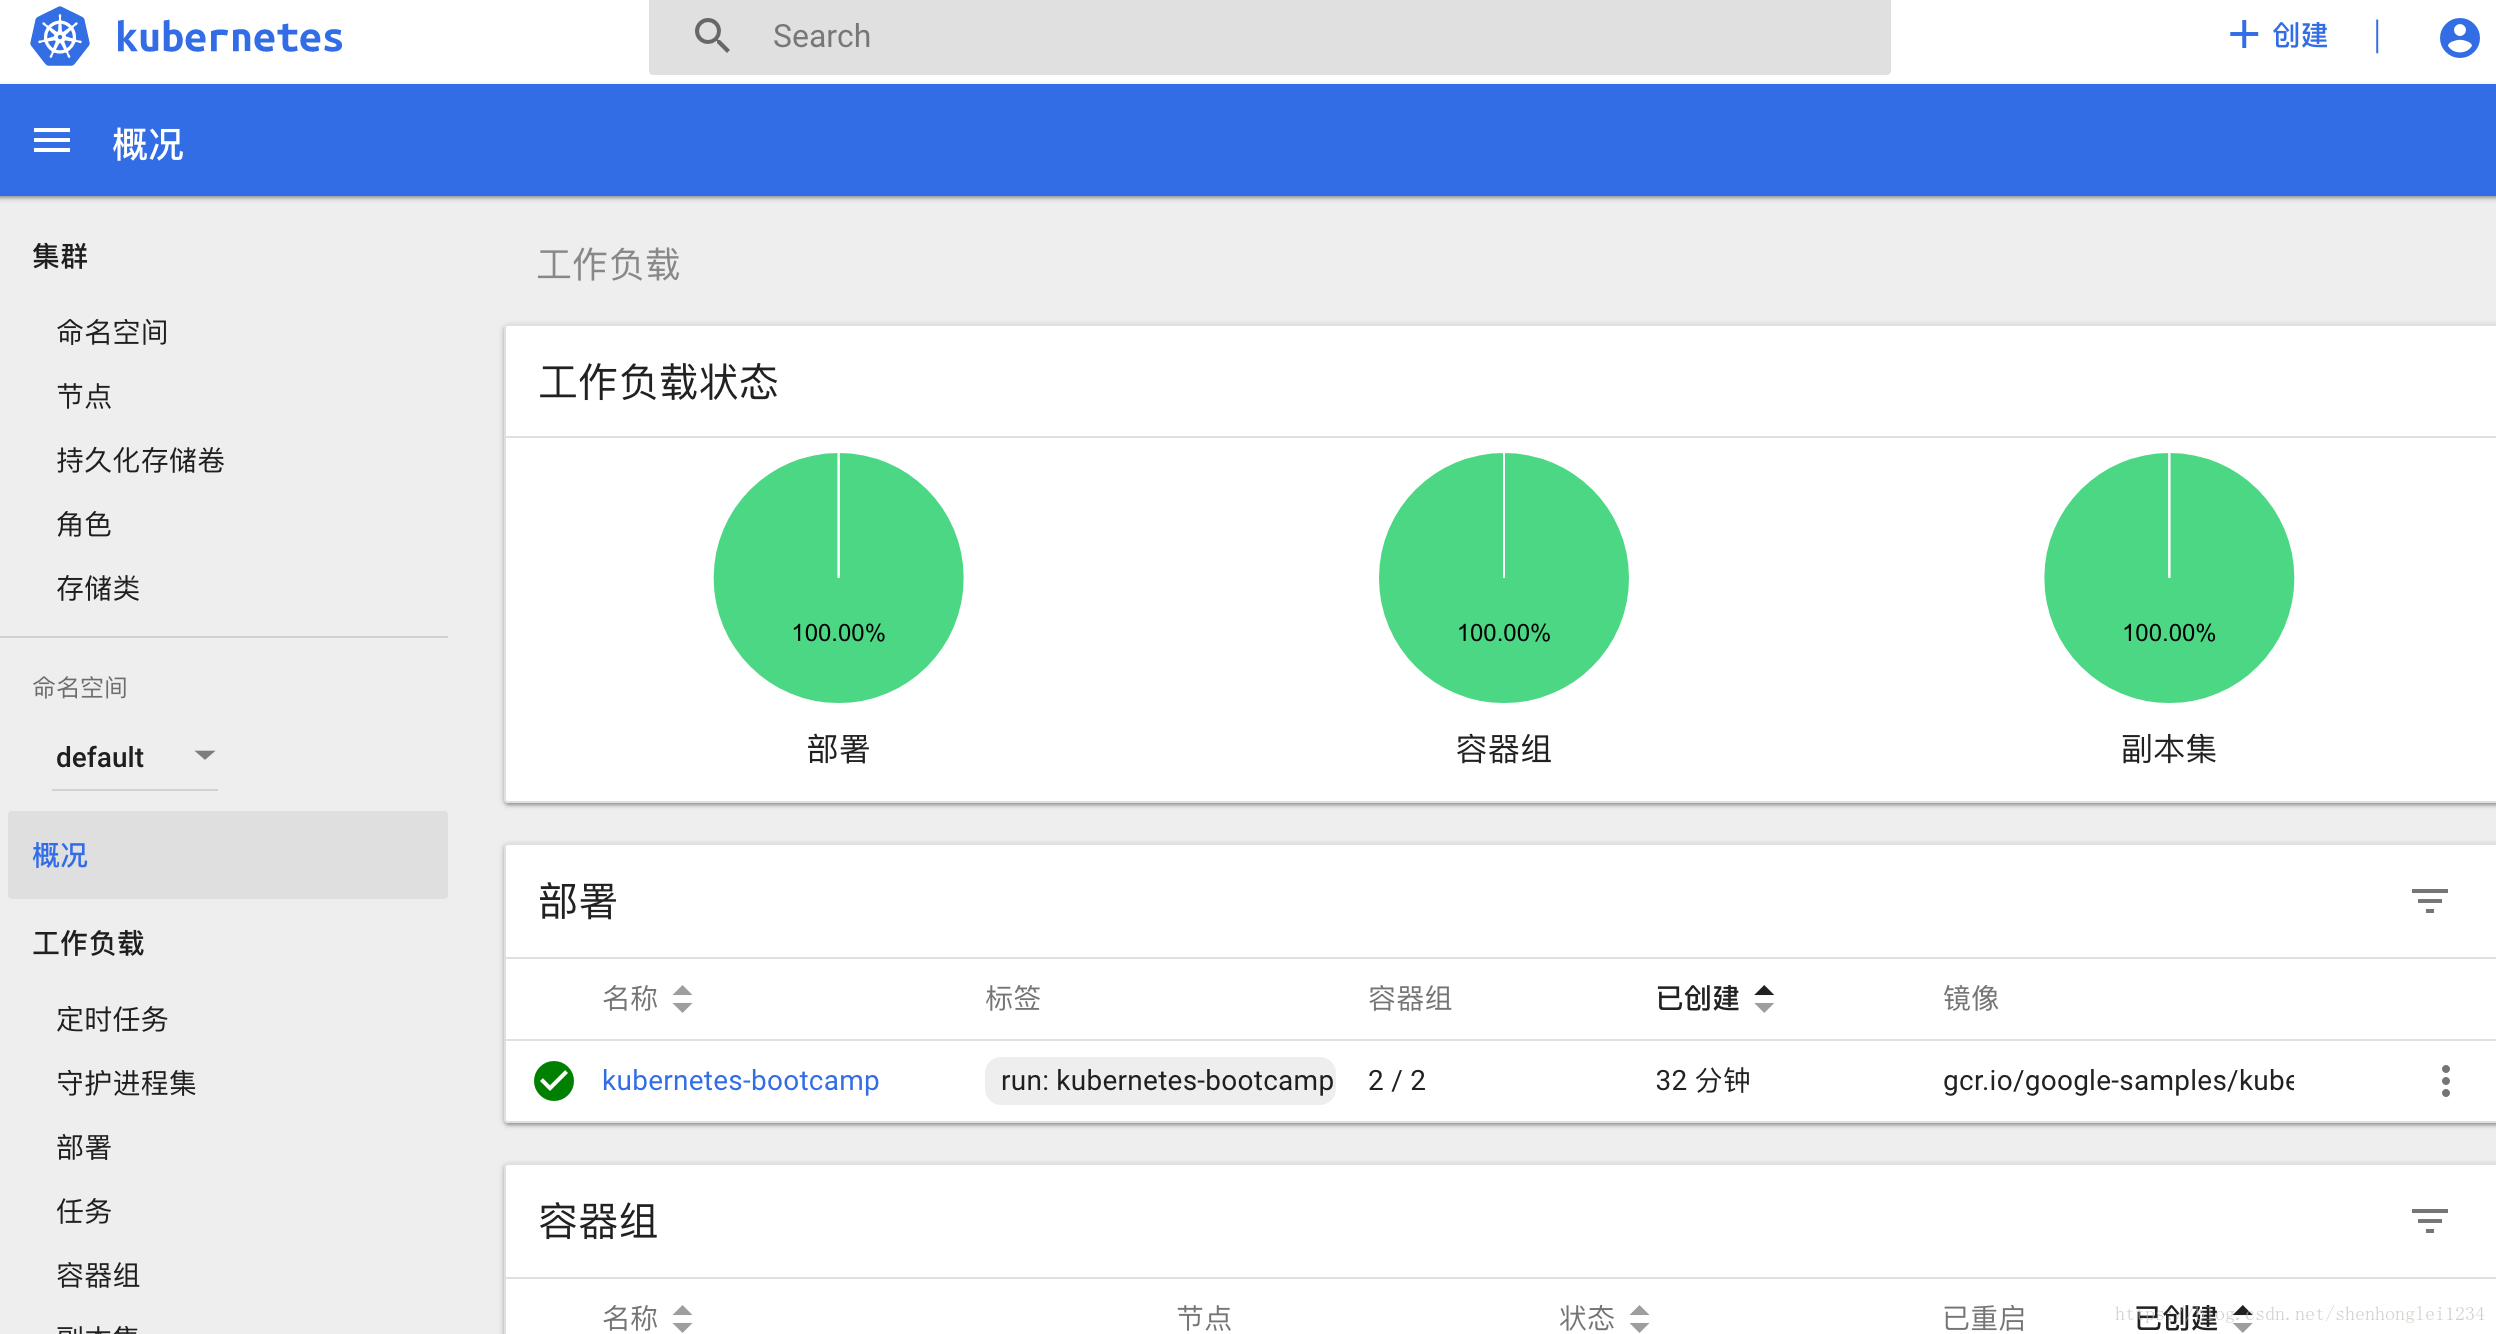
To list your deployments use the get deployments command:
kubectl get deploymentsWe see that there is 1 deployment running a single instance of your app. The instance is running inside a Docker container on your node.
View our app
Pods that are running inside Kubernetes are running on a private, isolated network. By default they are visible from other pods and services within the same kubernetes cluster, but not outside that network. When we use kubectl, we’re interacting through an API endpoint to communicate with our application.
We will cover other options on how to expose your application outside the kubernetes cluster in Module 4.
The kubectl command can create a proxy that will forward communications into the cluster-wide, private network. The proxy can be terminated by pressing control-C and won’t show any output while its running.
We will open a second terminal window to run the proxy.
kubectl proxyWe now have a connection between our host (the online terminal) and the Kubernetes cluster. The proxy enables direct access to the API from these terminals.
You can see all those APIs hosted through the proxy endpoint, now available at through http://localhost:8001. For example, we can query the version directly through the API using the curl command:
curl http://localhost:8001/versionThe API server will automatically create an endpoint for each pod, based on the pod name, that is also accessible through the proxy.
First we need to get the Pod name, and we’ll store in the environment variable POD_NAME:
export POD_NAME=$(kubectl get pods -o go-template --template '{{range .items}}{{.metadata.name}}{{"\n"}}{{end}}') echo Name of the Pod: $POD_NAMENow we can make an HTTP request to the application running in that pod:
curl http://localhost:8001/api/v1/namespaces/default/pods/$POD_NAME/proxy/The url is the route to the API of the Pod.
Note: Check the top of the terminal. The proxy was run in a new tab (Terminal 2), and the recent commands were executed the original tab (Terminal 1). The proxy still runs in the second tab, and this allowed our curl command to work using localhost:8001.
这篇关于【三】Kubernetes 部署一个App 【Deploying an App】的文章就介绍到这儿,希望我们推荐的文章对编程师们有所帮助!


