本文主要是介绍MinGW-w64——C/C++编译器安装(仅供学生参考),希望对大家解决编程问题提供一定的参考价值,需要的开发者们随着小编来一起学习吧!
一、MinGW-w64 Introduce
Mingw-w64 is an advancement of the original mingw.org project, created to support the GCC com
iler on Windows systems. It has forked it in 2007 in order to provide support for 64 bits and new APIs. It has since then gained widespread use and distribution.
The development and community are very active and welcoming with new contributors every month and simple installers.
Headers, Libraries and Runtime
- More than a million lines of headers are provided, not counting generated ones, and regularly expanded to track new Windows APIs.
- Everything needed for linking and running your code on Windows.
- Winpthreads, a pthreads library for C++11 threading support and simple integration with existing project.
- Winstorecompat, a work-in-progress convenience library that eases conformance with the Windows Store.
- Better-conforming and faster math support compared to VisualStudio's.
Tools
- gendef: generate Visual Studio .def files from .dll files.
- genidl: generate .idl files from .dll files.
- widl: compile .idl files.
(本段是官网关于MinGW-w64 的简介,可以忽略。总而言之:MinGW-w64就是可在Windows、Linux等OS中运行的C/C++编译器)
二、安装教程
本人在下载的时候是从官网下载的,网速真的感人!(因为没找到带有网盘链接的文章)
正所谓“自己经历过了风雨,就想着为别人撑起一把雨伞”
网盘链接奉上:x86_64-8.1.0-release-win32-sjlj-rt_v6-rev0.7z官方版下载(解压码:rodm)
1.找到下载的压缩包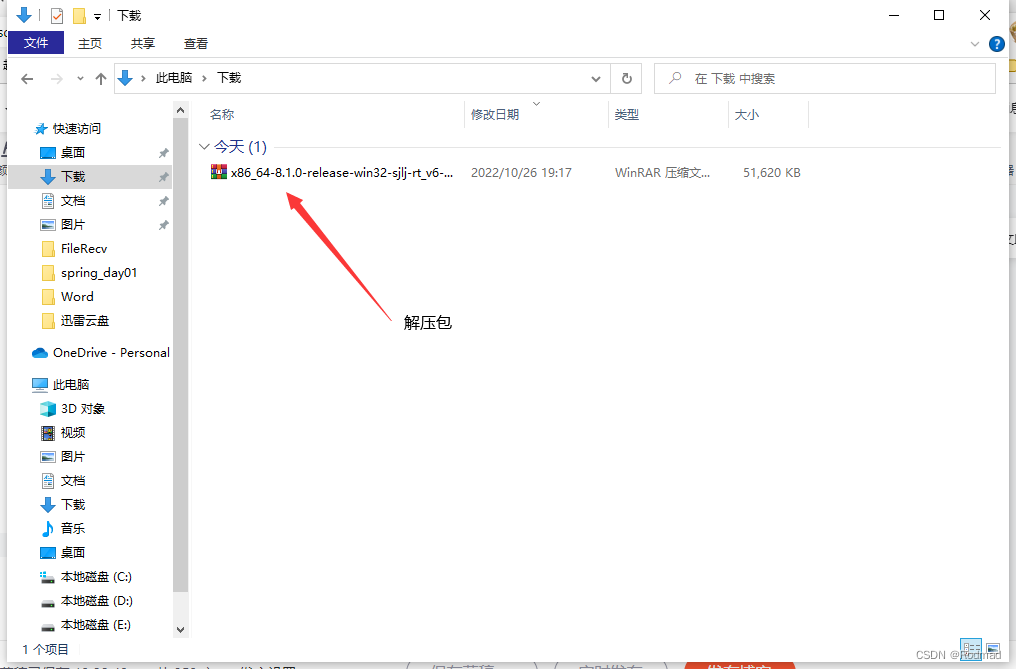
2.把压缩包解压到本地磁盘
3*.打开上面的文件夹(此步可以跳过)

4.找到电脑高级系统设置,并进入配置运行环境

5.点击环境变量

6.进入环境变量页面,在系统变量里找到并新建变量

7.如图所示,对变量进行设置

8.配置完变量,需要将变量加入系统路径中。在系统变量里找到Path变量,可以双击进入,也可以选中Path变量后点击编辑。红圈里的内容为需要编辑的内容

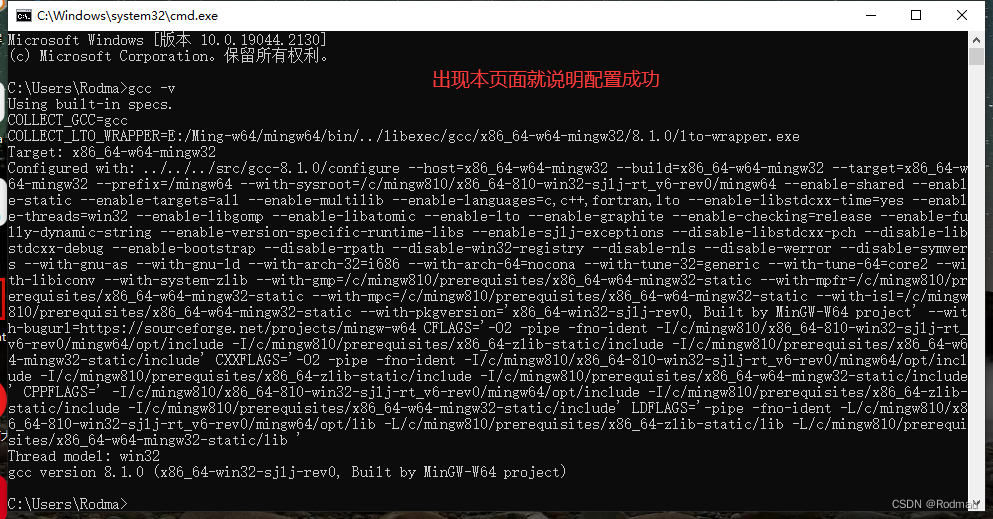
10.以上步骤配置完成后,可以使用cmd对配置的内容进行验证。按键盘上的win键+R,然后输入cmd。

11.在界面里键入 gcc -v后,显示如下界面即配置成功。
注:望大家能够多多点赞,制作不易,谢谢大家。
这篇关于MinGW-w64——C/C++编译器安装(仅供学生参考)的文章就介绍到这儿,希望我们推荐的文章对编程师们有所帮助!


