本文主要是介绍ubuntu系统sip 服务器搭建,ubuntu12.04安装配置opensips,搭建voip服务器,希望对大家解决编程问题提供一定的参考价值,需要的开发者们随着小编来一起学习吧!
通过部署opensips, opensips-cp, rtpproxy, mediaproxy实现voip通话。测试可以通过安卓原生客户端验证,CSipSimple客户端通话(拨打/接收)
1.安装opensips
opensips需要编译源码安装
官网:http://opensips.org
文件目录:http://opensips.org/pub/opensips/1.11.2/src/
wget http://opensips.org/pub/opensips/1.11.2/src/opensips-1.11.2_src.tar.gz
tar xcf opensips-1.11.2_src.tar.gz
cd opensips-1.11.2-tls/
make menuconfig
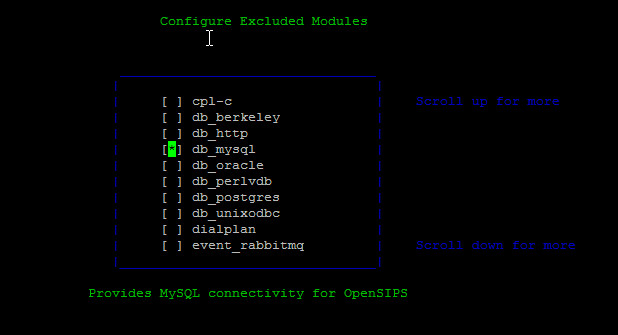
在menuconfig中选择—>Configure Compile Options—> Configure Excluded Modules
方向键向下滚动,按空格选中[*] db_mysql

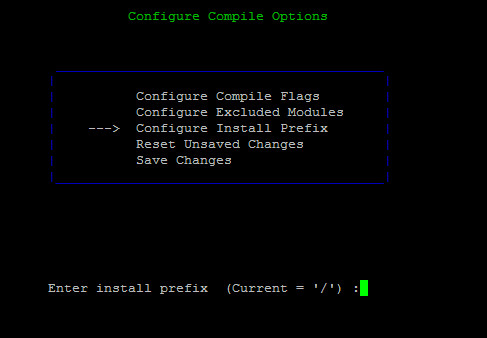
按q键返回上一级,选择—> Configure Install Prefix,输入/回车表示安装在/目录下的配置目录而不是/usr/local目录下。

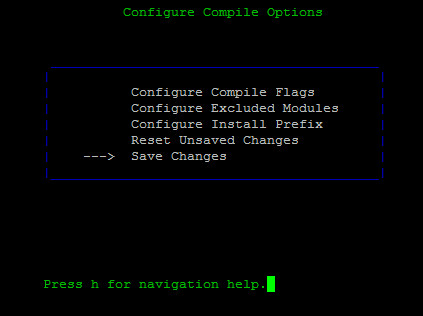
选择 —> Save Changes 保存修改。

按q返回,选择 —> Compile And Install OpenSIPS,回车安装。
安装完成后会将配置文件放在/etc/opensips目录下。运行文件在/sbin目录下。
如果出现依赖错误,先通过apt-get安装依赖。
2.配置opensips
进入/etc/opensips目录,运行osipsconfig命令
cd /etc/opensips
osipsconfig
依次选择—> Generate OpenSIPS Script —> Residential Script —> Configure Residential Script
选中如下几项
[*] ENABLE_TCP
[*] USE_ALIASES
[*] USE_AUTH
[*] USE_DBACC
[*] USE_DBUSRLOC
[*] USE_DIALOG
[*] USE_NAT
按q返回,选择 —> Generate Residential Script 回车,生成新的配置文件。按q(三次)退出命令
将新生成的opensips_residential_*.cfg文件重命名为opensips.cfg编辑
mv opensips_residential_2014-7-10_16:19:22.cfg opensips.cfg
vi opensips.cfg
修改为如下内容
debug=3
log_stderror=no
log_facility=LOG_LOCAL0
fork=yes
children=4
/* uncomment the following lines to enable debugging */
#debug=6
#fork=no
#log_stderror=yes
/* uncomment the next line to enable the auto temporary blacklisting of
not available destinations (default disabled) */
#disable_dns_blacklist=no
/* uncomment the next line to enable IPv6 lookup after IPv4 dns
lookup failures (default disabled) */
#dns_try_ipv6=yes
/* comment the next line to enable the auto discovery of local aliases
based on revers DNS on IPs */
auto_aliases=no
这篇关于ubuntu系统sip 服务器搭建,ubuntu12.04安装配置opensips,搭建voip服务器的文章就介绍到这儿,希望我们推荐的文章对编程师们有所帮助!


