本文主要是介绍umi4 实现msal aad 登录loginRedirect方式并获取令牌,希望对大家解决编程问题提供一定的参考价值,需要的开发者们随着小编来一起学习吧!
在 Umi 4 中使用 Ant Design Pro Layout 以及 MSAL (Microsoft Authentication Library) 实现登录并获取令牌进入到首页,你需要按照以下步骤进行操作:
- 安装所需依赖:
使用 npm 或 yarn 安装所需的包:
或npm install @azure/msal-browser @azure/msal-react ant-design/pro-layoutyarn add @azure/msal-browser @azure/msal-react ant-design/pro-layout
2. 配置 MSAL:
在项目中创建一个新文件,例如 src/msalConfig.js。在此文件中,配置 MSAL 实例并导出它:
import { PublicClientApplication } from "@azure/msal-browser";  const msalConfig = {  auth: {  clientId: "your-client-id",  authority: "https://login.microsoftonline.com/your-tenant-id",  redirectUri: "http://localhost:8000",  },
};  const msalInstance = new PublicClientApplication(msalConfig);  export { msalInstance };
请将 your-client-id 和 your-tenant-id 替换为在 Azure Portal 中注册的应用程序的相应值。
注意:要想实现整个应用程序中管理用户的身份验证状态,在umi4之前layout 有children 属性直接用
MsalProvider标签包裹就可以。而umi4没有使用Outlet标签替代children,思考如何实现呢
3、更新 src/app.tsx 以包含 MsalProvider:
import React from 'react';
import { history } from 'umi';
import { msalInstance } from './msalConfig';
import { MsalProvider } from '@azure/msal-react';  export function render(oldRender) {  oldRender();
}  export function rootContainer(container) {  return React.createElement(  MsalProvider,  {  instance: msalInstance,  },  container  );
}
解释app.tsx
这段代码是一个umi插件的入口文件,其中包含了两个函数:
render和rootContainer。
render函数是umi框架提供的函数,在应用程序启动之前会被调用,用来执行一些额外的初始化操作。在这个示例中,oldRender参数是一个回调函数,它会在render函数执行完毕后被调用,以便继续渲染应用程序。
rootContainer函数则是应用程序的根组件,它接收一个名为container的参数,该参数表示应用程序中所有其他组件的层次结构。在这个示例中,rootContainer函数返回一个MsalProvider组件,它是Azure Active Directory中的一个React组件,用于在整个应用程序中管理用户的身份验证状态。
MsalProvider组件接收一个名为instance的属性,它是一个MSAL实例,用于管理身份验证和令牌获取等操作。在这个示例中,msalInstance是从@/layouts/msalConfig导入的,它是一个MSAL实例的配置文件,包含了应用程序的客户端ID和租户ID等信息。最后,
rootContainer函数使用React.createElement函数将MsalProvider组件和container参数一起传递,以便将其作为根组件渲染到应用程序中。
4. 创建一个登录组件,例如 src/pages/login/index.js,并实现 MSAL loginRedirect 方法:
import React from "react";
import { useMsal } from "@azure/msal-react";  const Login = () => {  const { instance } = useMsal();  const handleLogin = () => {  const loginRequest = {  scopes: ["openid", "profile", "User.Read"],  // 换成自己的租户授权信息};  instance.loginRedirect(loginRequest);  };  return (  <div>  <button onClick={handleLogin}>Login with Microsoft</button>  </div>  );
};  export default Login;
5. 使用 Ant Design Pro Layout 和 Outlet 路由标签实现登录跳转:
在 src/layouts/index.js 中,使用 ProLayout 和 Outlet 标签并在成功登录并获取到令牌后执行跳转到首页:
import React, { useEffect } from "react";
import ProLayout from "@ant-design/pro-layout";
import { Outlet } from "react-router-dom";
import { useMsal } from "@azure/msal-react";
import { useHistory } from "react-router-dom";  const Layout = () => {  const { instance } = useMsal();  const history = useHistory();  useEffect(() => {  const handleRedirect = async () => {  const response = await instance.handleRedirectPromise();  if (response) {  // 登录成功,跳转到首页  history.push("/");  }  };  handleRedirect();  }, [instance, history]);  return (  <ProLayout>  <Outlet />  </ProLayout>  );
};  export default Layout;
使用此代码,当用户成功登录
注意,我们做的是单页面应用在 Azure 的时候按照以下步骤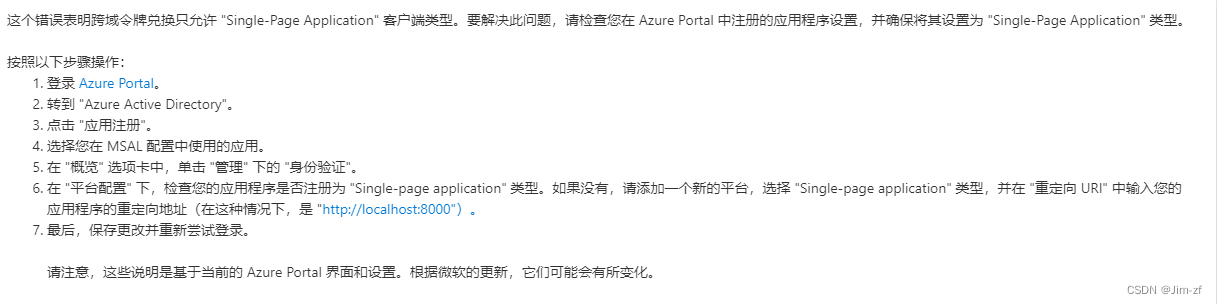
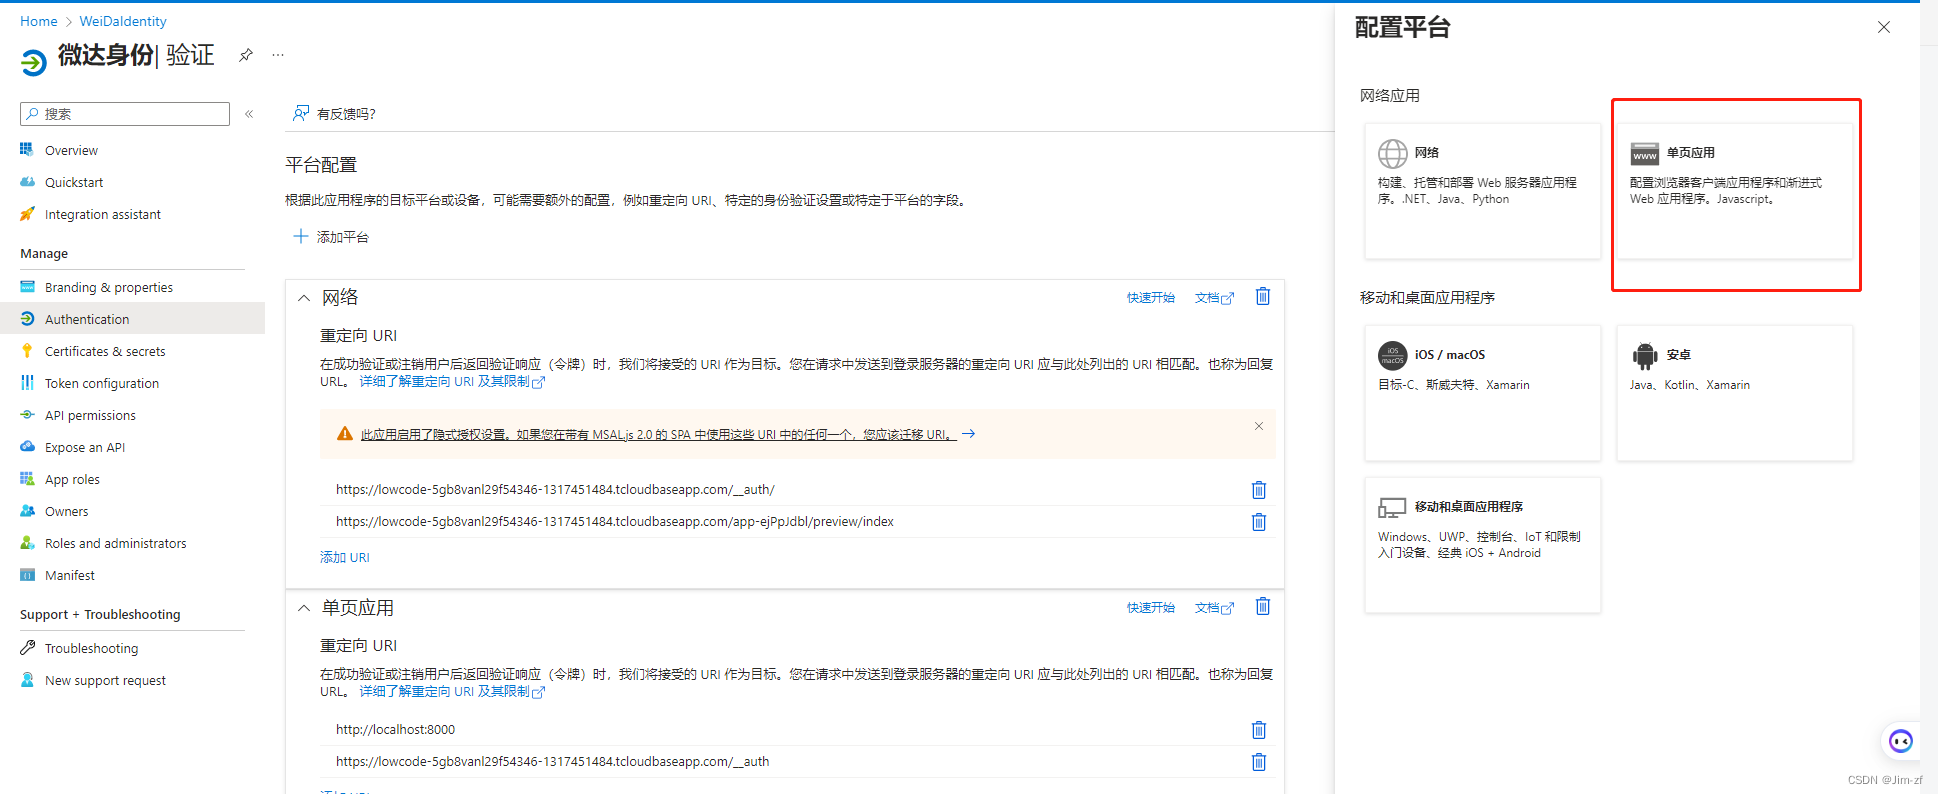
将redirectUri 设置为你的代码里的回调地址
拓展、
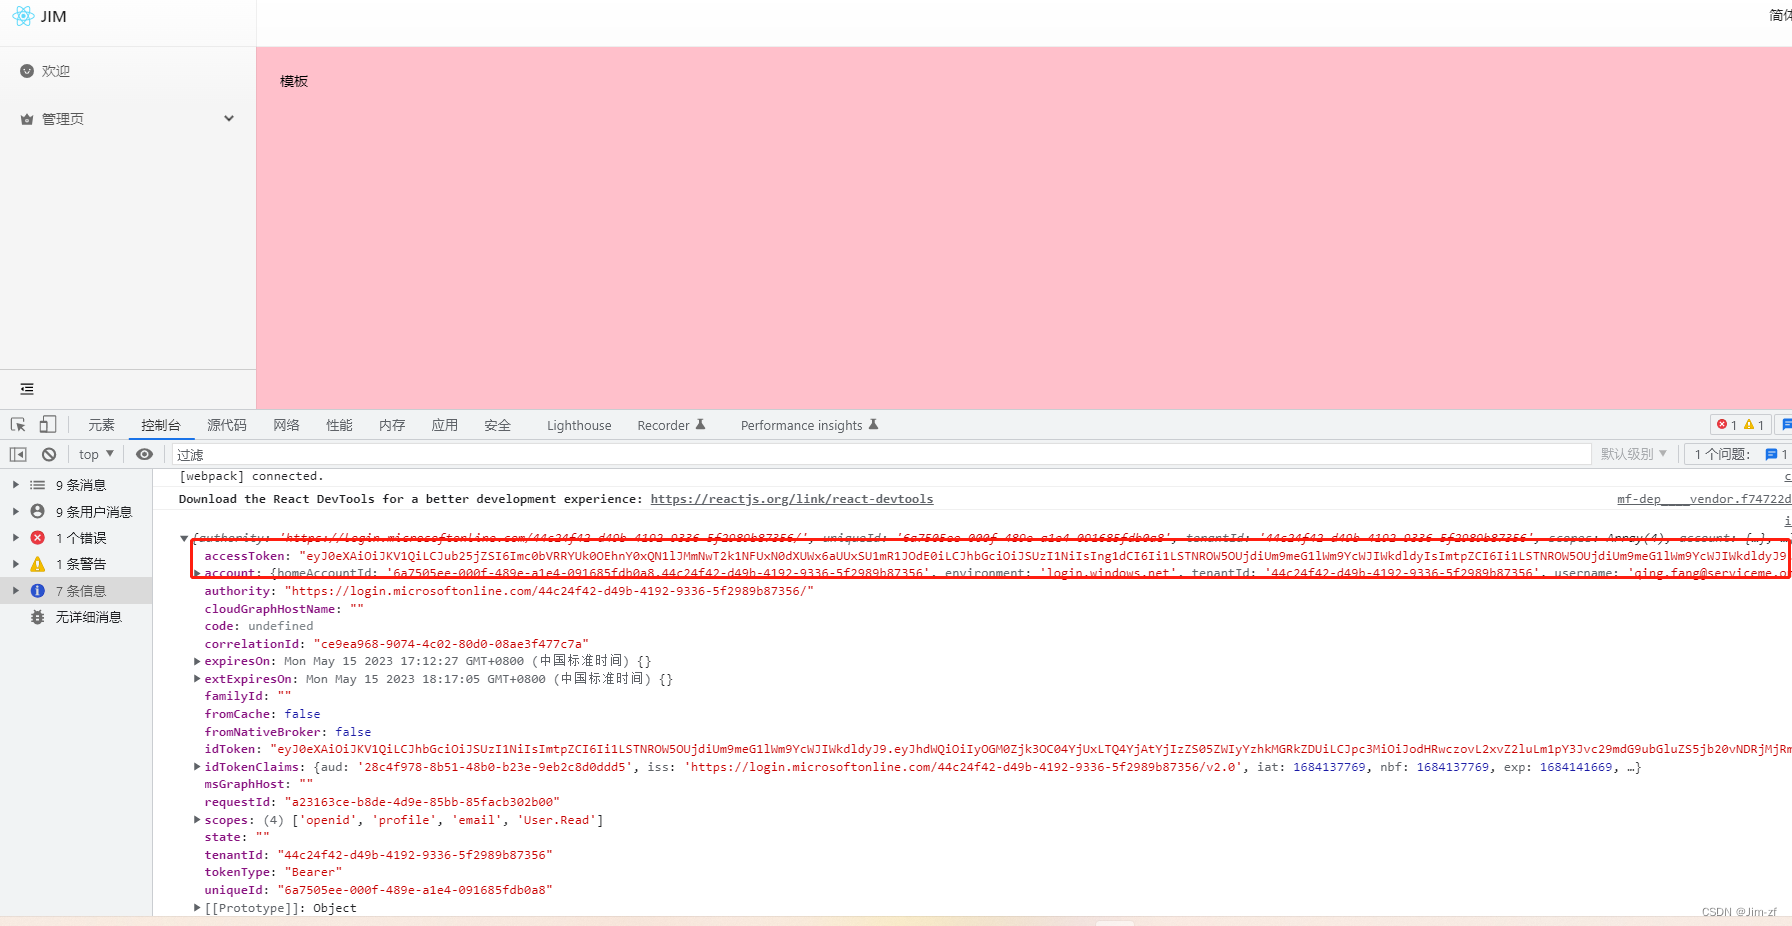
. 在成功登录后,你可以使用 msal-browser 的 instance 对象获取访问令牌并使用 Microsoft Graph API 获取用户信息。将以下代码添加到 src/layouts/index.js 文件中的 useEffect 函数内部:
useEffect(() => {  const handleRedirect = async () => {  const response = await instance.handleRedirectPromise();  if (response) {  // 登录成功,跳转到首页  history.push("/");  // 获取访问令牌  const accessTokenRequest = {  scopes: ["User.Read"],  account: instance.getAccountByUsername(response.account.username),  };  const accessTokenResponse = await instance.acquireTokenSilent(accessTokenRequest);  const accessToken = accessTokenResponse.accessToken;  // 使用访问令牌获取用户信息  const userResponse = await fetch("https://graph.microsoft.com/v1.0/me", {  headers: {  Authorization: `Bearer ${accessToken}`,  },  });  const userInfo = await userResponse.json();  console.log(userInfo);  }  };  handleRedirect();
}, [instance, history]);
这段代码首先使用 acquireTokenSilent 方法获取访问令牌,然后使用 fetch API 调用 Microsoft Graph API 的 /me 端点以获取用户信息。获取到的用户信息将被输出到控制台。
现在,当用户成功登录并获取令牌后,应用程序将获取用户信息并将其输出到控制台。你可以根据需要自定义此代码以将用户信息存储在状态管理库(如 Redux 或 MobX)中或直接在组件状态中。
案例开源代码umi4+react18+add
这篇关于umi4 实现msal aad 登录loginRedirect方式并获取令牌的文章就介绍到这儿,希望我们推荐的文章对编程师们有所帮助!


