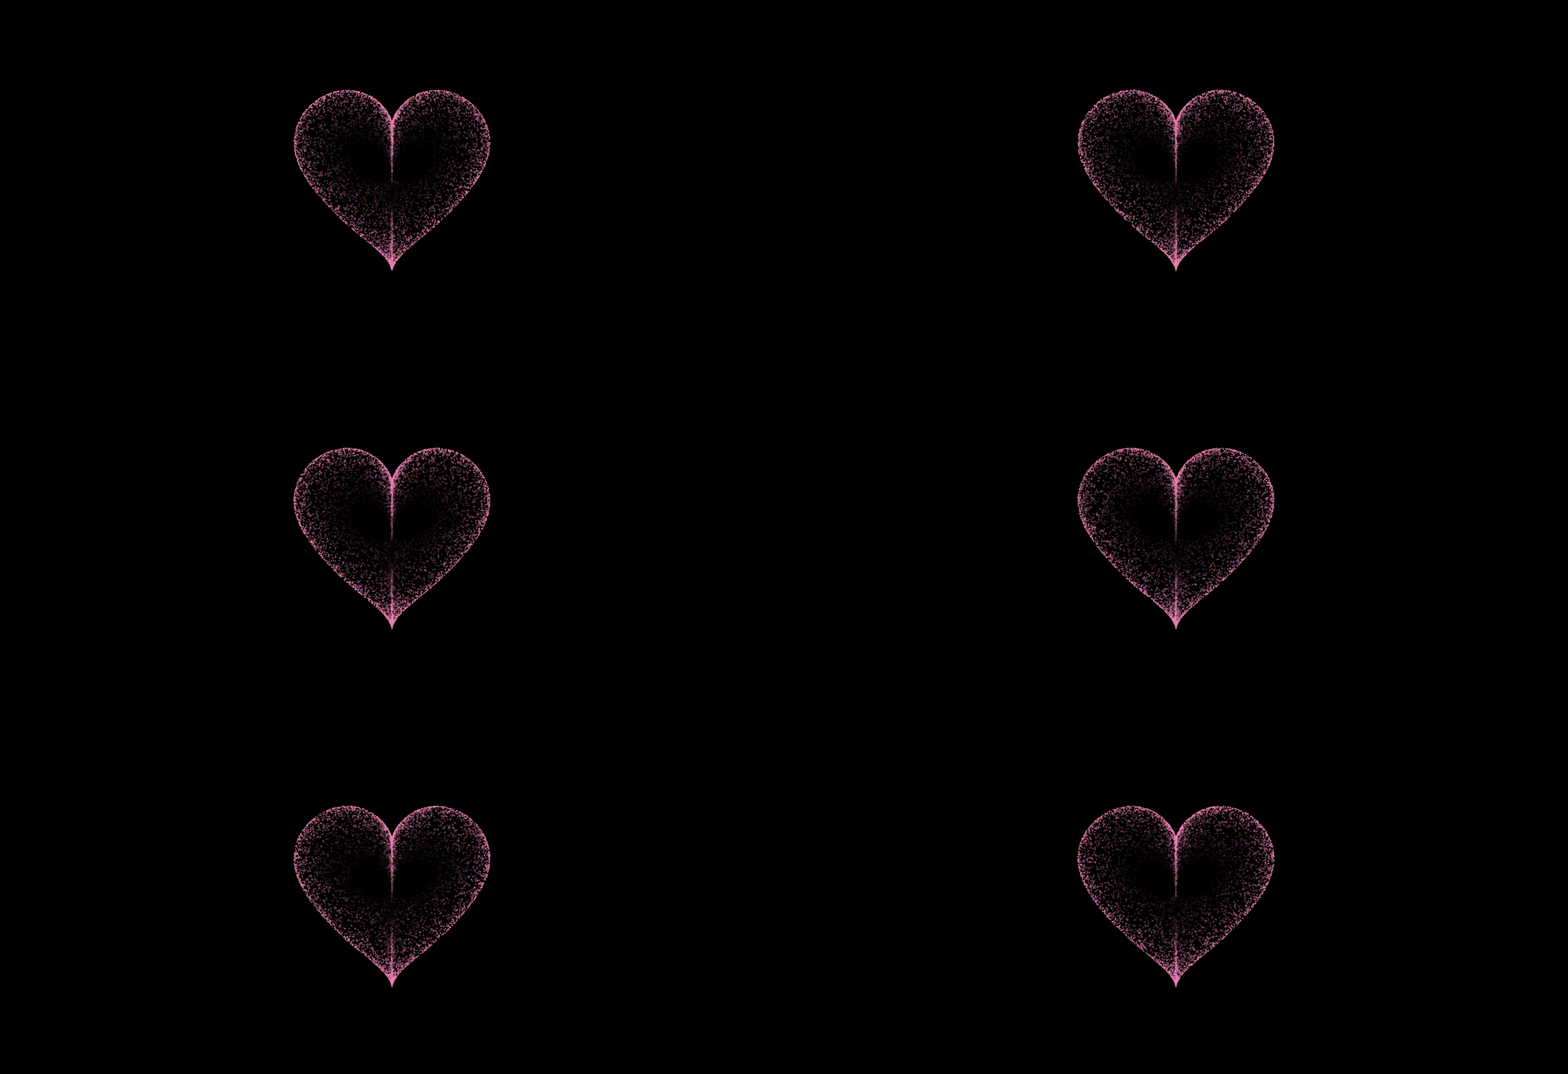
本文主要是介绍HTML沙漏爱心,希望对大家解决编程问题提供一定的参考价值,需要的开发者们随着小编来一起学习吧!

目录
写在前面
完整代码
代码分析
系列文章
写在最后
写在前面
教你用HTML语言实现炫酷的沙漏爱心,该代码不仅可以用电脑运行,手机、平板也可以直接运行哦。
完整代码
<!DOCTYPE html PUBLIC "-//W3C//DTD HTML 4.0 Transitional//EN"><html><head><meta http-equiv="Content-Type" content="text/html; charset=GBK"><title>love</title><meta name="Generator" content="EditPlus"><meta name="Keywords" ,="" content="beating heart"><meta name="Description" content="canvas beating heart"><style>html,body {height: 100%;padding: 0;margin: 0;background: #000;}canvas {position: absolute;width: 100%;height: 100%;}
</style><style class="mpa-style-fix ImageGatherer">.FotorFrame {position: fixed !important}
</style><style class="mpa-style-fix SideFunctionPanel">.weui-desktop-online-faq__wrp {top: 304px !important;bottom: unset !important}.weui-desktop-online-faq__wrp .weui-desktop-online-faq__switch {width: 38px !important}
</style>
</head><body mpa-version="9.0.21" mpa-extension-id="ibefaeehajgcpooopoegkifhgecigeeg"><canvas id="pinkboard" width="1707" height="906"></canvas><script>/** settings*/var settings = {particles: {// maximum amount of particleslength: 8100,// particle duration in secduration: 4,// parrticle velicity in plxels/secvelocity: 50,// play with this for a nice effecteffect: -0.75,// particle size in pixelssize: 3,},};/** RequestAnimationFrame polyfill by Erik M枚ller*/(function () { var b = 0; var c = ["ms", "moz", "webkit", "o"]; for (var a = 0; a < c.length && !window.requestAnimationFrame; ++a) { window.requestAnimationFrame = window[c[a] + "RequestAnimationFrame"]; window.cancelAnimationFrame = window[c[a] + "CancelAnimationFrame"] || window[c[a] + "CancelRequestAnimationFrame"] } if (!window.requestAnimationFrame) { window.requestAnimationFrame = function (h, e) { var d = new Date().getTime(); var f = Math.max(0, 16 - (d - b)); var g = window.setTimeout(function () { h(d + f) }, f); b = d + f; return g } } if (!window.cancelAnimationFrame) { window.cancelAnimationFrame = function (d) { clearTimeout(d) } } }());/** Point class*/var Point = (function () {function Point(x, y) {this.x = (typeof x !== 'undefined') ? x : 0;this.y = (typeof y !== 'undefined') ? y : 0;}Point.prototype.clone = function () {return new Point(this.x, this.y);};Point.prototype.length = function (length) {if (typeof length == 'undefined')return Math.sqrt(this.x * this.x + this.y * this.y);this.normalize();this.x *= length;this.y *= length;return this;};Point.prototype.normalize = function () {var length = this.length();this.x /= length;this.y /= length;return this;};return Point;})();/** Particle class*/var Particle = (function () {function Particle() {this.position = new Point();this.velocity = new Point();this.acceleration = new Point();this.age = 0;}Particle.prototype.initialize = function (x, y, dx, dy) {this.position.x = x;this.position.y = y;this.velocity.x = dx;this.velocity.y = dy;this.acceleration.x = dx * settings.particles.effect;this.acceleration.y = dy * settings.particles.effect;this.age = 0;};Particle.prototype.update = function (deltaTime) {this.position.x += this.velocity.x * deltaTime;this.position.y += this.velocity.y * deltaTime;this.velocity.x += this.acceleration.x * deltaTime;this.velocity.y += this.acceleration.y * deltaTime;this.age += deltaTime;};Particle.prototype.draw = function (context, image) {function ease(t) {return (--t) * t * t + 1;}var size = image.width * ease(this.age / settings.particles.duration);context.globalAlpha = 1 - this.age / settings.particles.duration;context.drawImage(image, this.position.x - size / 2, this.position.y - size / 2, size, size);};return Particle;})();/** ParticlePool class*/var ParticlePool = (function () {var particles,firstActive = 0,firstFree = 0,duration = settings.particles.duration;function ParticlePool(length) {// create and populate particle poolparticles = new Array(length);for (var i = 0; i < particles.length; i++)particles[i] = new Particle();}ParticlePool.prototype.add = function (x, y, dx, dy) {particles[firstFree].initialize(x, y, dx, dy);// handle circular queuefirstFree++;if (firstFree == particles.length) firstFree = 0;if (firstActive == firstFree) firstActive++;if (firstActive == particles.length) firstActive = 0;};ParticlePool.prototype.update = function (deltaTime) {var i;// update active particlesif (firstActive < firstFree) {for (i = firstActive; i < firstFree; i++)particles[i].update(deltaTime);}if (firstFree < firstActive) {for (i = firstActive; i < particles.length; i++)particles[i].update(deltaTime);for (i = 0; i < firstFree; i++)particles[i].update(deltaTime);}// remove iinactive particleswhile (particles[firstActive].age >= duration && firstActive != firstFree) {firstActive++;if (firstActive == particles.length) firstActive = 0;}};ParticlePool.prototype.draw = function (context, image) {// draw active particlesif (firstActive < firstFree) {for (i = firstActive; i < firstFree; i++)particles[i].draw(context, image);}if (firstFree < firstActive) {for (i = firstActive; i < particles.length; i++)particles[i].draw(context, image);for (i = 0; i < firstFree; i++)particles[i].draw(context, image);}};return ParticlePool;})();/** Putting it all together*/(function (canvas) {var context = canvas.getContext('2d'),particles = new ParticlePool(settings.particles.length),// particles/secparticleRate = settings.particles.length / settings.particles.duration,time;// get point on hert with -PI <= t <= PIfunction pointOnHeart(t) {return new Point(160 * Math.pow(Math.sin(t), 3),130 * Math.cos(t) - 50 * Math.cos(2 * t) - 20 * Math.cos(3 * t) - 10 * Math.cos(4 * t) + 25);}// creating thw particle image using a dummy canvasvar image = (function () {var canvas = document.createElement('canvas'),context = canvas.getContext('2d');canvas.width = settings.particles.size;canvas.height = settings.particles.size;// helper function to create the pathfunction to(t) {var point = pointOnHeart(t);point.x = settings.particles.size / 2 + point.x * settings.particles.size / 100;point.y = settings.particles.size / 2 - point.y * settings.particles.size / 100;return point;}// create the pathcontext.beginPath();var t = -Math.PI;var point = to(t);context.moveTo(point.x, point.y);while (t < Math.PI) {// baby stepst += 0.03;point = to(t);context.lineTo(point.x, point.y);}context.closePath();// create the fillcontext.fillStyle = '#ea80b0';context.fill();// create th imagevar image = new Image();image.src = canvas.toDataURL();return image;})();// render that thingfunction render() {// next animation framerequestAnimationFrame(render);// update timevar newTime = new Date().getTime() / 1000,deltaTime = newTime - (time || newTime);time = newTime;// clear canvascontext.clearRect(0, 0, canvas.width, canvas.height);// create new particlesvar amount = particleRate * deltaTime;for (var i = 0; i < amount; i++) {var pos = pointOnHeart(Math.PI - 50 * Math.PI * Math.random());var dir = pos.clone().length(settings.particles.velocity);particles.add(canvas.width / 2 + pos.x, canvas.height / 2 - pos.y, dir.x, -dir.y);}// update and draw particlesparticles.update(deltaTime);particles.draw(context, image);}// handle (re-)sizing of the canvasfunction onResize() {canvas.width = canvas.clientWidth;canvas.height = canvas.clientHeight;}window.onresize = onResize;// delay rendering bootstrapsetTimeout(function () {onResize();render();}, 50);})(document.getElementById('pinkboard'));
</script><div class="pinkboard lef"></div><div class="pinkboard cen"></div><div class="pinkboard rig"></div></div></section></template></div><div id="__FEISHU_CLIPPER__"></div>
</body></html>
代码分析
这个HTML和JavaScript代码通过一个画布元素(canvas)来实现动态的心形粒子动画效果。该代码主要通过JavaScript控制画布上的粒子运动,使其呈现出不断跳动的心形图案,具有较强的视觉冲击力和艺术美感。
首先,这段代码在HTML部分设置了基本的页面结构和样式。通过设置 html 和 body 标签的 height 为 100% ,并将 padding 和 margin 设置为0,确保画布能够完全覆盖整个浏览器窗口。此外,画布元素 canvas 被设置为绝对定位,这意味着它会随着窗口的大小变化而自动调整,以适应不同设备的屏幕尺寸。
JavaScript部分是这段代码的核心,负责实现心形图案的粒子动画效果。该部分代码包含了多个模块,分别是设置模块、辅助函数模块、粒子类模块、粒子池模块以及动画渲染模块。
首先,代码定义了一个 settings 对象,其中包含了粒子的相关参数设置,如粒子的数量、持续时间、速度、效果和尺寸等。这些参数直接影响着粒子动画的表现效果。例如,length 决定了粒子的数量,velocity 控制了粒子的运动速度,而 effect 则决定了粒子运动的加速度和方向。
接下来,代码实现了 Point 类,这个类用于表示二维空间中的一个点,并提供了一些基本的数学运算方法,如向量的长度计算和归一化处理。在 Point 类的基础上,代码进一步定义了 Particle 类,每个粒子对象都包含了其位置、速度、加速度和生存时间等属性。粒子类中的 initialize 方法用于初始化粒子的初始状态,而 update 方法则用于更新粒子的位置和速度,从而使其在画布上运动。
为了管理大量的粒子对象,代码实现了一个 ParticlePool 类,这个类采用了一个循环队列来管理粒子对象的分配和回收。通过 add 方法,可以将新的粒子添加到队列中,而 update 方法则负责更新所有活跃粒子的状态,并移除那些已经“死亡”的粒子。通过这种方式,代码能够高效地管理大量粒子的生命周期,从而实现流畅的动画效果。
在粒子图像生成方面,代码通过一个辅助的画布元素来绘制心形图案。这个图案的形状是通过参数化方程生成的,具体而言,心形图案由一个数学函数 pointOnHeart(t) 所描述,该函数以参数 t 为输入,生成一个二维平面的点。这个点的坐标被用来绘制心形的轮廓线,并最终填充为粉红色。
在整个粒子系统运行过程中,代码会根据当前时间生成一定数量的新粒子,并将它们添加到粒子池中。每个新生成的粒子根据心形函数的位置来决定其初始位置,并通过随机方向和速度赋予其生命力。然后,通过 render 方法,代码持续更新画布上的粒子位置,并根据粒子的生命时长来调整其透明度,逐渐让粒子消失,模拟出一个心跳的效果。
最后,代码还考虑了窗口尺寸变化对画布的影响,通过 onResize 方法动态调整画布的宽度和高度,以确保在不同设备和窗口大小下都能正确显示心形动画。
总的来说,这段代码通过巧妙的数学计算和高效的粒子管理,实现了一个美丽而动感的心形动画。这种动画效果不仅仅是技术的体现,更是数学与美学的结合,展示了代码在艺术创作中的潜力。
系列文章
| 序号 | 目录 |
|---|---|
| 1 | HTML满屏跳动的爱心(可写字) |
| 2 | HTML五彩缤纷的爱心 |
| 3 | HTML满屏漂浮爱心 |
| 4 | HTML情人节快乐 |
| 5 | HTML蓝色爱心射线 |
| 6 | HTML跳动的爱心(简易版) |
| 7 | HTML粒子爱心 |
| 8 | HTML蓝色动态爱心 |
| 9 | HTML跳动的爱心(双心版) |
| 10 | HTML橙色动态粒子爱心 |
| 11 | HTML旋转爱心 |
| 12 | HTML爱情树 |
| 13 | HTML3D相册 |
| 14 | HTML旋转相册 |
| 15 | HTML基础烟花秀 |
| 16 | HTML炫酷烟花秀 |
| 17 | HTML粉色烟花秀 |
| 18 | HTML新春烟花 |
| 19 | HTML龙年大吉 |
| 20 | HTML圣诞树 |
| 21 | HTML大雪纷飞 |
| 22 | HTML想见你 |
| 23 | HTML元素周期表 |
| 24 | HTML飞舞的花瓣 |
| 25 | HTML星空特效 |
| 26 | HTML黑客帝国字母雨 |
| 27 | HTML哆啦A梦 |
| 28 | HTML流星雨 |
| 29 | HTML沙漏爱心 |
| 30 | HTML爱心字母雨 |
写在最后
我是一只有趣的兔子,感谢你的喜欢!
这篇关于HTML沙漏爱心的文章就介绍到这儿,希望我们推荐的文章对编程师们有所帮助!


