本文主要是介绍【CAS】自定义登录页面,返回更多信息,希望对大家解决编程问题提供一定的参考价值,需要的开发者们随着小编来一起学习吧!
【回顾】
在上一篇关于cas的博客中,我们自定义了数据库的连接配置,从而验证用户所提供的凭据是否正确。本篇
博客,将介绍的内容是自定义登录页面以及用户登录成功后,将更多的用户信息返回给客户端。
【自定义登录页面】
在cas server 4.0的源码中,可以找到cas.properties文件中定义了视图页面的相关配置,如下:
在cas-theme-default.properties中,引入了cas默认的一个js和一个css文件。
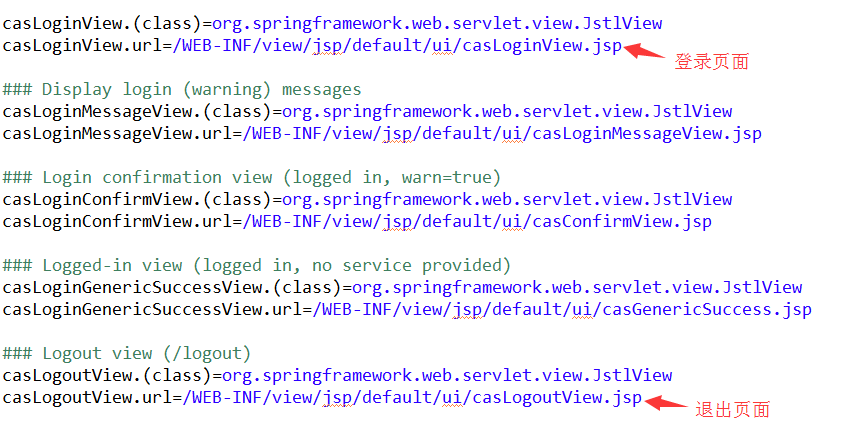
在default_views.properties中,定义的是各个url与对应的页面视图配置,例如登录和退出页面的配置如
下:
所以,我们要想用自定义的登录页面,只需要将此properties修改为自己的页面名称即可。
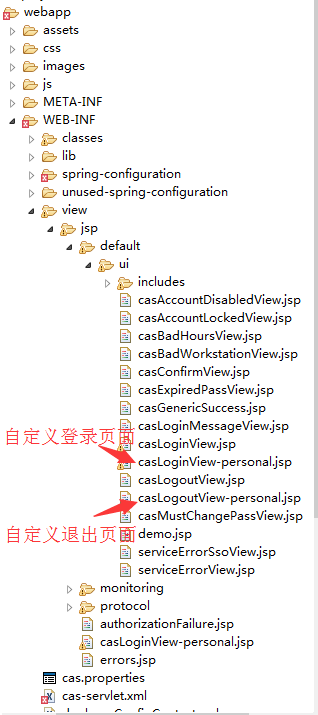
下图目录结构中标明的页面为我们自定义的登录和退出页面,引用的是BootStrap的一个表单模板样式,引
入一些BootStrap的js和css文件,就可以了。
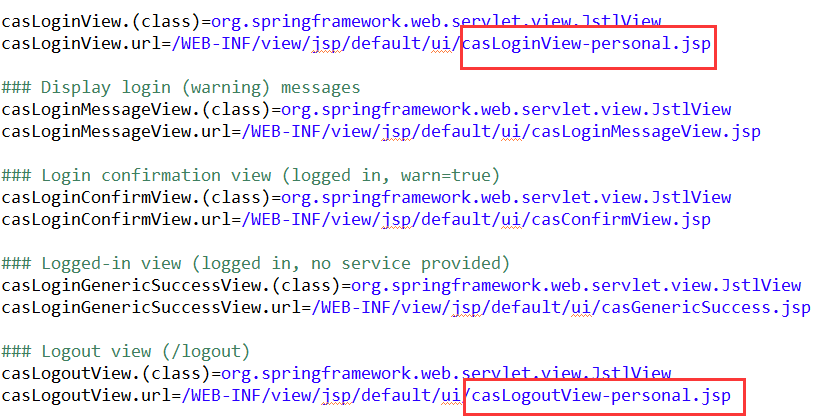
再修改default_views.properties文件,如下:
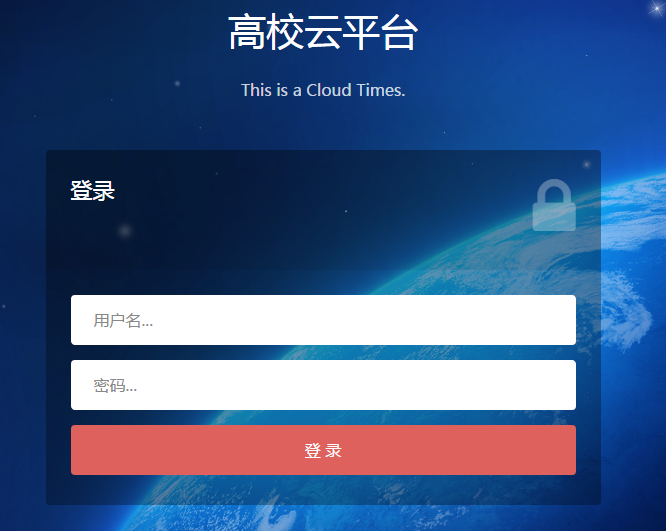
自定义登录页面就完成了。
【返回更多用户信息】
在cas server登录成功后,默认只能从cas server得到用户名,也许客户端会需要该用户的更多信息,这时
客户端可以通过用户名再去查询数据库,但如果用户登录成功后,直接从cas server返回给客户端,这样就更方便
了。尤其是在分布式系统中,cas server将用户信息传递给各个应用系统,就避免了各个用户系统去查询的重复性工
作。那么将更多的信息返回给客户端,我们需要做哪些配置呢?
1. 配置属性attributeRepository
<bean id="attributeRepository" class="org.jasig.services.persondir.support.jdbc.SingleRowJdbcPersonAttributeDao"><!--  <property name="contextSource" ref="contextSource" /><property name="baseDN" value="ou=people,o=company,c=fr" /><property name="requireAllQueryAttributes" value="true" /> --><constructor-arg index="0" ref="dataSource"/><constructor-arg index="1" value="select r.databaseName FROM itoo_cloudroot.ta_allusers a INNER JOIN itoo_cloudroot.ta_registuser r
ON a.registUserId=r.id where a.isDelete = 0 and {0} "/><!--Attribute mapping between principal (key) and LDAP (value) namesused to perform the LDAP search.  By default, multiple search criteriaare ANDed together.  Set the queryType property to change to OR.--><property name="queryAttributeMapping"><map> <!--这里的key需写username和登录页面一致,value对应数据库用户名字段--><entry key="username" value="a.userCode" /></map></property><property name="resultAttributeMapping"><map><!-- Mapping beetween LDAP entry attributes (key) and Principal's (value) --> <!--key为对应的数据库字段名称,value为提供给客户端获取的属性名字,系统会自动填充值-->  <entry value="databaseName" key="databaseName" /></map></property></bean>
2. 修改serviceRegistryDao
deployerConfigContext.xml中的 beans中id为serviceRegistryDao的属性 registeredServicesList。在
registeredServicesList中添加allowedAttributes属性的值。列出的每个值,在客户端就可以访问了。
<beanid="serviceRegistryDao"class="org.jasig.cas.services.InMemoryServiceRegistryDaoImpl"><property name="registeredServices"><list><bean class="org.jasig.cas.services.RegexRegisteredService"><property name="id" value="0" /><property name="name" value="HTTP and IMAP" /><property name="description" value="Allows HTTP(S) and IMAP(S) protocols" /><property name="serviceId" value="^(https?|imaps?)://.*" /><property name="evaluationOrder" value="10000001" /><property name="allowedAttributes"> <list> <value>databaseName</value></list></property></bean></list></property></bean>
3. 修改casServiceValidationSuccess.jsp
WEB-INF/view/jsp/protocol/2.0/casServiceValidationSuccess.jsp.在server验证成功后,这个页面负责
生成与客户端交互的xml信息,在默认的casServiceValidationSuccess.jsp中,只包括用户名,并不提供其他的属性信
息,因此需要对页面进行扩展。如下:
<cas:serviceResponse xmlns:cas='http://www.yale.edu/tp/cas'><cas:authenticationSuccess><cas:user>${fn:escapeXml(assertion.chainedAuthentications[fn:length(assertion.chainedAuthentications)-1].principal.id)}</cas:user><c:if test="${fn:length(assertion.chainedAuthentications[fn:length(assertion.chainedAuthentications)-1].principal.attributes) > 0}"><cas:attributes><c:forEach var="attr"
items="${assertion.chainedAuthentications[fn:length(assertion.chainedAuthentications)-1].principal.attributes}"><cas:${fn:escapeXml(attr.key)}>${fn:escapeXml(attr.value)}</cas:${fn:escapeXml(attr.key)}></c:forEach></cas:attributes></c:if><c:if test="${not empty pgtIou}"><cas:proxyGrantingTicket>${pgtIou}</cas:proxyGrantingTicket></c:if><c:if test="${fn:length(assertion.chainedAuthentications) > 1}"><cas:proxies><c:forEach var="proxy"
items="${assertion.chainedAuthentications}" varStatus="loopStatus" begin="0" end="${fn:length(assertion.chainedAuthentications)-2}" step="1"><cas:proxy>${fn:escapeXml(proxy.principal.id)}</cas:proxy></c:forEach></cas:proxies></c:if></cas:authenticationSuccess></cas:serviceResponse>
【总结】
关于cas server的一些配置网上的资料很多,这两篇文章的配置也算是搭建cas server必须要做的配置,需
要修改的地方主要在配置文件中。
这篇关于【CAS】自定义登录页面,返回更多信息的文章就介绍到这儿,希望我们推荐的文章对编程师们有所帮助!


