本文主要是介绍Java8 --- Gradle7.4整合IDEA,希望对大家解决编程问题提供一定的参考价值,需要的开发者们随着小编来一起学习吧!
目录
一、Gradle整合IDEA
1.1、Groovy安装
1.1.1、配置环境变量
编辑
1.2、创建项目 编辑
1.3、Groovy基本语法
1.3.1、基本语法
1.3.2、引号
1.3.3、语句结构
1.3.4、数据类型
1.3.5、集合操作
1.4、使用Gradle创建普通Java工程
1.5、使用Gradle创建Java ssm工程
1.6、对测试功能的支持
1.6.1、使用junit4测试
1.6.2、使用Junit5测试
一、Gradle整合IDEA
1.1、Groovy安装
官网地址:The Apache Groovy programming language - Documentation
下载安装包并解压:


1.1.1、配置环境变量


指令:groovy -v 查看安装是否成功

1.2、创建项目 
1.3、Groovy基本语法
1.3.1、基本语法
类
class Hello {/*1、groovy中使用def定义属性、方法、def支持动态类型声明。2、单行注释//3、结尾分号可以省略。4、会自动给属性生成getter,setter方法。5、方法声明时,参数类型、返回值类型,return关键字可以省略,默认最后一行为返回值6、在变量引用时,不引起歧义可以省略{}7、对象属性赋值方式:①、对象.属性名= ②、对象["属性名"] ③、对象.属性setter方法 ④、具名构造器方式8、读取属性值方式:①、对象.属性名 ②、对象["属性名"] ③、对象.属性getter方法*/def id = 1def namedef save(num){//"num:${num}""num:$num"}
}
配置文件
def hello = new Hello(name: "小亮")
//给属性赋值
hello.name = "小明"
hello["name"] = "小王"
hello.setName("小美")
//读取属性值
println(hello.getId());
println(hello.name)
println(hello["name"])
//调用方法
def save = hello.save(10)
print(save)
1.3.2、引号
//引号的使用
def age = 10def str1 = '单引号,不支持变量引用,不支持换行操作${age}'
def str2 = "双引号,支持变量引用,不支持换行操作${age}"
def str3 = '''模板字符串,不支持变量引用,支持换行操作${age}'''
println(str1)
println(str2)
println(str3)
//数据类型
println(str1.getClass().toString())
println(str2.getClass().toString())
println(str3.getClass().toString())
1.3.3、语句结构
官网地址:The Apache Groovy programming language - Semantics
1.3.4、数据类型
官网地址:The Apache Groovy programming language - Semantics
1.3.5、集合操作
//--------list集合-----
def list = [1,2,3]
//断言
assert list instanceof java.util.List
list.add(4)
println(list.size())
//集合与集合相加
def list2 = [5,6]
//将list2集合添加在list后
println(list.plus(list2))
//根据下标删除集合中元素
list.remove(1);
println(list)
//删除指定的集合元素
list.removeElement(3)
println(list)
//从集合中移除另一个集合中元素
def list3 = [4]
list.removeAll(list3)
println(list)
//从集合中弹出一个元素
println list.pop()
println(list)
//根据下标替换元素值
list.putAt(0,12)
println(list)
//遍历集合
list2.each {it ->println("item: ${it}")}//---------map集合-----
def map = [tom:"tom",jack:"jack"]
//添加操作
map.put("java","java")
println(map)
//删除操作
//根据键做移除
map.remove("java")
//根据键值做移除
map.remove("tom","tom")
println(map)
//修改操作
map = map + ["yml":"yml"]
println(map)
map = map - ["jack":"jack"]
println(map)
//遍历map
map.each {key,value ->println("key:${key},value:${value}")
}
map.each {m ->println("key:${m.key},value:${m.value}")
}
其他参考官网: The Apache Groovy programming language - Semantics
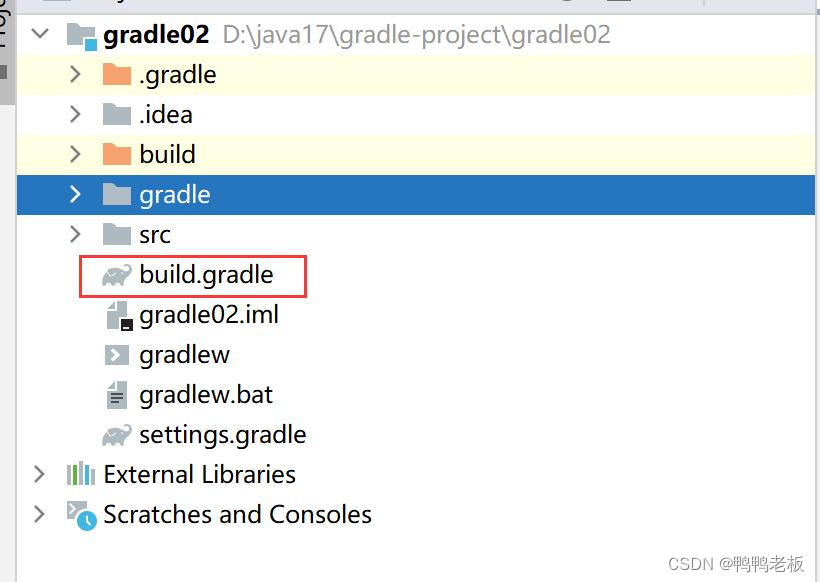
1.4、使用Gradle创建普通Java工程

修改配置:


1.5、使用Gradle创建Java ssm工程
第一步创建一个普通的gradle的Java工程。
第二步修改bulid.gradle文件内容
plugins {id 'java'id 'war' //添加内容
}group 'com.cjc'
version '1.0-SNAPSHOT'repositories {mavenCentral()
}
//添加内容
dependencies {implementation 'org.springframework:spring-beans:4.1.7.RELEASE'implementation 'org.springframework:spring-web:4.1.7.RELEASE'implementation 'org.springframework:spring-webmvc:4.1.7.RELEASE'implementation 'org.springframework:spring-tx:4.1.7.RELEASE'implementation 'org.springframework:spring-test:4.0.5.RELEASE'implementation 'org.springframework:spring-jdbc:4.1.7.RELEASE'implementation 'org.mybatis:mybatis-spring:1.2.3'implementation 'org.mybatis:mybatis:3.3.0'implementation 'mysql:mysql-connector-java:5.1.36'implementation 'com.alibaba:druid:1.0.15'implementation "com.fasterxml.jackson.core:jackson-databind:2.2.3"implementation "com.fasterxml.jackson.core:jackson-annotations:2.2.3"implementation "com.fasterxml.jackson.core:jackson-core:2.2.3"implementation 'org.aspectj:aspectjweaver:1.8.6'implementation 'log4j:log4j:1.2.17'implementation 'org.slf4j:slf4j-api:1.7.25'implementation 'jstl:jstl:1.2'compileOnly 'javax.servlet:servlet-api:2.5'testImplementation group: 'junit' ,name: 'junit', version: '4.12'
}
创建配置文件:

applicationContext.xml
<?xml version="1.0" encoding="UTF-8"?>
<beans xmlns="http://www.springframework.org/schema/beans"xmlns:xsi="http://www.w3.org/2001/XMLSchema-instance"xmlns:context="http://www.springframework.org/schema/context" xmlns:tx="http://www.springframework.org/schema/tx"xsi:schemaLocation="http://www.springframework.org/schema/beans http://www.springframework.org/schema/beans/spring-beans.xsd http://www.springframework.org/schema/context https://www.springframework.org/schema/context/spring-context.xsd http://www.springframework.org/schema/tx http://www.springframework.org/schema/tx/spring-tx.xsd"><!-- 0.配置扫描包 --><context:component-scan base-package="com.cjc"><context:exclude-filter type="annotation" expression="org.springframework.stereotype.Controller"/><context:exclude-filter type="annotation" expression="org.springframework.web.bind.annotation.ControllerAdvice"/></context:component-scan><!-- 1.加载properties文件 --><context:property-placeholder location="classpath:jdbc.properties"></context:property-placeholder><!-- 2.配置数据源 --><bean id="dataSource" class="com.alibaba.druid.pool.DruidDataSource"><property name="username" value="${jdbc.userName}"></property><property name="password" value="${jdbc.password}"></property><property name="url" value="${jdbc.jdbcUrl}"></property><property name="driverClassName" value="${jdbc.driverClass}"></property></bean><!-- 4.配置数据源事务管理器 --><bean id="transactionManager" class="org.springframework.jdbc.datasource.DataSourceTransactionManager"><property name="dataSource" ref="dataSource"></property></bean><tx:annotation-driven transaction-manager="transactionManager"></tx:annotation-driven><!-- 1.配置spring整合mybatis --><bean class="org.mybatis.spring.SqlSessionFactoryBean"><property name="dataSource" ref="dataSource"></property><property name="configLocation" value="classpath:mybatis-config.xml"></property></bean><!-- 2.配置扫描mapper接口的bean对象 --><bean class="org.mybatis.spring.mapper.MapperScannerConfigurer"><property name="basePackage" value="com.cjc.dao"/></bean></beans>
数据库配置文件:
jdbc.jdbcUrl=jdbc:mysql://localhost:3306/test?rewriteBatchedStatements=true
jdbc.driverClass=com.mysql.jdbc.Driver
jdbc.userName=root
jdbc.password=123456
springMVC配置文件:
<?xml version="1.0" encoding="UTF-8"?>
<beans xmlns="http://www.springframework.org/schema/beans"xmlns:xsi="http://www.w3.org/2001/XMLSchema-instance"xmlns:context="http://www.springframework.org/schema/context"xmlns:mvc="http://www.springframework.org/schema/mvc"xsi:schemaLocation="http://www.springframework.org/schema/beans http://www.springframework.org/schema/beans/spring-beans.xsd http://www.springframework.org/schema/context https://www.springframework.org/schema/context/spring-context.xsd http://www.springframework.org/schema/mvc https://www.springframework.org/schema/mvc/spring-mvc.xsd"><!-- 1.配置扫描包 --><context:component-scan base-package="com.cjc" use-default-filters="false"><context:include-filter type="annotation" expression="org.springframework.stereotype.Controller"/><context:include-filter type="annotation" expression="org.springframework.web.bind.annotation.ControllerAdvice"/></context:component-scan><!-- 2.配置内部资源视图解析器--><bean class="org.springframework.web.servlet.view.InternalResourceViewResolver"><property name="prefix" value="/WEB-INF/"/><property name="suffix" value=".jsp"/></bean><!--3.处理静态资源文件 --><mvc:default-servlet-handler/><mvc:annotation-driven/>
</beans>
业务代码省略
在tomcat上部署项目并运行访问:

测试访问:

1.6、对测试功能的支持
1.6.1、使用junit4测试
需要导入junit4的依赖

import org.junit.Test;public class AppTest {@Testpublic void test1(){System.out.println("hello");}
}

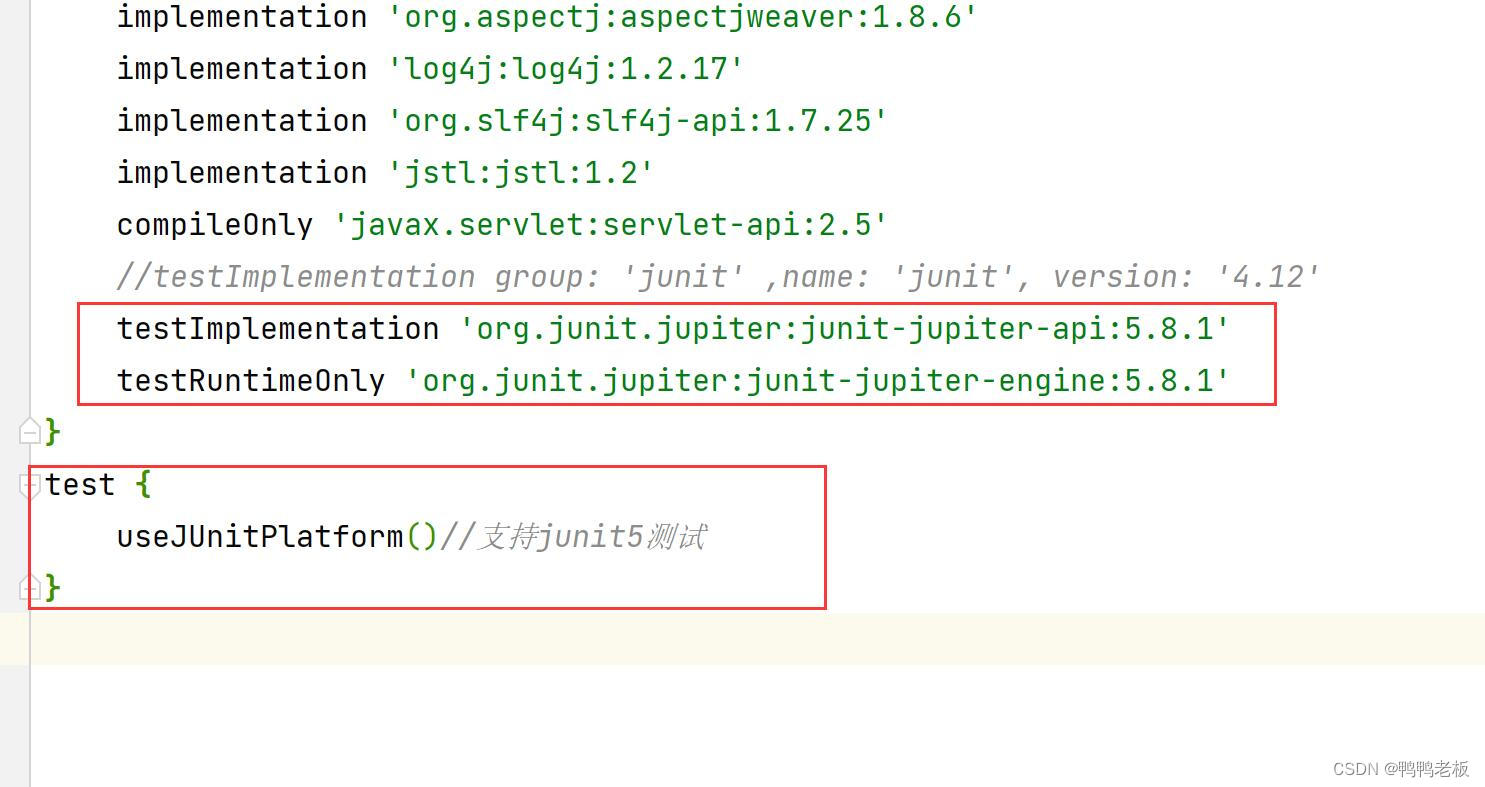
1.6.2、使用Junit5测试
导入依赖
testImplementation 'org.junit.jupiter:junit-jupiter-api:5.8.1'
testRuntimeOnly 'org.junit.jupiter:junit-jupiter-engine:5.8.1'
test {useJUnitPlatform()//支持junit5测试
}
这篇关于Java8 --- Gradle7.4整合IDEA的文章就介绍到这儿,希望我们推荐的文章对编程师们有所帮助!


