本文主要是介绍express+vue在线im实现【四】,希望对大家解决编程问题提供一定的参考价值,需要的开发者们随着小编来一起学习吧!
往期内容
express+vue在线im实现【一】
express+vue在线im实现【二】
express+vue在线im实现【三】
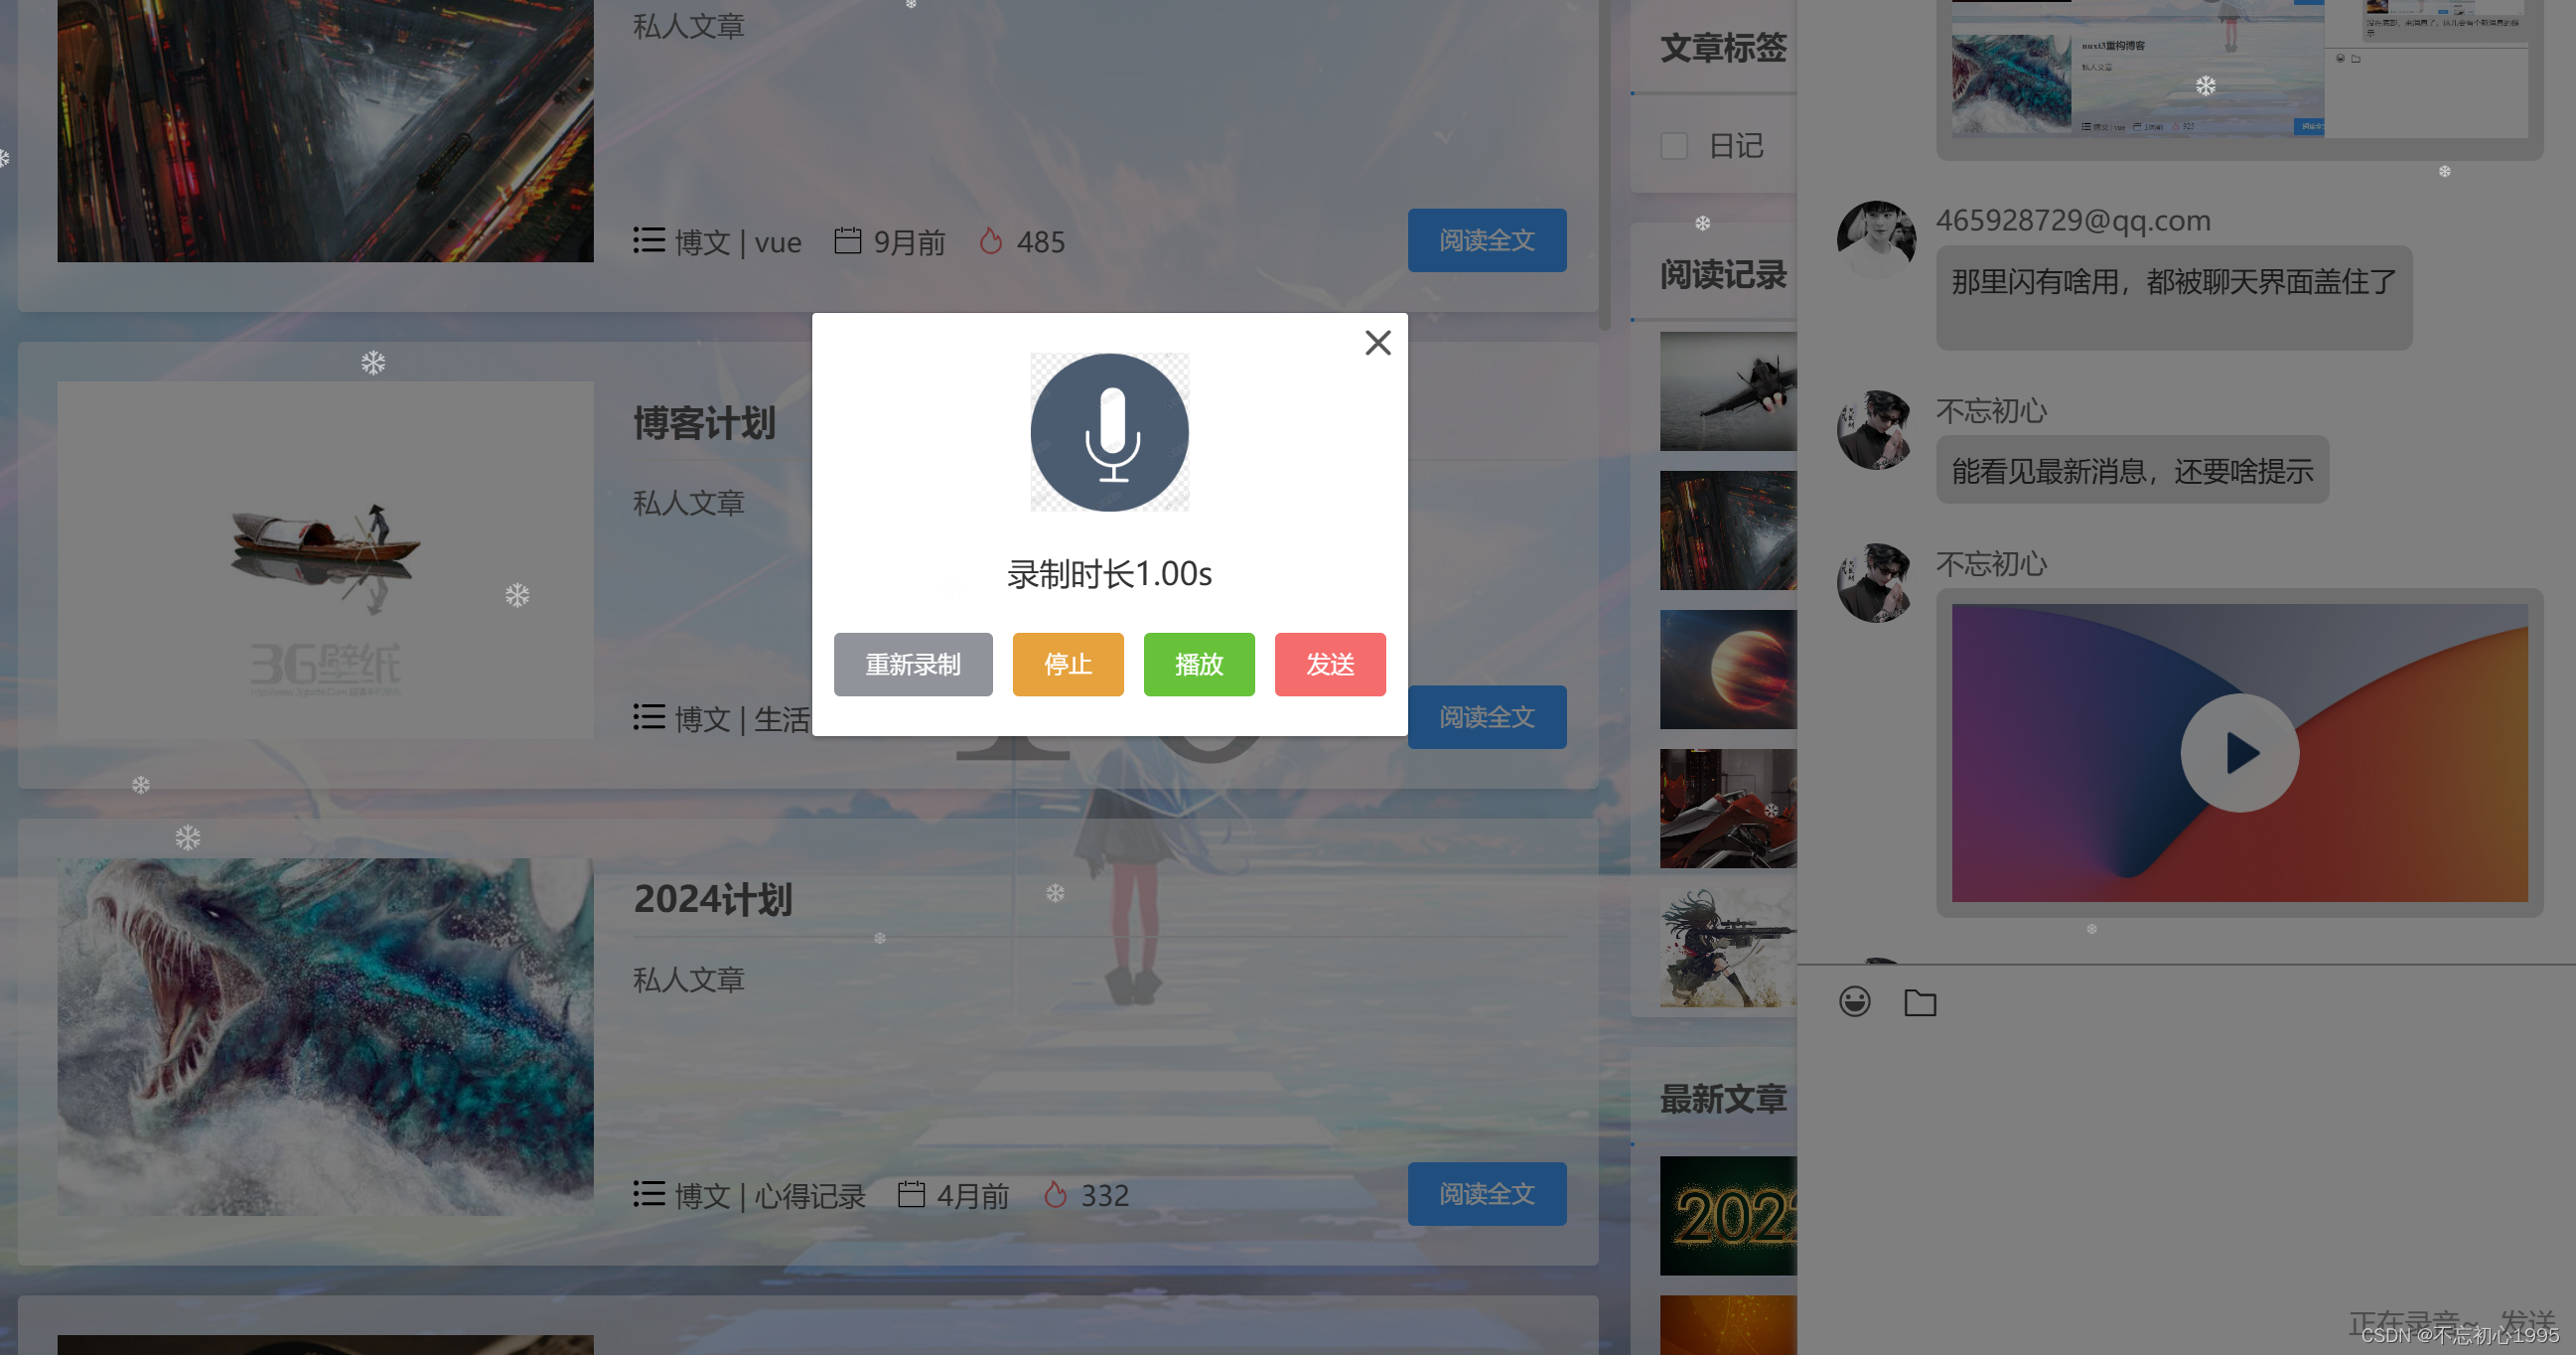
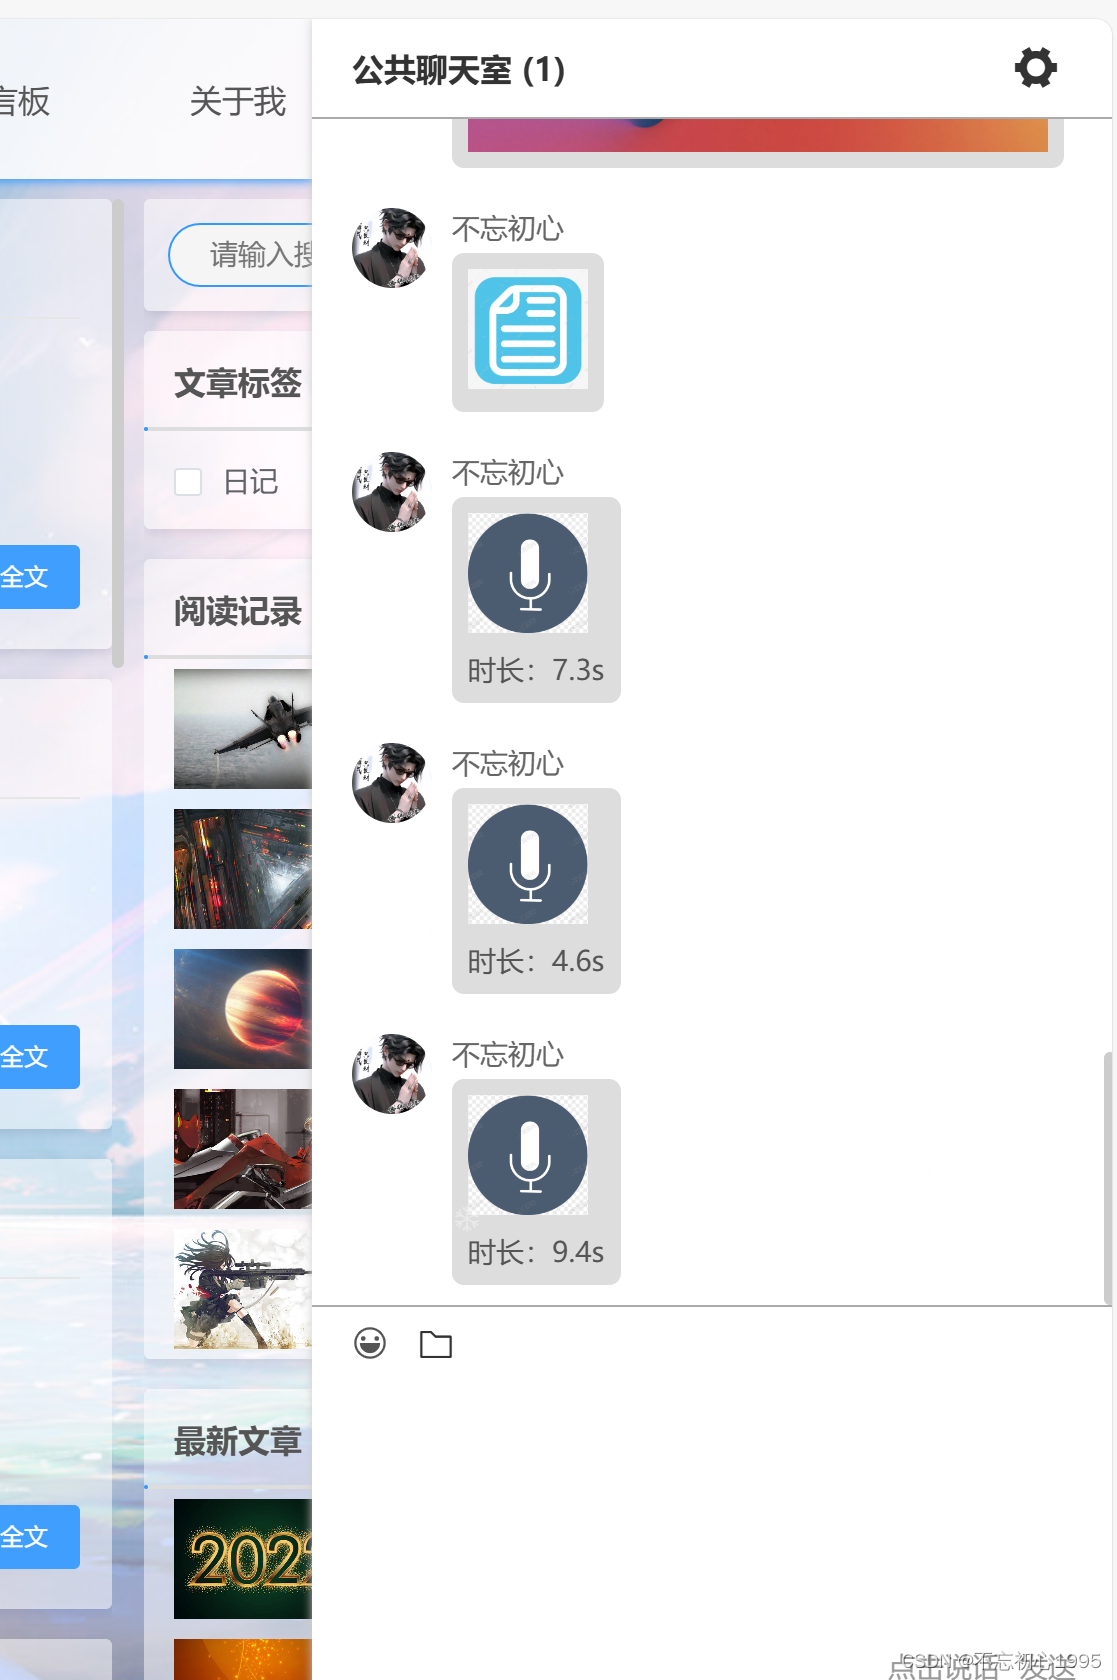
本期示例


本期总结
- 支持了音频的录制和发送,如果觉得对你有用,还请点个免费的收藏与关注
下期安排
- 在线语音
具体实现
<template><kl-dialog width="300px" center :header="false" :footer="false" :dialogVisible.sync="visable"><div class="flex-column-wrap p-20 flex-center-wrap pr p-t-40" @click.stop="() => {}"><iclass="f-20 f-600 c-555 cu el-icon-close p-a el-icon-close-1"@click.stop="close"></i><e-image:height="80":lazy="false"src="http://139.9.210.43:5000/netdist/kl1718850348458vjab00h8x4d-1718850348280~1~.png"></e-image><!-- 录制时长 --><div class="m-t-20">录制时长{{ getAudioTime() }}</div><div class="flex-wrap m-t-20"><el-button size="small" type="info" @click.stop="reload">重新录制</el-button><el-button size="small" type="warning" @click.stop="stop">停止</el-button><el-button size="small" type="success" @click.stop="play">播放</el-button><el-button :disabled="audioTime == 0" size="small" type="danger" @click.stop="send">发送</el-button></div></div><!-- 语音播放 --><audioPlayv-model="isShowAudio":url="parseResourceUrl(filePath)"@ended="isShowAudio = false"></audioPlay></kl-dialog>
</template><script>
export default {components: {audioPlay: () => import('@/components/audioPlay/index.vue'),},props: {value: {type: Boolean,default: false,},},data() {return {isShowAudio: false,filePath: '',file: null,mediaRecorder: null,isStart: false,audioTime: 0,timer: null,}},computed: {visable: {get() {return this.value},set() {return this.$emit('input', !this.value)},},},watch: {value(val) {if (val) {// 进入直接开始录音this.init()return}},},beforeDestroy() {this.clearTimer()this.audioTime = 0},methods: {close() {this.filePath = ''this.mediaRecorder = nullthis.file = nullthis.visable = falsethis.clearTimer()this.audioTime = 0},getAudioTime() {return (this.audioTime / 1000).toFixed(2) + 's'},reload() {this.filePath = ''this.mediaRecorder = nullthis.file = nullthis.init()},stop() {this.clearTimer()this.mediaRecorder.stop()},play() {if (!this.filePath) {this.stop()}this.isShowAudio = true},async send() {if (!this.filePath) {this.stop()await this.sleep()}this.commonUploadFile(this.file, 'im', 500).then(({ url = '' }) => {this.$emit('pushInfo', {msg_type: '5',content: url,time: this.audioTime,})this.close()}).catch(() => {})},clearTimer() {clearInterval(this.timer)this.timer = null},init() {if (this.mediaRecorder) returnthis.clearTimer()this.audioTime = 0// 请求麦克风权限navigator.mediaDevices.getUserMedia({ audio: true }).then((stream) => {// 创建MediaRecorder实例const mediaRecorder = new MediaRecorder(stream)// 处理录音数据const recordedChunks = []mediaRecorder.ondataavailable = (event) => {if (event.data.size > 0) {recordedChunks.push(event.data)}}// 停止录音时的处理mediaRecorder.onstop = () => {// 将数据块转换为Blob对象const blob = new Blob(recordedChunks, { type: 'audio/ogg; codecs=opus' })const fileName = 'recordedAudio.ogg'this.file = new File([blob], fileName, {type: 'audio/ogg', // 这里不需要指定codecs,因为Blob已经包含了它})// TODO:还没做this.filePath = this.getObjectURL(this.file)}// 开始录音mediaRecorder.start()this.mediaRecorder = mediaRecorder// 计时器this.timer = setInterval(() => {// 最大60sif (this.audioTime >= 60 * 1000) {this.clearTimer()return}this.audioTime += 50}, 50)}).catch((err) => {console.error('Error accessing the microphone:', err)})},// 获取视频的本地地址getObjectURL(file) {var url = null// 下面函数执行的效果是一样的,只是需要针对不同的浏览器执行不同的 js 函数而已if (window.createObjectURL !== undefined) {// basicurl = window.createObjectURL(file)} else if (window.URL !== undefined) {// mozilla(firefox)url = window.URL.createObjectURL(file)} else if (window.webkitURL !== undefined) {// webkit or chromeurl = window.webkitURL.createObjectURL(file)}return url},},
}
</script><style lang="scss" scoped>
.el-icon-close-1 {top: 5px;right: 5px;
}
</style>
这篇关于express+vue在线im实现【四】的文章就介绍到这儿,希望我们推荐的文章对编程师们有所帮助!


