本文主要是介绍零成本!无需服务器,搭建你的图床!,希望对大家解决编程问题提供一定的参考价值,需要的开发者们随着小编来一起学习吧!
先给大家看看成品:

访问地址:http://cp64mba5g6h48vl4is50.app.memfiredb.cn/
这是我花十分钟做出来的零成本,不需要服务器的图床,不需要登录,任何人都可以在上面上传图片和拿到图片链接去使用,当然这只是一个简单的图床功能,后续我会慢慢优化更强大。接下来我将教大家如何做一个零成本,无需服务器的免费图床。
1.创建免费应用
先去前往MemFire Cloud登录后,在首页创建一个免费的应用

这个应用创建完成后,你将拥有
- 免费云数据库
- 自动生成api
- 对象存储
- 二十几种第三方认证服务
- 实时数据库
- 静态托管
然后我们这个图床主要用到的是自动生成api和对象存储
2.创建存储桶
应用创建完成后,我们先去存储的界面创建一个存储桶用来存放图片


3.初始化vue项目
大家可以用npx或者vue创建都可以,我是用vue创建的
vue create vue-tuchuang创建完成后,在根目录下创建一个.env.local,来存放环境变量
4.安装依赖包
安装用于访问应用资源的依赖包
npm i @supabase/supabase-js
5.配置环境变量
在MemFire Cloud应用控制台的“应用设置”->“API”找到应用的URL和anon 公钥,分别填到.env.local里面

VITE_SUPABASE_URL=
VITE_SUPABASE_ANON_KEY=
6.初始化客户端
在src下面创建一个supabase.js,将下面的代码填入
import { createClient } from '@supabase/supabase-js'const supabaseUrl = import.meta.env.VITE_SUPABASE_URL
const supabaseAnonKey = import.meta.env.VITE_SUPABASE_ANON_KEYexport const supabase = createClient(supabaseUrl, supabaseAnonKey)
7.编写页面
src\App.vue
<template><div id="app"><header><h1>图床</h1><input type="file" @change="handleFileUpload" accept="image/*" /></header><main><section v-if="fileList.length > 0"><h2>已上传的图片</h2><ul class="image-list"><li v-for="(image, index) in fileList" :key="index" class="image-item"><img :src="image.publicUrl" alt="uploaded image" @click="showImage(index)" /><div class="image-overlay"><span class="image-name">{{ truncateFileName(image.name) }}</span><button @click="copyImageUrl(index)">复制URL</button></div></li></ul></section><section v-else><p style="color: black;">暂无上传的图片</p></section></main><!-- 放大查看图片的弹窗 --><div v-if="showModal" class="modal" @click="closeModal"><div class="modal-content"><img :src="selectedImageUrl" alt="enlarged image" /></div></div></div>
</template><script>
import { ref, onMounted } from 'vue';
import { supabase } from './supabase';export default {setup() {const fileList = ref([]);const files = ref();const showModal = ref(false);const selectedImageUrl = ref('');onMounted(() => {getImageUrl();});const handleFileUpload = async (evt) => {files.value = evt.target.files;try {if (!files.value || files.value.length === 0) {throw new Error('请选择要上传的图片.');}const file = files.value[0];const fileExt = file.name.split('.').pop();const filePath = `${Math.random()}.${fileExt}`;let { error: uploadError } = await supabase.storage.from('drawingBoard').upload(filePath, file);if (uploadError) throw uploadError;getImageUrl();} catch (error) {alert(error.message);}};const copyImageUrl = (index) => {const publicUrl = fileList.value[index].publicUrl;navigator.clipboard.writeText(publicUrl).then(() => {alert(`已复制图片URL:${publicUrl}`);}).catch((err) => {console.error('复制失败:', err);});};const getImageUrl = async () => {const { data, error } = await supabase.storage.from('drawingBoard').list()const filteredData = data.filter(item => item.name !== ".emptyFolderPlaceholder");filteredData.forEach((item) => {const { data } = supabase.storage.from('drawingBoard').getPublicUrl(item.name)if (data) {item.publicUrl = data.publicUrl}})if(filteredData.length >0){fileList.value = filteredData}}const showImage = (index) => {selectedImageUrl.value = fileList.value[index].publicUrl;showModal.value = true;};const closeModal = () => {showModal.value = false;};const truncateFileName = (fileName) => {const maxLength = 20; // 设置名称最大长度if (fileName.length > maxLength) {return fileName.substring(0, maxLength - 3) + '...'; // 超过长度则省略}return fileName;};return {fileList,handleFileUpload,copyImageUrl,showImage,showModal,selectedImageUrl,closeModal,truncateFileName};},
};
</script><style>
#app {font-family: Arial, sans-serif;margin: 0 auto;max-width: 800px;padding: 20px;
}header {display: flex;align-items: center;justify-content: space-between;margin-bottom: 20px;
}
h2{color: #000;
}
header h1{font-size: 24px;margin: 0;
}input[type='file'] {display: inline-block;padding: 10px;
}main {background-color: #f5f5f5;padding: 20px;
}
ul.image-list li img:hover {transform: scale(1.1); /* Enlarge on hover */
}
ul.image-list {list-style: none;padding: 0;display: flex;flex-wrap: wrap;gap: 20px;
}.image-item {width: calc(33.33% - 20px);text-align: center;margin-bottom: 20px;position: relative;
}.image-item img {/* max-width: 100%;border-radius: 5px;box-shadow: 0 0 5px rgba(0, 0, 0, 0.1);cursor: pointer; */max-width: 100%;height: auto; /* Maintain aspect ratio */border-radius: 5px;box-shadow: 0 0 5px rgba(0, 0, 0, 0.1);cursor: pointer; /* Show pointer on hover for clicking */transition: transform 0.2s ease; /* Add smooth transition for scaling */
}.image-overlay {position: absolute;bottom: 10px;left: 0;right: 0;background-color: rgba(0, 0, 0, 0.5);padding: 5px;border-radius: 5px;
}.image-overlay .image-name {display: block;overflow: hidden;text-overflow: ellipsis;white-space: nowrap;color: #000; /* 设置名称颜色为黑色 */
}button {padding: 5px 10px;margin-left: 10px;background-color: #007bff;color: white;border: none;border-radius: 3px;cursor: pointer;
}/* 弹窗样式 */
.modal {position: fixed;top: 0;left: 0;width: 100%;height: 100%;background-color: rgba(0, 0, 0, 0.7);display: flex;justify-content: center;align-items: center;z-index: 999;
}.modal-content {max-width: 80%;max-height: 80%;overflow: auto;
}.modal-content img {max-width: 100%;max-height: 100%;border-radius: 5px;box-shadow: 0 0 10px rgba(0, 0, 0, 0.5);
}
</style>
8.运行程序
npm run dev
效果:

9.静态托管
项目开发完了,大家肯定想把这个作品展示给自己朋友或者网友使用,刚好我们使用MemFire Cloud的静态托管来托管我们的项目,就相当于部署我们的项目,我们不需要在服务器上部署。
在根目录下执行命令
npm run build
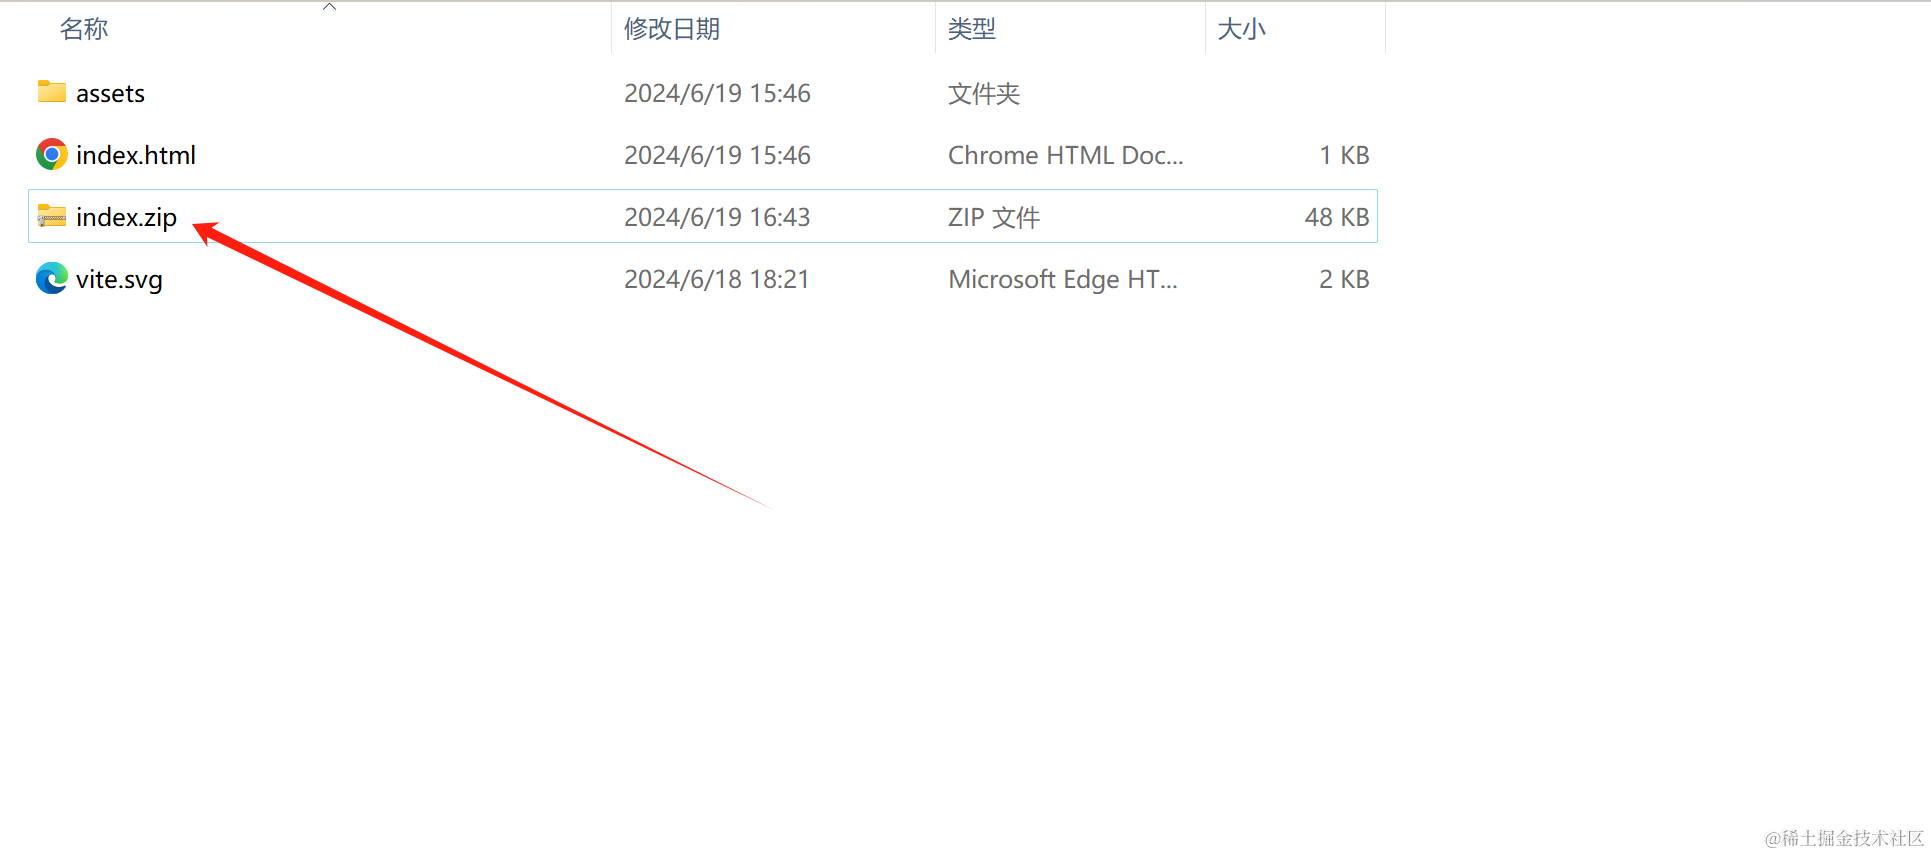
打包完成后,我们进入文件资源管理器,将里面的所有文件选中打成一个zip压缩包

我们再次打开MemFire Cloud应用的控制台,我们来到静态托管的选项下,然后将我们刚刚打包好的压缩包上传到这里,上传完成后会发现上面出现一个访问地址,这个地址就可以给大家安全的访问啦,如果你觉得这个地址有点丑,你还可以去配置域名,前提是你已经有了一个域名并且已经备案了。

好啦,咱们这个简单的图床就做好了,全程没有需要服务器,零成本完成的!后续我会慢慢优化这个图床!大家也可以试试用MemFire Cloud来做一些应用。
具体的大家可以参考或者阅读一下文档
这篇关于零成本!无需服务器,搭建你的图床!的文章就介绍到这儿,希望我们推荐的文章对编程师们有所帮助!


