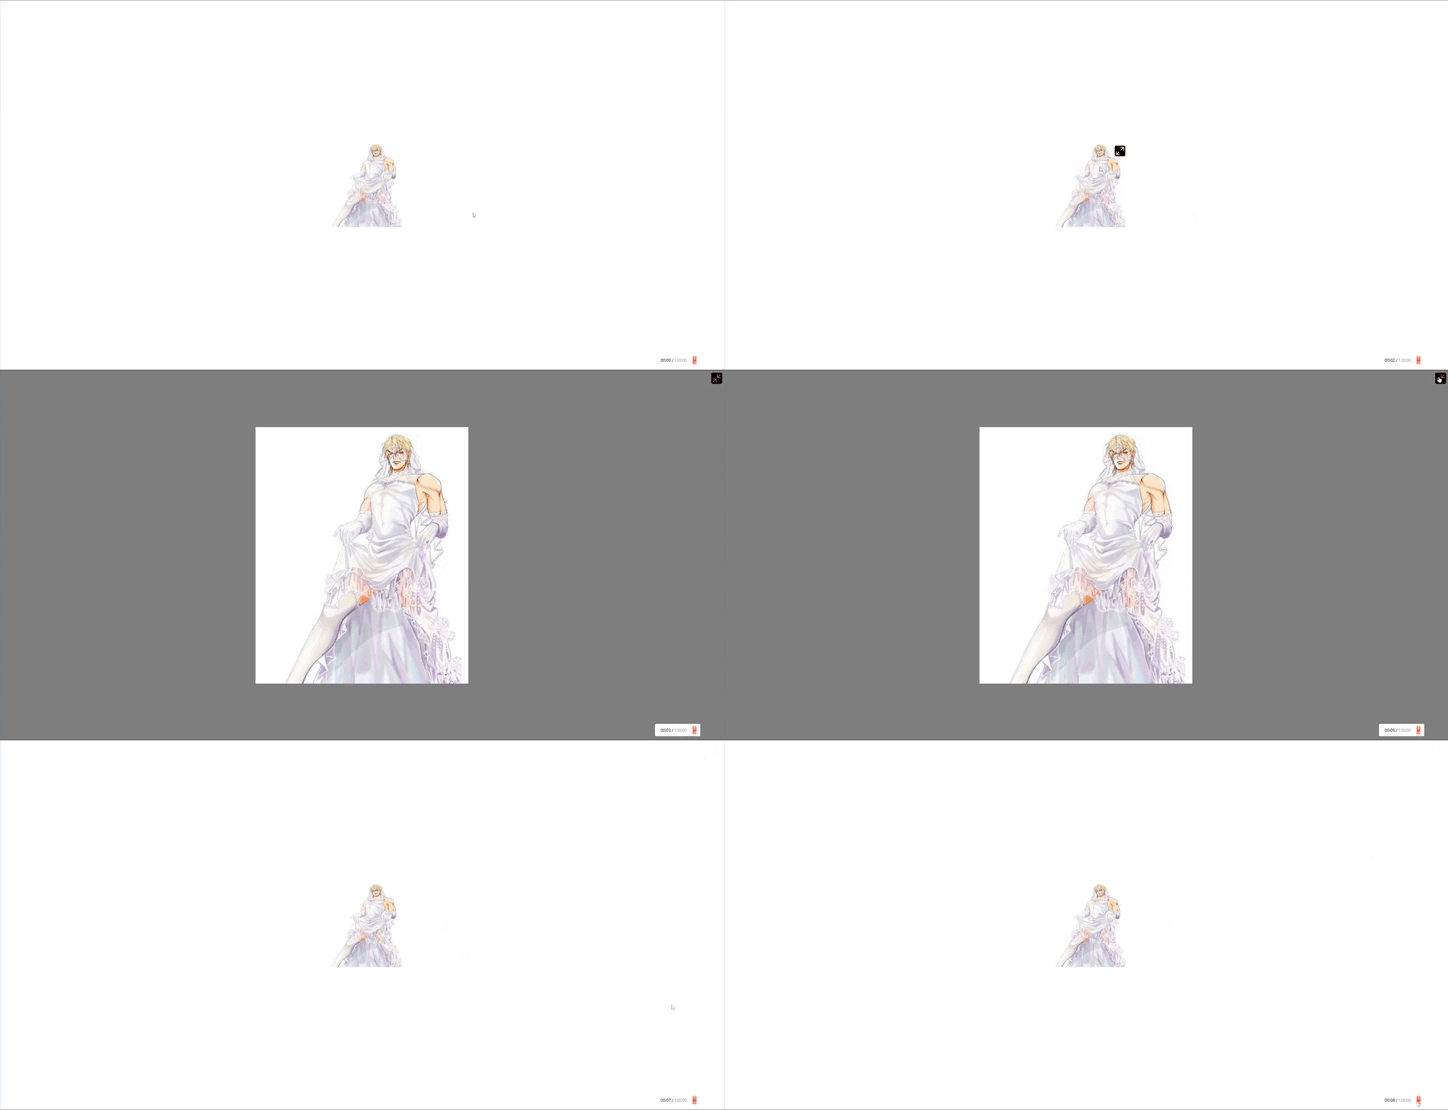
本文主要是介绍vue3:实现图片放大浏览功能组件,希望对大家解决编程问题提供一定的参考价值,需要的开发者们随着小编来一起学习吧!
两种实现方式:
1.将原本的盒子与img标签放大至全屏浏览。
2.新建一个div和img标签进行全屏浏览。这样不会改变布局。
第一种:
效果:

组件代码:
<template><div :class="isScreen ? 'fullImg' : 'norImg'"><img:src="props.src"alt="img":width="isScreen ? 'auto' : props.width":height="isScreen ? 'auto' : props.height"/><!-- 放大缩小按钮 --><div class="toBig" @click="showImg"><svgt="1718433997569"class="icon"viewBox="0 0 1024 1024"version="1.1"xmlns="http://www.w3.org/2000/svg"p-id="2426"width="50"height="50"><path :d="iconPath" fill="#140202" p-id="2427"></path></svg></div></div>
</template>
<script setup lang="ts">
import { ref } from "vue";const props = defineProps({src: {type: String,default: "https://picsum.photos/200/300",},width: {type: Number,},height: {type: Number,},
});
let iconPath = ref<string>("M800 163H226.2c-52.8 0-95.6 42.8-95.6 95.6v573.8c0 52.8 42.8 95.6 95.6 95.6H800c52.8 0 95.6-42.8 95.6-95.6V258.6c0-52.8-42.8-95.6-95.6-95.6zM465.3 832.4H250.8c-6.7 0-12.7-2.8-17-7.2-4.6-3.9-7.5-9.6-7.5-16.7V593.3c0-13.2 10.7-23.9 23.9-23.9s23.9 10.7 23.9 23.9l-0.8 157.2 162.3-162.3 33.8 33.8-162.6 162.6h158.5c13.2 0 23.9 10.7 23.9 23.9s-10.7 23.9-23.9 23.9zM800 497.7c0 13.2-10.7 23.9-23.9 23.9s-23.9-10.7-23.9-23.9l0.8-157.2-162.4 162.3-33.8-33.8 162.5-162.5H560.8c-13.2 0-23.9-10.7-23.9-23.9s10.7-23.9 23.9-23.9h214.5c6.7 0 12.7 2.8 17 7.2 4.6 3.9 7.6 9.6 7.6 16.7v215.1z"
);
//是否大屏展示
const isScreen = ref<boolean>(false);
// 点击展示
const showImg = () => {if (isScreen.value) {isScreen.value = false;iconPath.value ="M800 163H226.2c-52.8 0-95.6 42.8-95.6 95.6v573.8c0 52.8 42.8 95.6 95.6 95.6H800c52.8 0 95.6-42.8 95.6-95.6V258.6c0-52.8-42.8-95.6-95.6-95.6zM465.3 832.4H250.8c-6.7 0-12.7-2.8-17-7.2-4.6-3.9-7.5-9.6-7.5-16.7V593.3c0-13.2 10.7-23.9 23.9-23.9s23.9 10.7 23.9 23.9l-0.8 157.2 162.3-162.3 33.8 33.8-162.6 162.6h158.5c13.2 0 23.9 10.7 23.9 23.9s-10.7 23.9-23.9 23.9zM800 497.7c0 13.2-10.7 23.9-23.9 23.9s-23.9-10.7-23.9-23.9l0.8-157.2-162.4 162.3-33.8-33.8 162.5-162.5H560.8c-13.2 0-23.9-10.7-23.9-23.9s10.7-23.9 23.9-23.9h214.5c6.7 0 12.7 2.8 17 7.2 4.6 3.9 7.6 9.6 7.6 16.7v215.1z";} else {isScreen.value = true;iconPath.value ="M810.2 130.2H211.1c-55.1 0-99.8 44.7-99.8 99.8v599.1c0 55.1 44.7 99.8 99.8 99.8h599.1c55.1 0 99.8-44.7 99.8-99.8v-599c0-55.2-44.7-99.9-99.8-99.9z m-324.5 674c0 13.8-11.2 25-25 25s-25-11.2-25-25l0.8-164.1-169.4 169.4-35.3-35.3 169.7-169.7H236c-13.8 0-25-11.2-25-25s11.2-25 25-25h223.9c7 0 13.3 2.9 17.8 7.5 4.8 4.1 7.9 10.1 7.9 17.5v224.7z m299.5-299.6H561.3c-7 0-13.3-2.9-17.8-7.5-4.8-4.1-7.9-10.1-7.9-17.5V255c0-13.8 11.2-25 25-25s25 11.2 25 25l-0.8 164.1 169.4-169.4 35.3 35.3-169.8 169.7h165.5c13.8 0 25 11.2 25 25s-11.2 24.9-25 24.9z";}
};
</script>
<style scoped>
.fullImg {width: 100vw;height: 100vh;position: fixed;top: 0;left: 0;background: rgba(0, 0, 0, 0.5);z-index: 999;display: flex;justify-content: center;align-items: center;
}
.norImg {position: relative;width: auto;height: auto;
}
.toBig {display: none;
}
.norImg:hover .toBig {display: block;position: absolute;right: 5px;top: 5px;cursor: pointer;
}
.fullImg .toBig {display: block;position: absolute;right: 5px;top: 5px;cursor: pointer;
}
</style>
使用组件:
宽高只给一种可以保持图片比例,都不给图片正常大小
<template><showImg :width="300" :height="300" :src="img"></showImg>
</template>
<script setup lang="ts">
import showImg from "../components/showImg.vue";
import img from "../assets/demoIMG.jpg";
</script>
第二种:
效果:

组件代码:
<template><div class="norImg"><img:src="props.src"alt="img":width="props.width":height="props.height"/><!-- 放大缩小按钮 --><div class="toBig" @click="showImg"><svgt="1718433997569"class="icon"viewBox="0 0 1024 1024"version="1.1"xmlns="http://www.w3.org/2000/svg"p-id="2426"width="50"height="50"><pathd="M800 163H226.2c-52.8 0-95.6 42.8-95.6 95.6v573.8c0 52.8 42.8 95.6 95.6 95.6H800c52.8 0 95.6-42.8 95.6-95.6V258.6c0-52.8-42.8-95.6-95.6-95.6zM465.3 832.4H250.8c-6.7 0-12.7-2.8-17-7.2-4.6-3.9-7.5-9.6-7.5-16.7V593.3c0-13.2 10.7-23.9 23.9-23.9s23.9 10.7 23.9 23.9l-0.8 157.2 162.3-162.3 33.8 33.8-162.6 162.6h158.5c13.2 0 23.9 10.7 23.9 23.9s-10.7 23.9-23.9 23.9zM800 497.7c0 13.2-10.7 23.9-23.9 23.9s-23.9-10.7-23.9-23.9l0.8-157.2-162.4 162.3-33.8-33.8 162.5-162.5H560.8c-13.2 0-23.9-10.7-23.9-23.9s10.7-23.9 23.9-23.9h214.5c6.7 0 12.7 2.8 17 7.2 4.6 3.9 7.6 9.6 7.6 16.7v215.1z"fill="#140202"p-id="2427"></path></svg></div></div><div class="fullImg" v-if="isScreen"><img :src="props.src" alt="img" /><div class="toBig" @click="showImg"><svgt="1718433997569"class="icon2"viewBox="0 0 1024 1024"version="1.1"xmlns="http://www.w3.org/2000/svg"p-id="2426"width="50"height="50"><pathd="M810.2 130.2H211.1c-55.1 0-99.8 44.7-99.8 99.8v599.1c0 55.1 44.7 99.8 99.8 99.8h599.1c55.1 0 99.8-44.7 99.8-99.8v-599c0-55.2-44.7-99.9-99.8-99.9z m-324.5 674c0 13.8-11.2 25-25 25s-25-11.2-25-25l0.8-164.1-169.4 169.4-35.3-35.3 169.7-169.7H236c-13.8 0-25-11.2-25-25s11.2-25 25-25h223.9c7 0 13.3 2.9 17.8 7.5 4.8 4.1 7.9 10.1 7.9 17.5v224.7z m299.5-299.6H561.3c-7 0-13.3-2.9-17.8-7.5-4.8-4.1-7.9-10.1-7.9-17.5V255c0-13.8 11.2-25 25-25s25 11.2 25 25l-0.8 164.1 169.4-169.4 35.3 35.3-169.8 169.7h165.5c13.8 0 25 11.2 25 25s-11.2 24.9-25 24.9z"fill="#140202"p-id="2427"></path></svg></div></div>
</template>
<script setup lang="ts">
import { ref } from "vue";const props = defineProps({src: {type: String,default: "https://picsum.photos/200/300",},width: {type: Number,},height: {type: Number,},
});//是否大屏展示
const isScreen = ref<boolean>(false);
// 点击展示
const showImg = () => {if (isScreen.value) {isScreen.value = false;} else {isScreen.value = true;}
};
</script>
<style scoped>
.fullImg {width: 100vw;height: 100vh;position: fixed;top: 0;left: 0;background: rgba(0, 0, 0, 0.5);z-index: 999;display: flex;justify-content: center;align-items: center;
}
.norImg {position: relative;width: auto;height: auto;
}
.toBig {display: none;
}
.norImg:hover .toBig {display: block;position: absolute;right: 5px;top: 5px;cursor: pointer;
}
.fullImg .toBig {display: block;position: absolute;right: 5px;top: 5px;cursor: pointer;
}
.icon2:hover path {fill: #fff;
}
</style>
使用组件:
<template><div class="page"><div class="mainBox"><showImg2 :src="demoImg" :width="300" /><showImg2 :src="demoImg" :width="300" /><showImg2 :src="demoImg" :width="300" /><showImg2 :src="demoImg" :width="300" /><showImg2 :src="demoImg" :width="300" /><showImg2 :src="demoImg" :width="300" /><showImg2 :src="demoImg" :width="300" /><showImg2 :src="demoImg" :width="300" /></div></div>
</template>
<script setup lang="ts">
import demoImg from "../assets/demoIMG.jpg";
import showImg2 from "../components/showImg2.vue";
</script>
<style scoped>
.page {width: 100vw;height: 100vh;display: flex;justify-content: center;align-items: center;
}
.mainBox {width: 1200px;height: 1200px;display: flex;border: 1px solid #000;justify-content: space-between;align-items: center;flex-wrap: wrap;
}
</style>
这篇关于vue3:实现图片放大浏览功能组件的文章就介绍到这儿,希望我们推荐的文章对编程师们有所帮助!


