本文主要是介绍嵌入式学习记录6.13(qt day1),希望对大家解决编程问题提供一定的参考价值,需要的开发者们随着小编来一起学习吧!
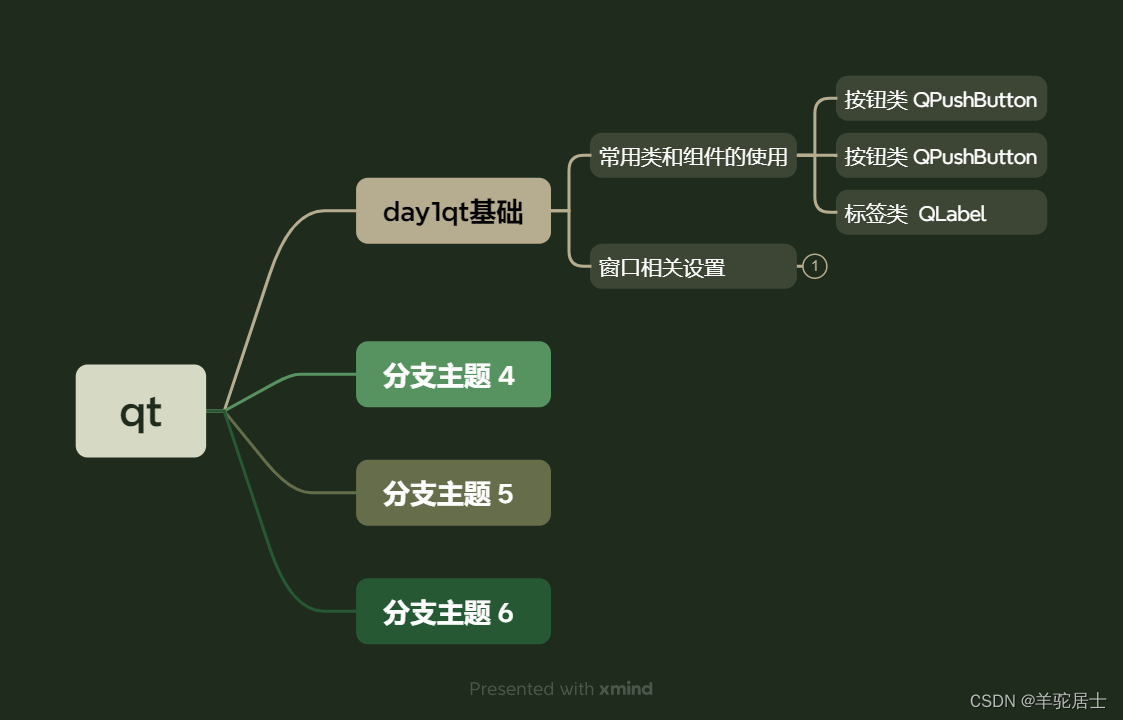
一.思维导图

二.练习(简单模拟tim界面)
2.1代码
mywidget.cpp
#include "mywidget.h"MyWidget::MyWidget(QWidget *parent): QWidget(parent)
{this->setWindowTitle("Tim");this->setWindowIcon(QIcon("C:\\Users\\zy\\Desktop\\share\\11.png"));this->resize(1028,783);//设置左侧背景QLabel *lab1=new QLabel(this);lab1->move(0,0);lab1->setPixmap(QPixmap("C:\\Users\\zy\\Desktop\\share\\4.png"));lab1->resize(550,783);lab1->setScaledContents(true);QLabel *lab2=new QLabel(this);//tim图标lab2->move(20,5);lab2->setPixmap(QPixmap("C:\\Users\\zy\\Desktop\\share\\5.png"));lab2->resize(115,55);lab2->setScaledContents(true);lab2->setStyleSheet("background-colour:rgb(211,183,166)");QLabel *lab3=new QLabel(this);//qq图标lab3->move(690,183);lab3->setPixmap(QPixmap("C:\\Users\\zy\\Desktop\\share\\6.png"));lab3->resize(100,100);lab3->setScaledContents(true);QLabel *lab4=new QLabel(this);//wx图标lab4->move(800,183);lab4->setPixmap(QPixmap("C:\\Users\\zy\\Desktop\\share\\8.png"));lab4->resize(100,100);lab4->setScaledContents(true);//       QPushButton *btn1=new QPushButton(QIcon("C:\\Users\\zy\\Desktop\\share\\6.png"),"",this);
//        btn1->move(707,183);
//        btn1->resize(100,100);QLineEdit *edit1 = new QLineEdit(this);edit1->move(633,322);edit1->resize(336,50);//设置占位edit1->setPlaceholderText("手机号:");QLineEdit *edit2 = new QLineEdit(this);edit2->move(633,420);edit2->resize(336,50);//设置占位edit2->setPlaceholderText("密码:");//设置显示模式edit2->setEchoMode(QLineEdit::Password);//           QPixmap pixmap("C:\\Users\\zy\\Desktop\\share\\10.png");
//           pixmap = pixmap.scaled(100, 100, Qt::KeepAspectRatio, Qt::SmoothTransformation); // 调整为100x100大小,保持纵横比,平滑变换
//           QIcon icon(pixmap);
//          QPushButton *btn1=new QPushButton(icon,"",this);//          btn1->move(927,420);
//            btn1->resize(100,100);QIcon icon("C:\\Users\\zy\\Desktop\\share\\10.png");// 创建按钮QPushButton *button = new QPushButton(this);// 设置按钮的图标button->setIcon(icon);button->setIconSize(QSize(50, 50)); // 设置图标的大小,例如64x64像素// 可以选择设置按钮的大小以适应图标button->resize(50, 50);// 可以选择设置按钮的位置button->move(927,410);QLabel *lab5=new QLabel("记住密码",this);lab5->move(629,663);lab5->resize(80,20);QLabel *lab6=new QLabel("自动登录",this);lab6->move(629,713);lab6->resize(80,20);QLabel *lab7=new QLabel("找回密码",this);lab7->move(908,663);lab7->resize(80,20);QLabel *lab8=new QLabel("注册账号",this);lab8->move(908,713);lab8->resize(80,20);//           QLabel *lab9=new QLabel(this);
//           lab9->move(0,0);
//           lab9->setPixmap("background-colour:rgb(211,183,166)");
//           lab9->resize(550,783);
//           lab9->setScaledContents(true);}MyWidget::~MyWidget()
{
}
mywidget.h#ifndef MYWIDGET_H #define MYWIDGET_H#include <QWidget> #include <QWidget> #include<QLabel> #include<QMovie> #include<QLineEdit> #include<QIcon> #include<QPixmap> #include <QPainter>#include <QPushButton> #include<QGraphicsDropShadowEffect> #include <QVBoxLayout>class MyWidget : public QWidget {Q_OBJECTpublic:MyWidget(QWidget *parent = nullptr);~MyWidget(); }; #endif // MYWIDGET_H
2.2实现效果

这篇关于嵌入式学习记录6.13(qt day1)的文章就介绍到这儿,希望我们推荐的文章对编程师们有所帮助!


