本文主要是介绍[Vue3:axios]:实现实现登陆页面前后端请求,并用Vite解决跨域问题,希望对大家解决编程问题提供一定的参考价值,需要的开发者们随着小编来一起学习吧!
文章目录
- 一:前置依赖
- 查看依赖
- 安装 axios:npm install axios
- 二:配置文件:创建一个用于全局使用的axios实例,并在main.js或main.ts文件中将其配置为全局属性。
- 根目录mainjs文件引入axios
- 三:登录页面发送登录请求:发送请求,成功则用localStorge用户id
- 成功后跳转页面router.push('/page')
- 四:解决跨域问题:配置Vite服务器的代理功能来实现
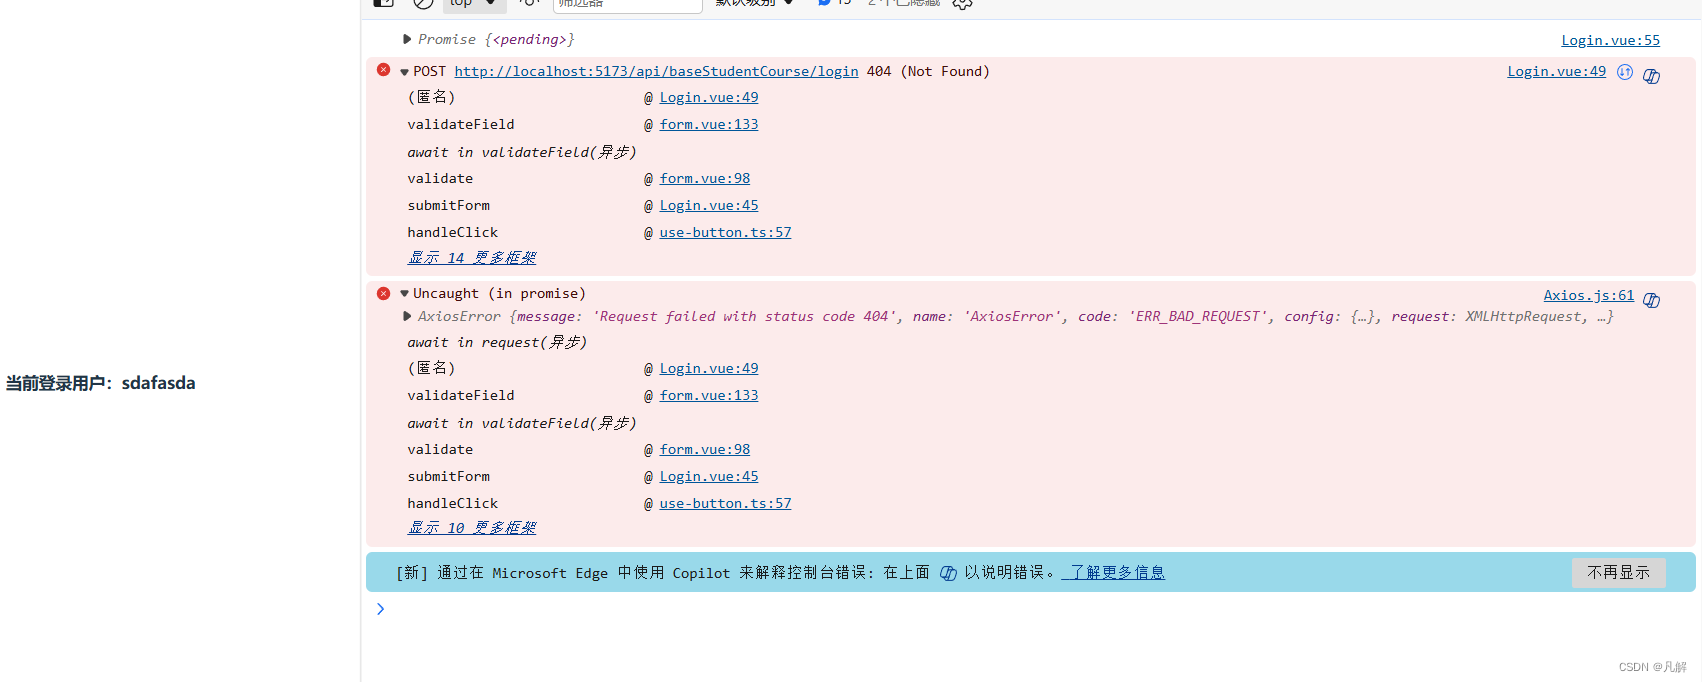
- 出现CORS跨域异常:
- 解决跨域异常:vite配置代理
- 查看发送的CURL:
- http://localhost:5173/api/base/login 代理到 http://localhost:8092/base/login
- 五:页面效果:
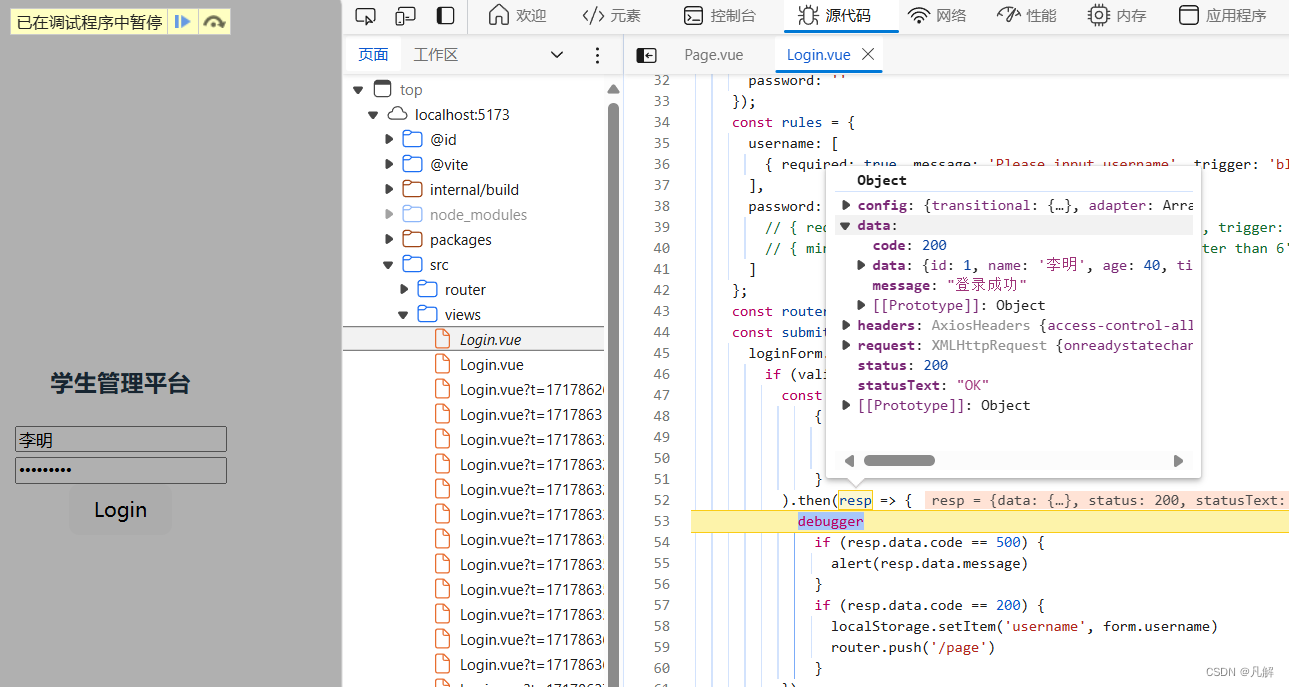
- 登录成功:
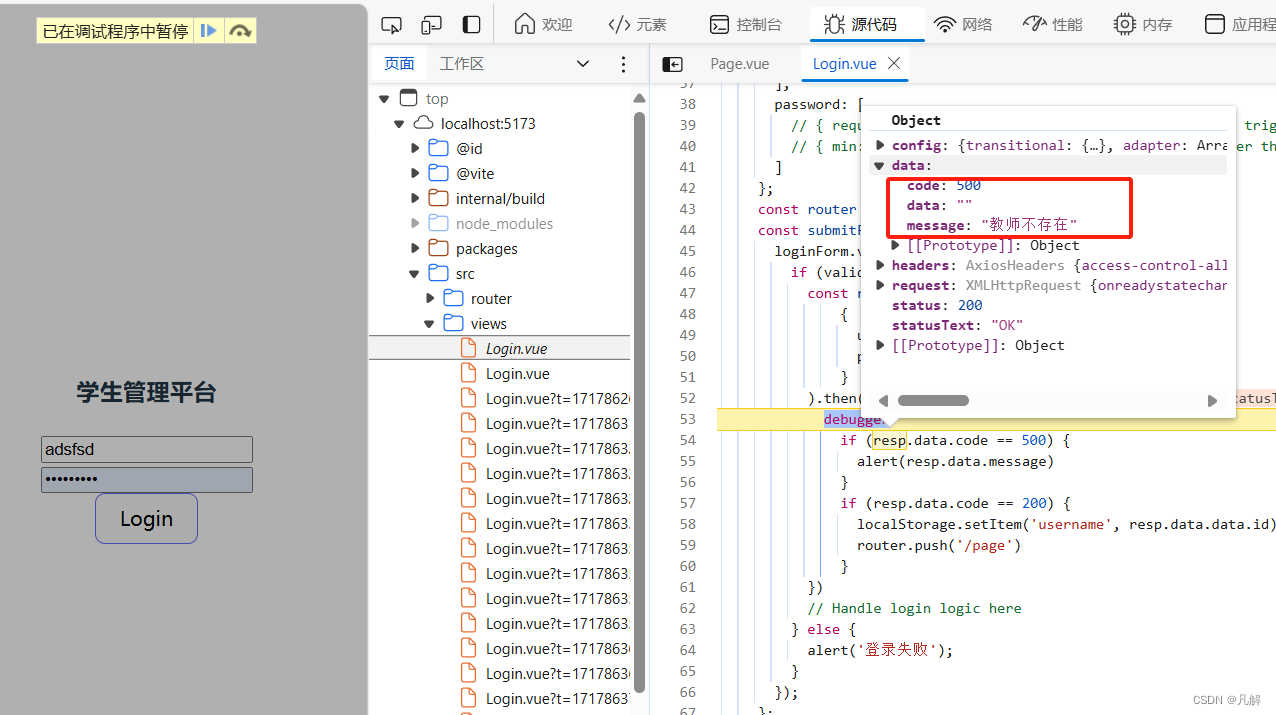
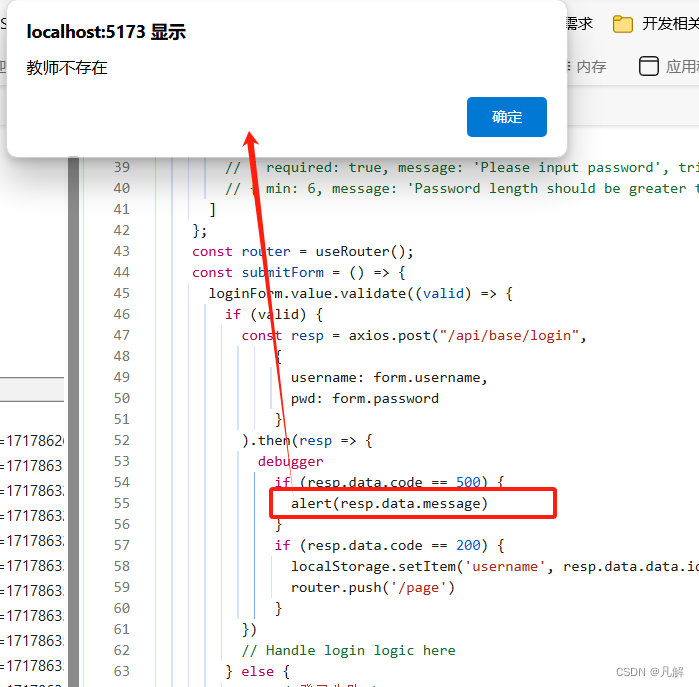
- 登录失败:
一:前置依赖
查看依赖
根目录下 package.json 文件
“dependencies”: {
“axios”: “^1.7.2”,
“element-plus”: “^2.7.4”,
“vue”: “^3.4.21”,
“vue-router”: “^4.3.2”
},
安装 axios:npm install axios
PS E:\WorkContent\shanghaikaifangdaxue\shujukuyingyong\testFour\sys-instruction> npm install axiosadded 9 packages, and audited 94 packages in 5s15 packages are looking for fundingrun `npm fund` for detailsfound 0 vulnerabilities
二:配置文件:创建一个用于全局使用的axios实例,并在main.js或main.ts文件中将其配置为全局属性。
根目录mainjs文件引入axios
import { createApp } from 'vue'
import './style.css'
import App from './App.vue'
import router from './router' //引入router
import ElementPlus from 'element-plus' //引入ElementPlusconst app=createApp(App)app.use(router) //使用router
app.use(ElementPlus) //使用ElementPlusapp.mount('#app')
三:登录页面发送登录请求:发送请求,成功则用localStorge用户id
成功后跳转页面router.push(‘/page’)
const submitForm = () => {loginForm.value.validate((valid) => {if (valid) {const resp = axios.post("/api/base/login",{username: form.username,pwd: form.password}).then(resp => {debuggerif (resp.data.code == 500) {alert(resp.data.message)}if (resp.data.code == 200) {localStorage.setItem('username', resp.data.data.id)router.push('/page')}})// Handle login logic here} else {alert('登录失败');}});};
<template><div><el-form ref="loginForm" :model="form" :rules="rules"><div class="title-container" style="margin-top: 20px;"><h3 class="title">学生管理平台</h3></div><el-form-item prop="username"><el-input v-model="form.username" placeholder="Username"></el-input></el-form-item><el-form-item prop="password"><el-input type="password" v-model="form.password" placeholder="Password"></el-input></el-form-item><el-form-item><el-button @click="submitForm">Login</el-button></el-form-item></el-form></div>
</template><script>
import { ref, reactive } from 'vue';
import { useRouter } from 'vue-router';
import axios from "axios";export default {name: 'Login',setup() {const loginForm = ref(null);const form = reactive({username: '',password: ''});const rules = {username: [{ required: true, message: 'Please input username', trigger: 'blur' }],password: [// { required: true, message: 'Please input password', trigger: 'blur' },// { min: 6, message: 'Password length should be greater than 6', trigger: 'blur' }]};const router = useRouter();const submitForm = () => {loginForm.value.validate((valid) => {if (valid) {const resp = axios.post("/api/base/login",{username: form.username,pwd: form.password}).then(resp => {debuggerif (resp.data.code == 500) {alert(resp.data.message)}if (resp.data.code == 200) {localStorage.setItem('username', resp.data.data.id)router.push('/page')}})// Handle login logic here} else {alert('登录失败');}});};return {loginForm,form,rules,submitForm};}
};
</script>
四:解决跨域问题:配置Vite服务器的代理功能来实现
出现CORS跨域异常:
{"message": "Request failed with status code 404","name": "AxiosError","stack": "AxiosError: Request failed with status code 404\n    at settle (http://localhost:5173/node_modules/.vite/deps/axios.js?v=082c756d:1216:12)\n    at XMLHttpRequest.onloadend (http://localhost:5173/node_modules/.vite/deps/axios.js?v=082c756d:1562:7)\n    at Axios.request (http://localhost:5173/node_modules/.vite/deps/axios.js?v=082c756d:2078:41)","config": {"transitional": {"silentJSONParsing": true,"forcedJSONParsing": true,"clarifyTimeoutError": false},"adapter": ["xhr","http","fetch"],"transformRequest": [null],"transformResponse": [null],"timeout": 0,"xsrfCookieName": "XSRF-TOKEN","xsrfHeaderName": "X-XSRF-TOKEN","maxContentLength": -1,"maxBodyLength": -1,"env": {},"headers": {"Accept": "application/json, text/plain, */*","Content-Type": "application/json"},"method": "post","url": "/api/baseStudentCourse/login","data": "{\"username\":\"sdafasda\",\"pwd\":\"adsfadfadsfa\"}"},"code": "ERR_BAD_REQUEST","status": 404
}

解决跨域异常:vite配置代理
-
打开项目中的vite.config.js文件(如果你使用的是vite.config.ts,则是相同的配置)。
-
在配置文件中,添加一个proxy配置项,指定需要代理的API地址以及相应的目标服务器地址
默认配置:
import { defineConfig } from 'vite'
import vue from '@vitejs/plugin-vue'// https://vitejs.dev/config/
export default defineConfig({plugins: [vue()],
})
变更后配置:
import { defineConfig } from 'vite'
import vue from '@vitejs/plugin-vue'// https://vitejs.dev/config/
export default defineConfig({plugins: [vue()],// 添加代理配置server: {proxy: {'/api': {target: 'http://localhost:8092/', // 目标服务器地址changeOrigin: true, // 是否改变源地址rewrite: (path) => path.replace(/^\/api/, ''), // 重写路径}}}
})
查看发送的CURL:
curl 'http://localhost:5173/api/base/login' \-H 'Accept: application/json, text/plain, */*' \-H 'Accept-Language: zh-CN,zh;q=0.9' \-H 'Connection: keep-alive' \-H 'Content-Type: application/json' \-H 'Origin: http://localhost:5173' \-H 'Referer: http://localhost:5173/login' \-H 'Sec-Fetch-Dest: empty' \-H 'Sec-Fetch-Mode: cors' \-H 'Sec-Fetch-Site: same-origin' \-H 'User-Agent: Mozilla/5.0 (Windows NT 10.0; Win64; x64) AppleWebKit/537.36 (KHTML, like Gecko) Chrome/125.0.0.0 Safari/537.36' \-H 'sec-ch-ua: "Google Chrome";v="125", "Chromium";v="125", "Not.A/Brand";v="24"' \-H 'sec-ch-ua-mobile: ?0' \-H 'sec-ch-ua-platform: "Windows"' \--data-raw '{"username":"asdfadsf","pwd":"adfadfaf"}'

http://localhost:5173/api/base/login 代理到 http://localhost:8092/base/login
五:页面效果:
登录成功:


登录失败:


这篇关于[Vue3:axios]:实现实现登陆页面前后端请求,并用Vite解决跨域问题的文章就介绍到这儿,希望我们推荐的文章对编程师们有所帮助!


