本文主要是介绍gmssl vs2010编译,希望对大家解决编程问题提供一定的参考价值,需要的开发者们随着小编来一起学习吧!
1、虚拟机win10 x64,离线安装vs2010和2010sp1补丁;

2、安装ActivePerl_v5.28.1.0000和nasm-2.16.03-installer-x64均是默认完整安装;
nasm官网下载:
Index of /pub/nasm/releasebuilds/2.16.03/win64![]() https://www.nasm.us/pub/nasm/releasebuilds/2.16.03/win64/ ActivePerl官网要注册,华军下载:ActivePerl下载_ActivePerl(Perl执行工具)官方中文版下载-华军软件园
https://www.nasm.us/pub/nasm/releasebuilds/2.16.03/win64/ ActivePerl官网要注册,华军下载:ActivePerl下载_ActivePerl(Perl执行工具)官方中文版下载-华军软件园![]() https://www.onlinedown.net/soft/8364.htm
https://www.onlinedown.net/soft/8364.htm
3、github下载gmssl-v2官方库;
https://github.com/guanzhi/GmSSL/tree/GmSSL-v2![]() https://github.com/guanzhi/GmSSL/tree/GmSSL-v2
https://github.com/guanzhi/GmSSL/tree/GmSSL-v2
4、打开vs2010命令行,并且进入解压的代码目录;

5、执行命令perl Configure VC-WIN32,报错NASM not found

5、nasm配置环境变量,记得重启电脑;
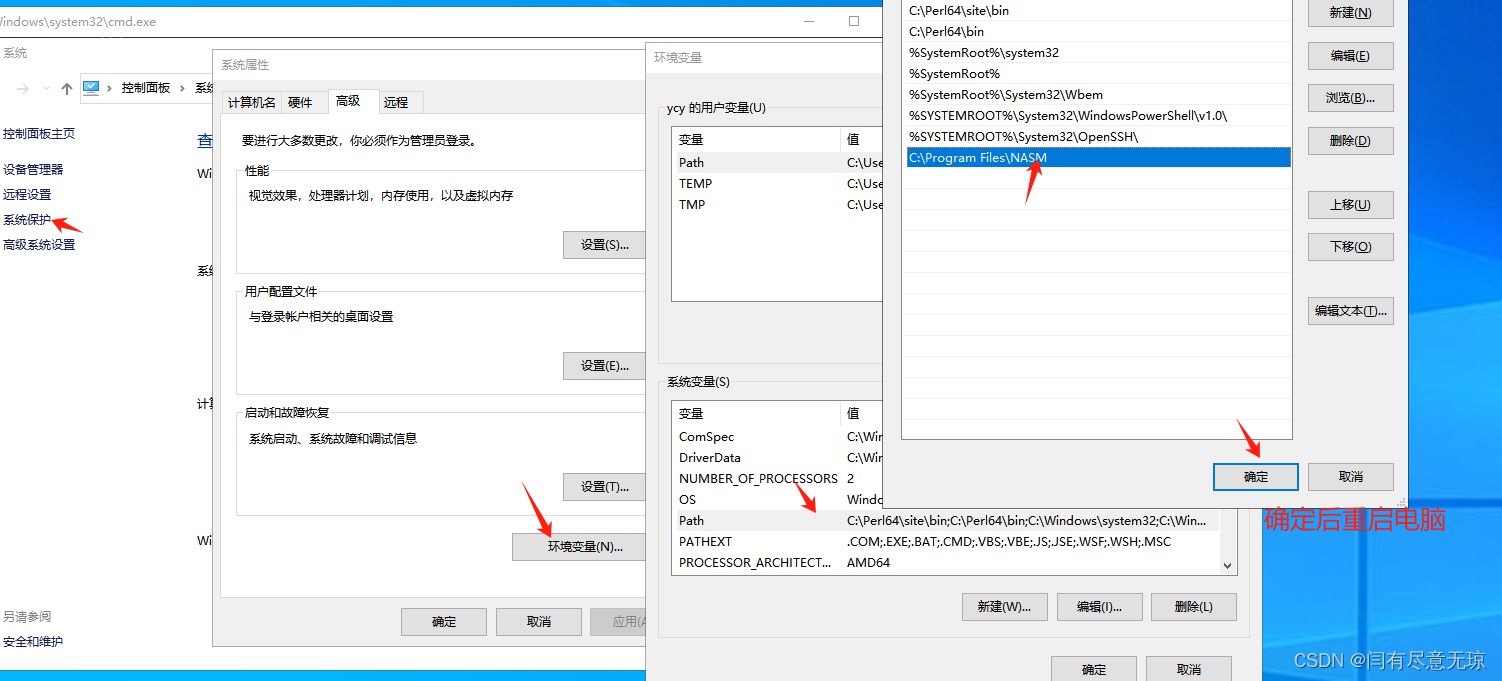
nasm -h有返回值即代表正常
6、执行perl Configure VC-WIN32,继续报错Can't locate Win32/Console.pm in
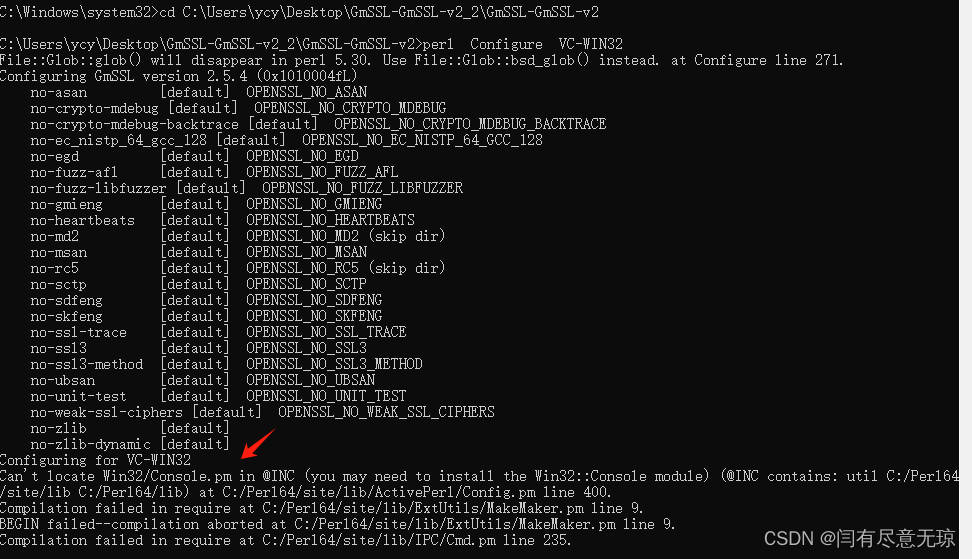
这是perl配置问题了,打开路径,C:\Perl64\site\lib\ActivePerl,将Configure.pm右键属性,只读取消勾选,然后395行到413行下图用#号注释,保存,右键属性,恢复只读。

7、再执行perl Configure VC-WIN32,成功生成makefile
8、nmake开始编译
 9、改报错,未声明的标识符

一共有2个.c需要处理如下:
crypto/sm9/sm9_asn1.c
//300行挪到296行

crypto/sm9/sm9_rate.c
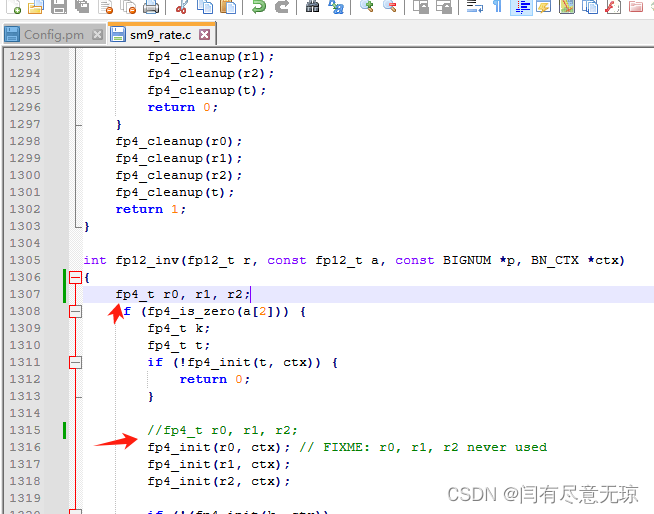
//2287行挪到2204行


10、nmake继续报错EVP_get_digestnames EVP_get_ciphernames

GmSSL-GmSSL-v2_2\GmSSL-GmSSL-v2\crypto\evp\names2.c 末尾添加
static void cipher_name_len(const EVP_CIPHER *cipher, const char *from,const char *to, void *x)
{*((int *)x) += strlen(EVP_CIPHER_name(cipher));
}static void cipher_name(const EVP_CIPHER *cipher, const char *from,const char *to, void *x)
{strcat((char *)x, EVP_CIPHER_name(cipher));
}char *EVP_get_ciphernames(int aliases)
{char *ret = NULL;int len = 0;EVP_CIPHER_do_all_sorted(cipher_name_len, &len);ret = OPENSSL_zalloc(len);if (!ret) {return NULL;}EVP_CIPHER_do_all_sorted(cipher_name, ret);return ret;
}char *EVP_get_digestnames(int aliases)
{return "sm3:sha1:sha256";
}
11、继续报错ssl/statem/statem_gmtls.c 未声明的标识符
备注:跟第9步类似

//原本三行注释挪到上面来

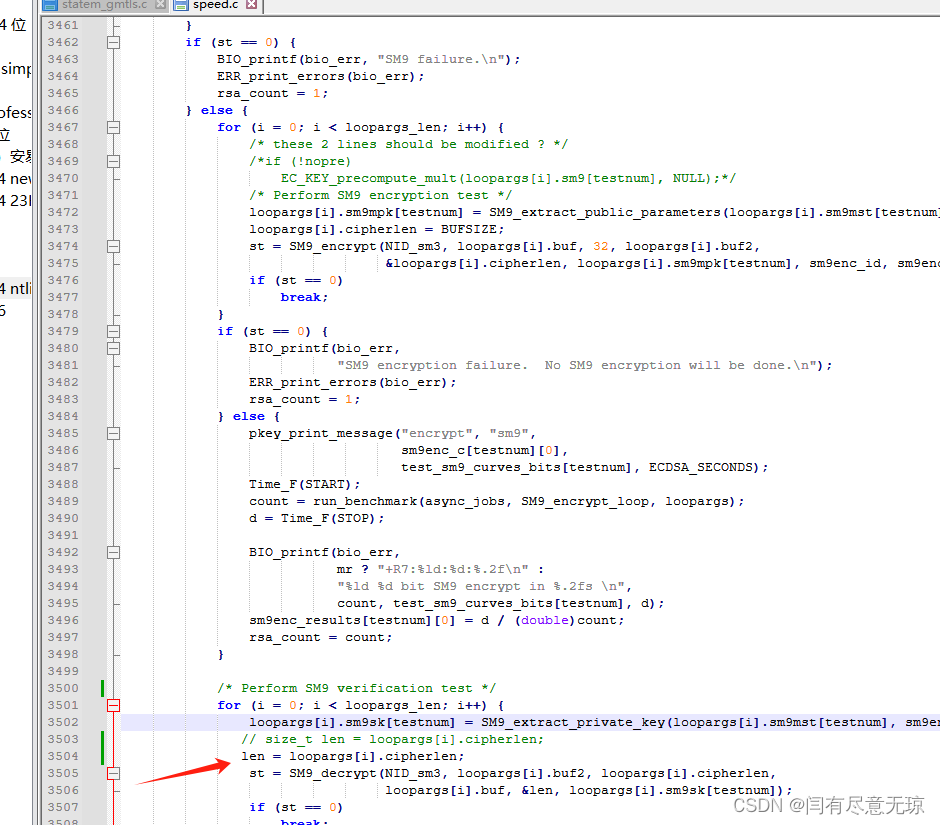
12、nmake,speed.c继续报错
 //GmSSL-GmSSL-v2_2\GmSSL-GmSSL-v2\apps\speed.c
3502行的 size_t len = loopargs[i].cipherlen;len = loopargs[i].cipherlen;
1537行添加int len=0;

13、继续nmake,没报错,直到出现下图代表编译成功
 14、nmake install一路刷屏自动换行,结束
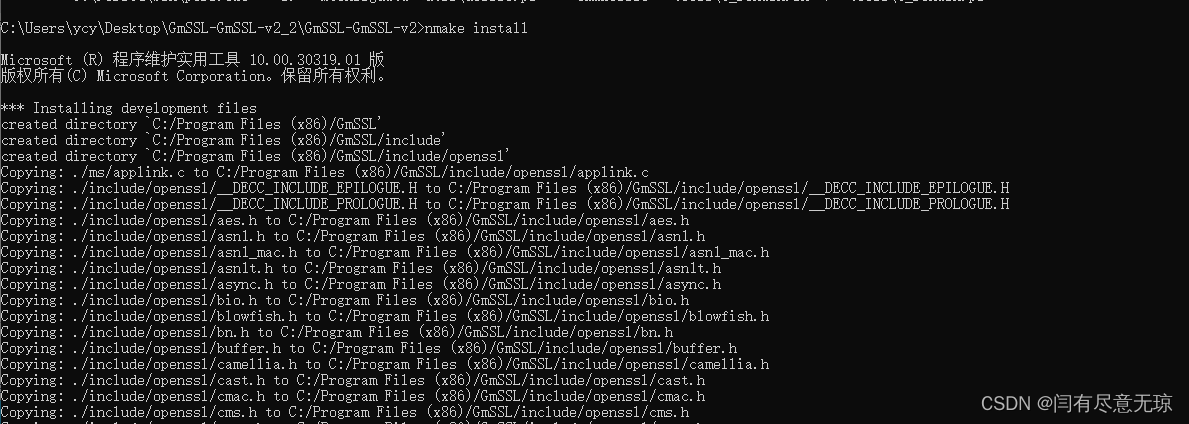
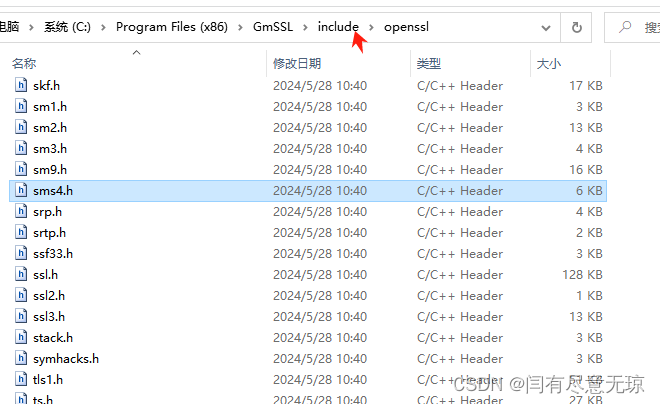
 15、bin、include和lib全部已经生成
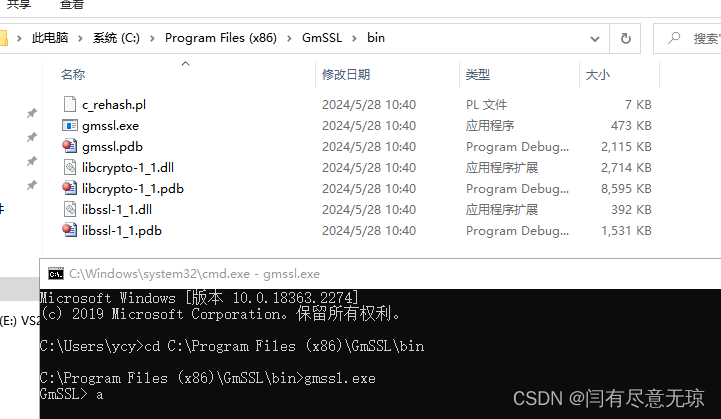
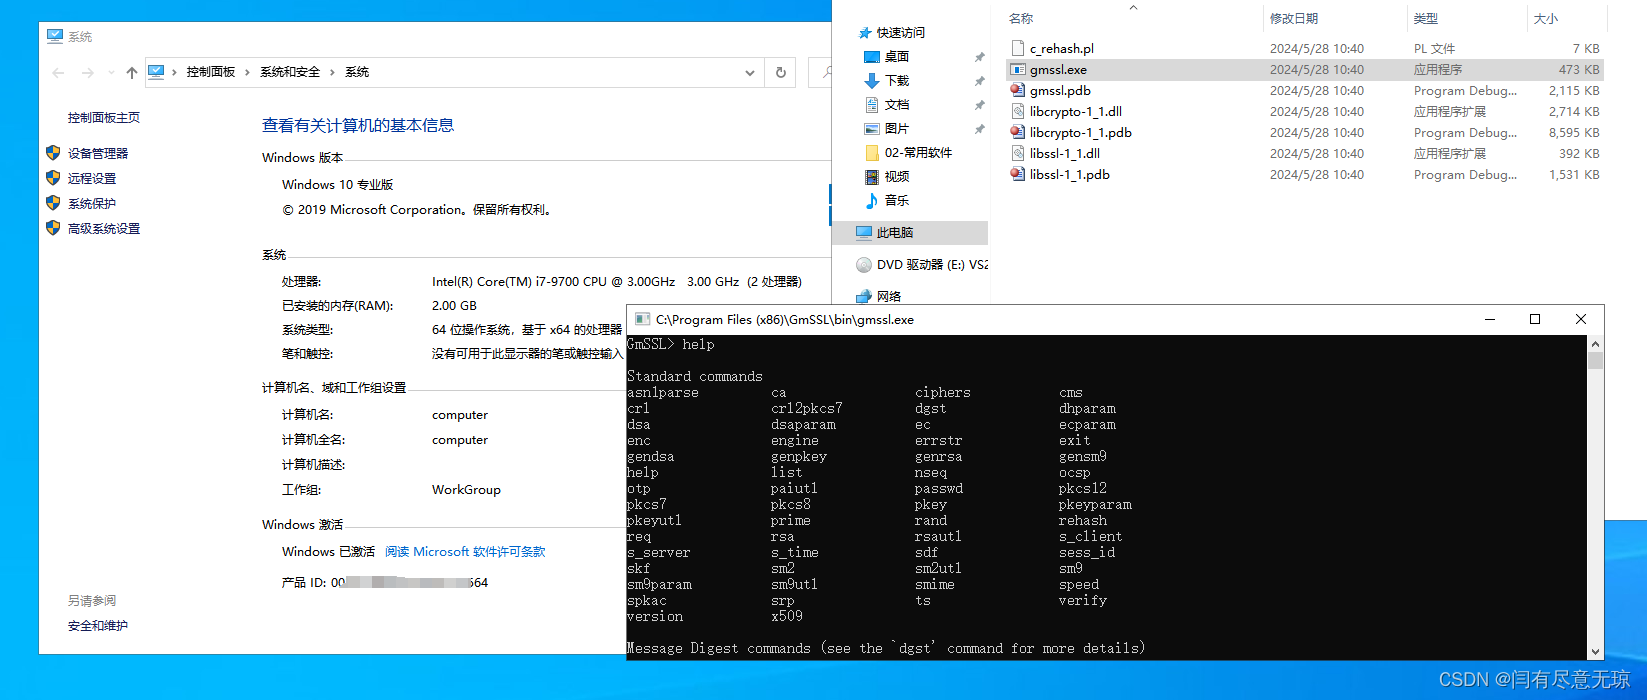
 16、xp win7 win10测试,可直接运行
//xp sp3

//win7 32位
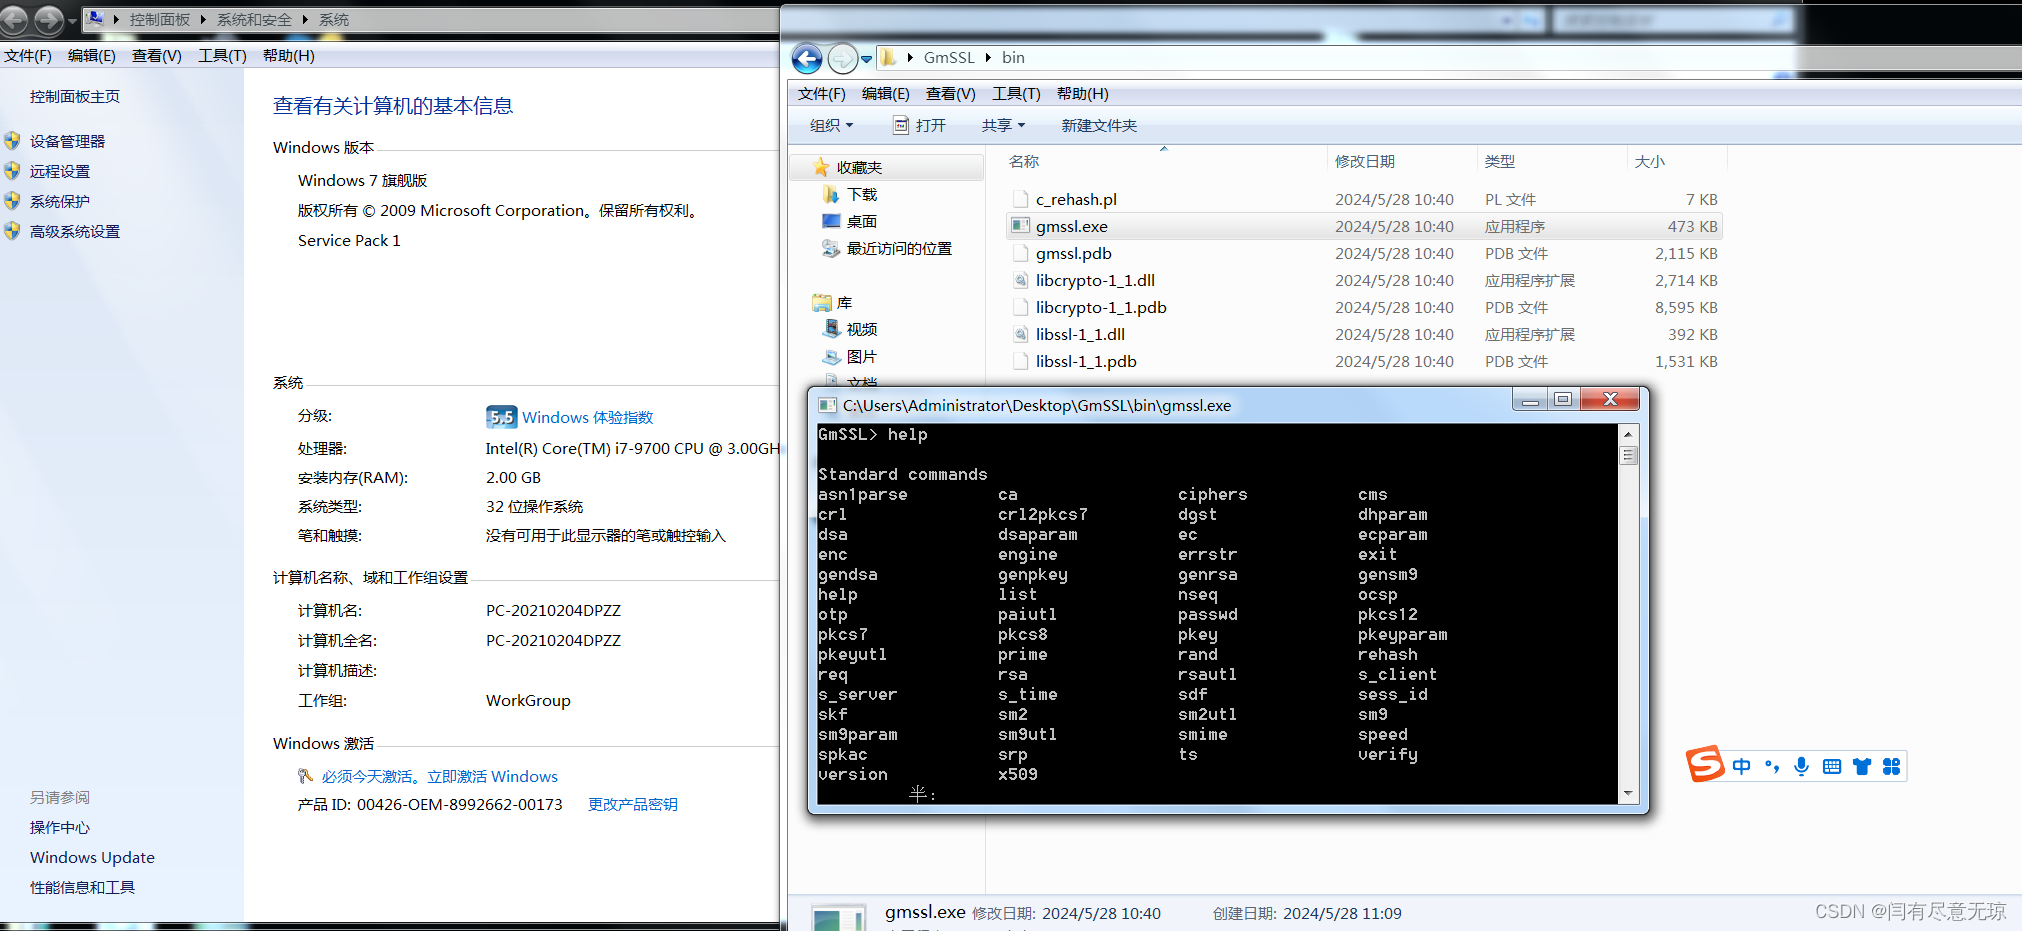 //win7 64位
//win10 64位 32位
这篇关于gmssl vs2010编译的文章就介绍到这儿,希望我们推荐的文章对编程师们有所帮助!


